
A move-out cleaning checklist is important for getting your security deposit back, preparing the space for the next tenant, and helping you keep track of often-forgotten cleaning tasks like scrubbing baseboards, cleaning inside appliances, or whitening bathroom grout. By using a checklist and going room-by-room, you can ensure you meet your lease requirements before you hand over the keys.
We designed this priority-driven guide and downloadable checklist to show you exactly what property managers look for during a walkthrough. You can use this list to scrub the place yourself or hand it to a cleaning crew to ensure they do not miss a spot. Either way, sticking to a plan is the best way to protect your wallet and move on to your new home.
Table of Contents
How to Use This Move-Out Cleaning Checklist
You have a million things to do during a move, and scrubbing the baseboards is probably at the bottom of your list. But it’s still an important part of making sure your place is up to move-out standards.
To keep things simple (and because we know you’re working against the clock), we organized everything by room. This way, you can finish the kitchen before you even think about the bathroom. Plus, we split tasks based on priority, so you won’t miss a room that your landlord or property manager will definitely check:
- Must-clean: These are the non-negotiables. Landlords almost always check the oven, fridge, and bathroom fixtures first. Skipping these is the fastest way to lose a chunk of your security deposit.
- Nice-to-clean: These tasks make the home look great but are less likely to result in a fee if you run out of time.
When to start cleaning
The best time to start your deep clean is right after your movers load the last box onto the truck, but before your final landlord walkthrough. It is much faster to clean an empty room, and you won’t have to worry about anyone tracking dirt back into a space you just finished.
Short on time? If you only have a couple of hours, forget the nice-to-clean items. Focus entirely on the high-risk areas like appliances and bathrooms.
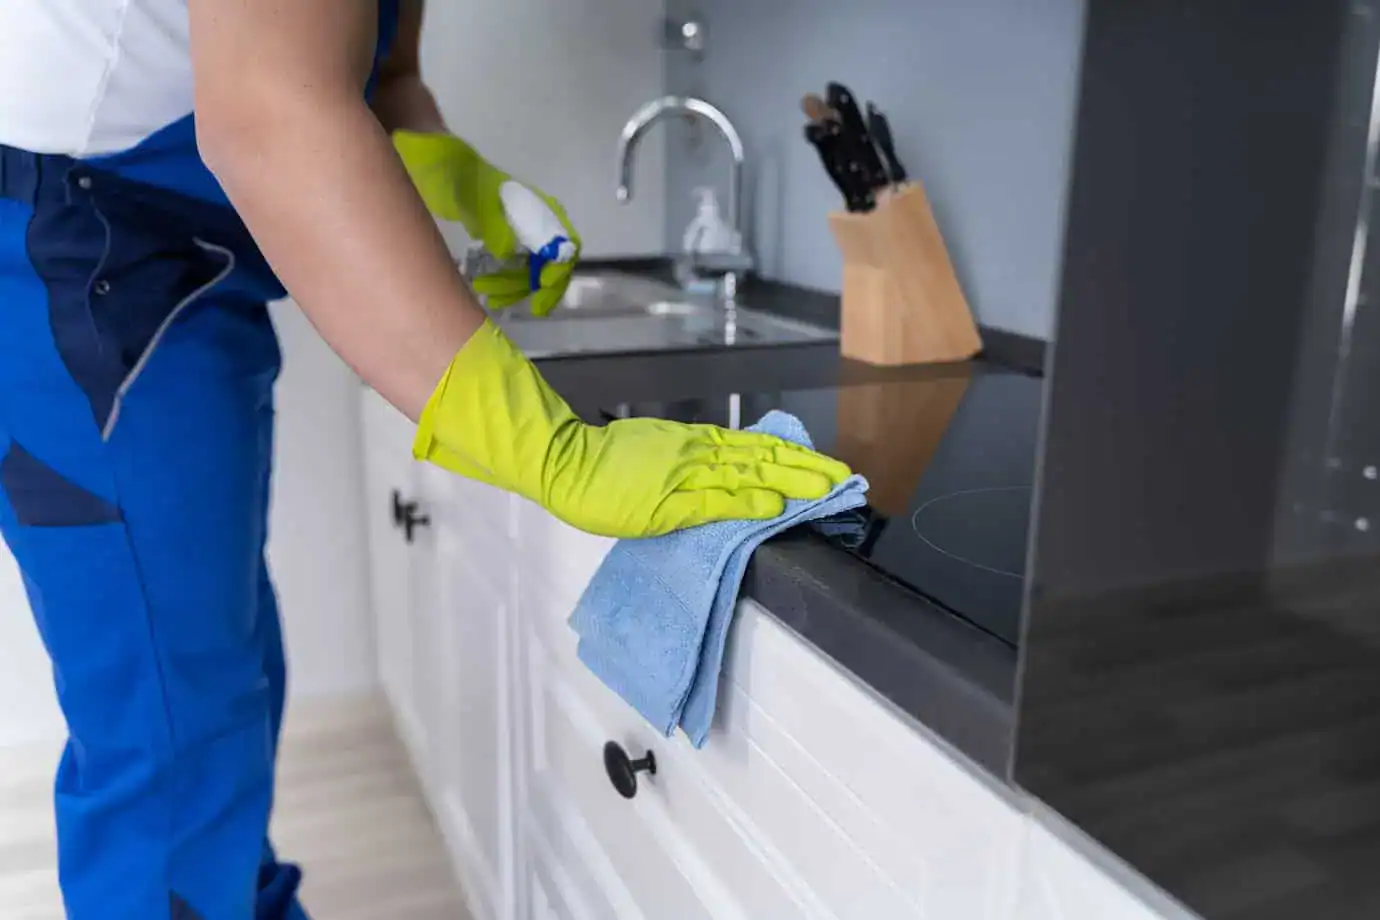
Cleaning Supplies You’ll Need
You cannot do a deep clean without the right tools. We recommend keeping a dedicated cleaning kit separate from your packed boxes so you don’t have to search for any supplies when you’re excited to get to your new place.
Here is a quick overview of the essentials you should have on hand:
- All-purpose cleaner
- Glass cleaner
- Baking soda and white vinegar
- Microfiber cloths and paper towels
- Scrubbing sponges
- Broom, dustpan, and mop
- Vacuum cleaner with attachments
- Rubber gloves
- Heavy-duty trash bags
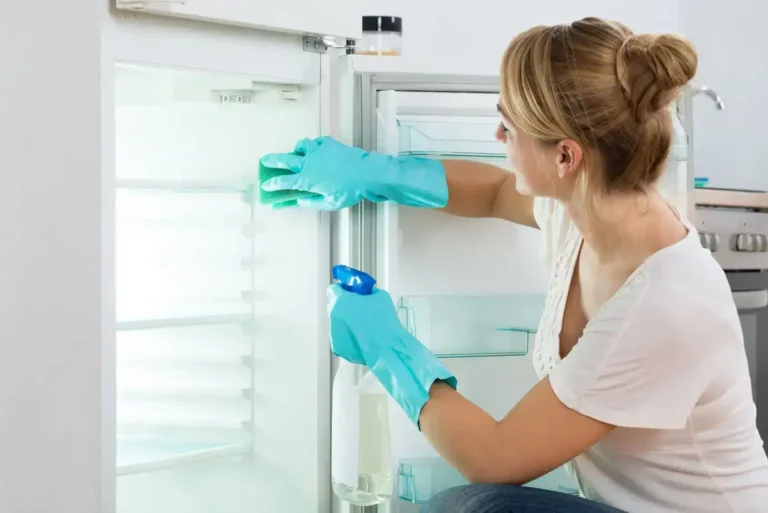
Kitchen Move-Out Cleaning Checklist
The kitchen is where you will spend the most energy. Grease builds up over time, and landlords are notorious for checking inside appliances first. If you want your deposit back, you need to be thorough here.
Must clean:
- Inside oven and stovetop: Scrub the racks and wipe down the interior walls. Do not forget the bottom drawer, as it’s where all the crumbs end up!
- Refrigerator: Empty it out and remove all shelves and drawers to wash them in the sink. Wipe down the inside walls and leave an open box of baking soda inside if there are any lingering smells.
- Cabinets and drawers: Wipe the inside and outside of every cabinet door. Run a damp cloth through the drawers to pick up crumbs and dust.
- Sink, disposal, and backsplash: Scour the sink basin and shine the faucet. Run a lemon rind through the disposal to freshen it up and wipe grease splatters off the backsplash.
- Floors and baseboards: Sweep behind the fridge if you can move it. Mop the floors and wipe the baseboards to remove dust and shoe scuffs.
Nice-to-clean:
- Dishwasher: Check the bottom filter for food particles and wipe down the door edges.
Tip: Appliances and grease are the most common reasons tenants lose money from their security deposit. A quick wipe usually isn’t enough. You need to remove the baked-on grime to pass inspection. Warm water, white vinegar, and a cloth usually do the trick!
Bathroom Move-Out Cleaning Checklist
Bathrooms are high-risk areas for losing your security deposit, so make sure you give everything another once-over. A great tip is to vacuum everything first to snag all the hair and dust from the drawers to the floors.
Must clean:
- Toilet: Scrub the bowl, and don’t forget the outside. Wipe down the base and the floor area behind the toilet, where dust and hair tend to collect.
- Shower and tub: Remove all soap scum from the walls and glass doors. A good recipe for soap scum and hard-water stains is Dawn dish soap, vinegar, and hot water, mixed in a spray bottle. Scrub the grout lines if they look discolored.
- Sink, faucet, and mirror: Wipe toothpaste splatters off the mirror and polish the faucet to remove water spots.
- Vanity drawers and cabinets: Empty these out completely. Then, wipe inside to remove loose hair, makeup spills, or bobby pins.
- Floors and baseboards: Hand-wash the floor corners and baseboards to ensure you get all the dust bunnies the mop misses.
Nice-to-clean:
- Exhaust fan cover: Look up at the fan. If it is dusty, run a vacuum attachment over it or wipe it down.
Tip: Mold, mildew odors, and calcium buildup are immediate red flags during an inspection. If your grout looks dark, a paste of baking soda and vinegar can help brighten it up. If you’re really struggling with grout, toilet cleaner works extremely well!
Bedroom Move-Out Cleaning Checklist
Bedrooms are usually easier to clean than kitchens or bathrooms. But once the furniture is gone, you might see dust bunnies and wall scuffs you didn’t know existed.
Must clean:
- Closets: Double-check high shelves to ensure you didn’t leave a hanger or shoebox behind. Wipe down the shelving to remove dust.
- Walls: Look for scuff marks near the floor. A melamine sponge often wipes these right off. Check your lease to see if you are required to fill nail holes, as some landlords prefer to do the paint touch-ups themselves.
- Floors and baseboards: Vacuum carpets thoroughly or mop hard floors. If you have carpet stains, you might need to treat them specifically to avoid a deduction.
Nice-to-clean:
- Windowsills and tracks: Vacuum out the window tracks and wipe the sills. This is a detail that makes a room look professionally cleaned.
- Light fixtures and switches: Wipe down light switches to remove fingerprints. Dust the ceiling fan blades or light fixtures if you can reach them safely.
Tip: Walls are the biggest point of contention in bedrooms, so be careful with DIY patching. If you fill a hole poorly, it might actually cost you more than if you had just left it for the landlord to fix. YouTube can be a great teacher, but unless you have the exact paint color to cover your patch, it’s often safer to just leave it alone.
Living Room & Common Areas Move-Out Cleaning Checklist
The living room is usually your easiest win since there aren’t any greasy ovens or soap-scummed showers to deal with. Mostly, you just need to tackle the dust.
Must clean:
- Floors: Vacuum your carpets in several directions to really lift the pile. If you have hard floors, give them a good mop and pay extra attention to those corners where dust likes to hide.
- Walls and trim: Wipe down the baseboards and keep an eye out for scuff marks. Usually, a quick spot clean is all you need to make the walls look fresh again.
- Doors and handles: Give the door handles and the area around the knobs a solid wipe. Oils from everyone’s hands build up there over time and leave sticky spots you might not notice until the light hits them just right.
Nice-to-clean:
- Windows and blinds: Run a microfiber cloth over the blinds to grab the dust. It’s also a good idea to clean the insides of the windows to remove any pet or kid nose prints.
- Light fixtures and ceiling fans: Grab a step stool and wipe the dust off the fan blades and light fixtures. This is one of those tiny details that landlords always seem to notice the second they look up.
Tip: Scuff marks in high-traffic areas are a major reason people lose part of their deposit. A melamine sponge (Magic Eraser) or a little baking soda paste can usually rub those marks away without damaging the paint, saving you from a repainting fee.
Entryway, Hallways & Utility Areas Move-Out Cleaning Checklist
These areas see the most foot traffic, but they are easy to overlook. You want to make sure the first thing your landlord sees when they walk in is a clean home.
Must clean:
- Front door: Wipe down the inside of the door. Use a cleaner to remove scuff marks near the bottom, where you might have kicked it open when your hands were full with groceries.
- Laundry area: Wipe down the tops and fronts of the washer and dryer. Don’t forget to clean out the lint trap completely, as this is a fire-safety issue landlords check for.
- Thermostat and switches: These are high-touch points, so wipe them down to remove fingerprints.
Nice-to-clean:
- Utility closets: Sweep the floor and remove any cobwebs in the corners. You don’t need to scrub the walls here unless there are major marks.
- Vents: If you can reach them, dust the vent covers with a vacuum attachment or a dry cloth to make the hallway look brighter.
Tip: The front door sets the tone for the entire inspection. If the entry is dirty, the landlord will likely scrutinize the rest of the house more closely. A clean entrance suggests you took good care of the property in general.
Apartment vs House Move-Out Cleaning Differences
The size of your cleaning list often depends on the type of property you are leaving. If you rent a single-family home, your landlord likely expects you to handle exterior maintenance that an apartment manager would usually cover for you. For example, house renters usually need to sweep out the garage, clear debris from the yard, and ensure the patio is tidy. You also need to check your lease for HOA rules, which might require you to pull weeds or power wash the driveway before you hand over the keys.
“The best time to start your deep clean is right after your movers load the last box onto the truck…It is much faster to clean an empty room, and you won’t have to worry about anyone tracking dirt back into a space you just finished.”
Apartment moves have their own set of challenges, mostly revolving around shared spaces. You generally are not responsible for the hallway or lobby, but you must ensure your private balcony or patio is swept clean. The biggest friction point in apartments is often trash disposal. You cannot just leave a mattress or old furniture by the dumpster, as property managers will charge hefty removal fees for bulky items left in shared areas.
Quick Comparison: What to Watch For
| Area | Apartment Move-Out | House Move-Out |
| Outdoor Spaces | Sweep private balconies/patios only. | Mow lawn, weed beds, sweep porch/deck. |
| Storage & Utility | Empty storage lockers or cages. | Sweep the garage, clear the attic/basement. |
| Trash & Debris | Follow strict dumpster/chute rules. | Ensure all bins are empty and at the curb. |
| Exterior | Clean front door exterior (if accessible). | Remove personal items from the yard/driveway. |
Time-Saving Move-Out Cleaning Tips
Moving day moves fast, and you usually have less time than you think. Here are a few ways to work smarter, not harder.
- Clean top to bottom: Dust falls from the ceiling fans and shelves onto the floor. If you vacuum first and dust second, you just have to vacuum again. Always start high and finish with the floors.
- Pick your strategy: You can clean room by room or task by task. We find that finishing one room completely gives you a sense of progress, but doing one task (like washing all windows or vacuuming the entire home) across the whole house can sometimes be faster.
- Use the OHIO method: Only Handle It Once! If you pick up a piece of trash or a cleaning spray, finish the task completely before putting it down. Don’t move a pile of dirt from one corner to another. Deal with it now so you don’t have to circle back.
- Keep a last-clean kit separate: Do not pack your cleaning supplies in the moving truck. Keep a bucket with all-purpose cleaner, rags, and a broom in your car so you can do a final sweep after the boxes are gone.
- Wait until the movers leave: It is tempting to start early, but movers track in dirt and sometimes scuff walls while carrying heavy furniture. Save your energy for when the house is actually empty, so you do not have to clean the same spot twice.
DIY Move-Out Cleaning vs Hiring Professionals
Trying to decide between DIY and hiring a crew? Doing it yourself saves the most money, but if you’re leaving a larger home or short on time, hiring cleaners might feel like the best money you’ve ever spent.
Before you commit, double-check your lease. Some landlords require a receipt from a professional cleaning service before releasing your deposit. You don’t want to scrub all day only to find out you still have to hire someone.
If you decide to hire cleaners, budget between $200 and $500, depending on the size of your home. Just do yourself a favor and read some recent reviews first. You want a team that knows exactly what a picky landlord is looking for.
Quick Comparison: DIY vs. Pro
| Feature | DIY Cleaning | Professional Cleaning |
| Cost | Low (Supplies only) | Moderate to High ($200+) |
| Time Required | High (Several hours to a full day) | None |
| Effort | High physical effort | Zero physical effort |
| Best For | Tight budgets, smaller apartments | Tight schedules, strict leases |
Common Move-Out Cleaning Mistakes That Cost Deposits
You can scrub the floors until they sparkle, but a few overlooked details can still dent your security deposit. Landlords look for specific neglected areas to justify cleaning fees, often charging premium rates for tasks you could have done in minutes.
Here are the most common pitfalls to avoid:
- Leaving useful items behind: Many tenants think they are being helpful by leaving a broom, a half-full bottle of detergent, or a shower curtain for the next resident. Landlords consider this trash. If it wasn’t there when you moved in, you will be charged a removal fee to take it out.
- Forgetting the stove drip pans: If you have an electric coil stove, the metal drip pans underneath are likely stained with burnt grease. Scrubbing them is a nightmare. It is often cheaper to buy a new set at a hardware store for $15 than to pay the landlord $50 to clean the old ones. Lining them with tin foil when you move into a place will eliminate this task altogether!
- Ignoring burnt-out light bulbs: This is the easiest way to lose money. Landlords charge for both the bulb and the labor to screw it in. Check every fixture, including those in the oven and refrigerator, and replace them yourself.
- Skipping the hidden appliance grime: A quick wipe of the fridge shelves typically isn’t enough. You need to pull the drawer out of the bottom of the oven and check the rubber gasket around the refrigerator door, where crumbs hide.
- Masking odors rather than removing them: Spraying air freshener only lasts an hour. If you have pets, you need to address the source of the problem. We recommend leaving a bowl of white vinegar in the room overnight to neutralize smells rather than just covering them up.
Download Our Printable Move-Out Cleaning Checklist
We know this is a lot to remember when you have boxes to pack. That’s why we condensed this entire guide into a simple, printable checklist you can tape to the fridge or hand to your cleaning crew. Just cross off the items as you go to ensure you get your full deposit back!
Frequently Asked Questions
What do landlords usually check during a move-out inspection?
Landlords focus on high-visibility areas and expensive fixtures first. They almost always check inside the oven and refrigerator, look for mold in the bathroom grout, and notice pet odors immediately. If those pass, they check walls for damage beyond normal wear and tear.
How long does move-out cleaning take?
It depends on the condition of your home, but you should budget about 4 to 8 hours for a standard apartment. If you are cleaning a multi-bedroom house or have neglected deep cleaning for a while, plan for a full weekend of scrubbing.
Should I clean before or after moving out?
Always clean after the movers leave. Moving creates a mess, so if you clean beforehand, the movers will track dirt across your freshly mopped floors and likely scuff the walls, forcing you to redo the work.
Is professional move-out cleaning worth it?
If your lease requires a receipt for professional cleaning or if you simply do not have the time, it is absolutely worth the cost. Prices typically range from $200 to $500, which might be less than what you would lose if the landlord keeps your deposit.
Do I need to clean carpets when moving out?
Most leases require carpets to be vacuumed and free of major stains. However, if you have pets or noticeable discoloration, you may be required to steam-clean them to return the unit to its original condition. Check your specific lease terms to be sure.
What cleaning mistakes can cost you your security deposit?
The most expensive mistakes are usually leaving the appliances dirty, ignoring bad odors, and leaving personal items or trash behind. Landlords often charge high administrative fees to handle these simple tasks.
What cleaning supplies do I need for move-out cleaning?
You can handle most jobs with a basic kit: all-purpose cleaner, glass cleaner, baking soda, white vinegar, microfiber cloths, a vacuum, and a mop. See our full list above for the details.