

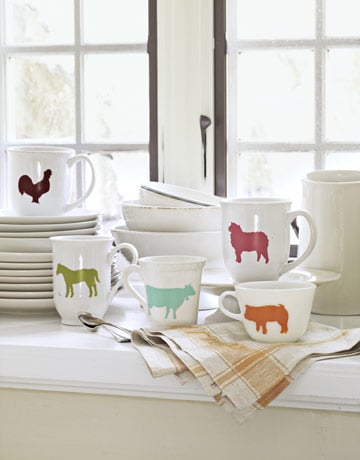

Have you ever wanted to customize some plain, new mugs, or upcycle some vintage mugs? I have a fun and easy project for you that is an awesome way to customize a special gift for someone! We created a matching DIY animal stencil mugs (or other designs) set for the kitchen with a fun flair! By using paint for ceramic mugs, these are completely washable and microwave safe. Just keep the paint away from the drinking area. We chose farm animals, but these mugs could be customized also with letter stencils or words, names or initials to create a custom set of mugs for keeping or gifting!

This post contains affiliate links. See our affiliate and sponsor disclosure here.
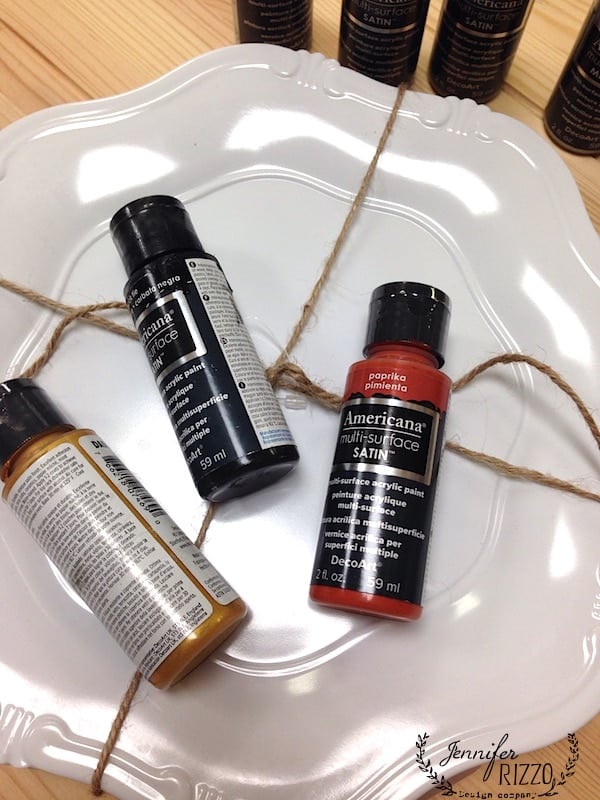
Supplies for Painting Custom Mugs
-Plain mugs
-Multi-surface or glass/ceramic paint (not the kind to go in a kiln)
-Markers intended for ceramic painting/marking if desired
-Stencils
-Tape or spray adhesive
-Make up sponge or sponge pouncer
-Fine line brush
Prep and Clean the Mug
Wash the mug and remove any dirt and oils so the paint sticks onto the surface. Let dry.
Place the Animal Stencil
Place the stencil on the mug and adhere with tape or stencil adhesive if needed. Place at least two inched down from the top and out of any drinking area that might touch liquid, as the paint may not be food safe. Use a makeup sponge to pounce the multi-surface paint or ceramic paint onto the surface, coating it evenly. A sponge brush can also be used. It’s important to pounce the paint and not brush it so it doesn’t bleed underneath the stencil.
Free Drawing on Mugs
Using a think brush, plain mugs can also be painted on or drawn on with special ceramic markers, just as this faux cross stitch holiday, initial mug.

Remove the Stencil
Remove the stencil while the paint is still wet and clean up any paint or stray marks with a cotton swab. Let dry and cure according to the directions on the paint bottle prior to using or washing. Some paints air dry over an extended amount of time and others need to be baked in an oven to be permanent.
Sometimes You Need to Start Over
If the stencil needs to be redone make sure to remove the paint with soap and water before it dries on the mug. Repeat the steps from the beginning.

You can find fun animal stencils here. My painted DIY animal silhouette mug project was featured in the Idea Notebook of May’s Issue of Country Living! It is really a dream come true. It’s such an easy project too. This is green horse mug didn’t make it in the publication, but all of them turned out so cute, it doesn’t matter. He was one of my favorites next to the pig and sheep mug. I love how fun the colors are. You can see the project mugs in the magazine.There are also a lot of other fun and really do-able projects for your home. My DIY animal stencil mugs are in their ideas section.

Image used with permission from Country Living Magazine
As I mentioned earlier, you can also print out templates for the DIY animal mugs on the webpage or purchase the stencils linked above. The best thing about this project is you could resize the animals and do it on decorative plates, pillows or even t-shirts with the right paint.

*This was posted Via Jennifer Rizzo. com