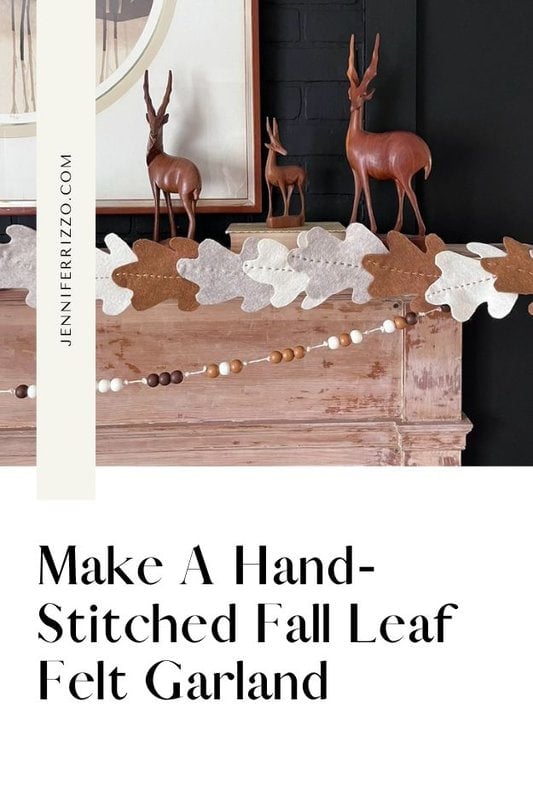

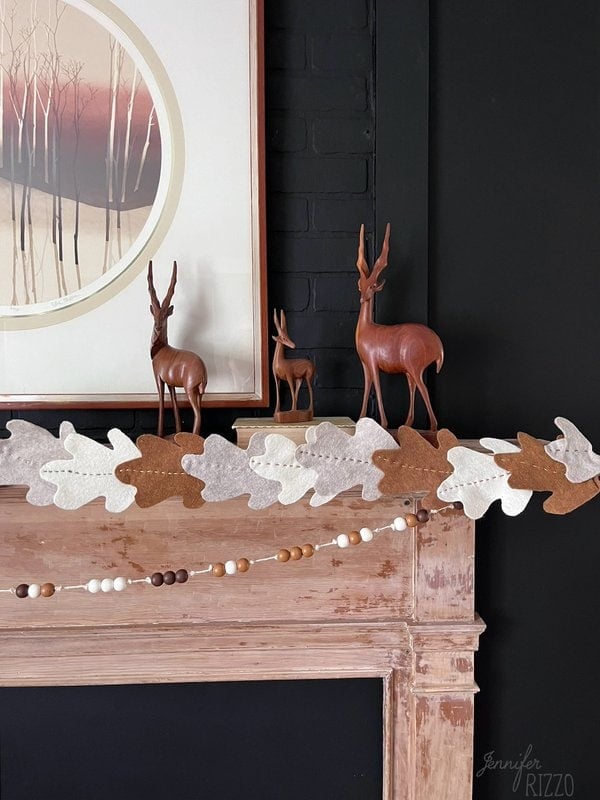

When summer is nearing the end, but it doesn’t feel quite like the Halloween decor or pumpkins should go up yet, decorating with fall leaves and similar themes is a great way to bring in some autumn home decor. Felt is such a fun material to work with and you can create some many fun decor items. This DIY project is simple, fun, and perfect for adding a cozy fall decorating touch to any room, especially if you’re looking for a project with a little slow stitching. Felt is such a great material to craft with because it’s so versatile and has such warmth and is very forgiving for novice sewers. Using felt from the craft store, you can do a little crafting and create this pretty Hand-Stitched Felt Leaf Garland for around $20 . Just grab with our leaf template at the end and step by step tutorial.

This post contains affiliate links. See our sponsor and affiliate disclosure here.

Supplies To Create Your Felt Fall Leaf Garland
-Embroidery thread of various colors and needle
-Felt sheets in choice of colors (we went with neutral colors and browns)
-Scissors
-Tacky felt glue
-Pencil or marker for tracing

Trace And Cut Out Your Leaf Shapes
Print out our oak leaf template below to the size you would like each leaf, and cut it out of the paper. You can also free form, or trace around real leaves as a template. Use those oak leaf templates to trace sound the shape onto the felt with a pencil or marker. Cut out each felt leaf with scissors. We were able to get 2 leaves out of each piece of 12 x 12 inch felt.

Begin Stitching Down the Center Of The First Leaf
After laying out what order you would like your leaves to be in, using an embroidery needle and doubled up embroidery floss (color of choice, but using a contrasting color makes the stitches pop more), being stitching down the center of the first leaf. We used a simple and basic running stitch. Hand-stitch down the entire length of the first leaf. When you reach the end of the first leaf, add a second leaf so there is some overlap, and stitch over it until the end.

Begin Stitching the Second Leaf Down the Middle of Your Fall Leaf Garland
At this point, we did an embroidery thread change with a different leaf color, making sure we went through first leaf so they were attached in another place. You’ll want to do this at the top of each leaf whether there is a color change or not. If you do a color change or your thread runs out make sure to knot the end of the thread.

Continue Stitching And Joining The Felt Leaves Together
This will begin creating layers of your leaves together. We made ours as long as our faux fireplace mantel which was about 20 leaves. When you add the last leaf, make sure to go back and stitch a loop on the back of the first, middle and last leaf to hang it from the back.

Glue Any Loose Felt Leaf Parts Together with Felt Glue
Using Felt Glue or Hot Glue, use a dot of glue to glue any loose parts together so the rustic garland with hold together when hung up. Once the glue is dry you are ready to hang you fall garland! How great would this also look as a fall wreath like this paper and twig wreath made with paper leaves?

Decorate With Your Fall Felt Garland
We paired our garland with a string garland made of wooden beads for a fun look. It’s such a simple project, but so pretty. You could make a larger one into a table runner if you were feeling ambitious! Over our faux mantel we decorating it with a collection of vintage wooden antelopes and a really cool MCM lithograph. It really has a warm and cozy fall vibe. The pillowcovers are from Amazon. They look pink in the picture but are tan and blue in person.

Little things can be so impactful with decorating for fall! With any project like this make sure to keep it out of reach of kids or pets and away from heat or flame.

Enjoy your fall decorating! If you love this project, make sure to pin it to Pinterest, and if you make it please share it one social media, we would love to see how it looks in your home! Make sure to grab the template below to trace your leaves with! If you love fall crafting make sure to see how to make this air dry clay floral pumpkin.