

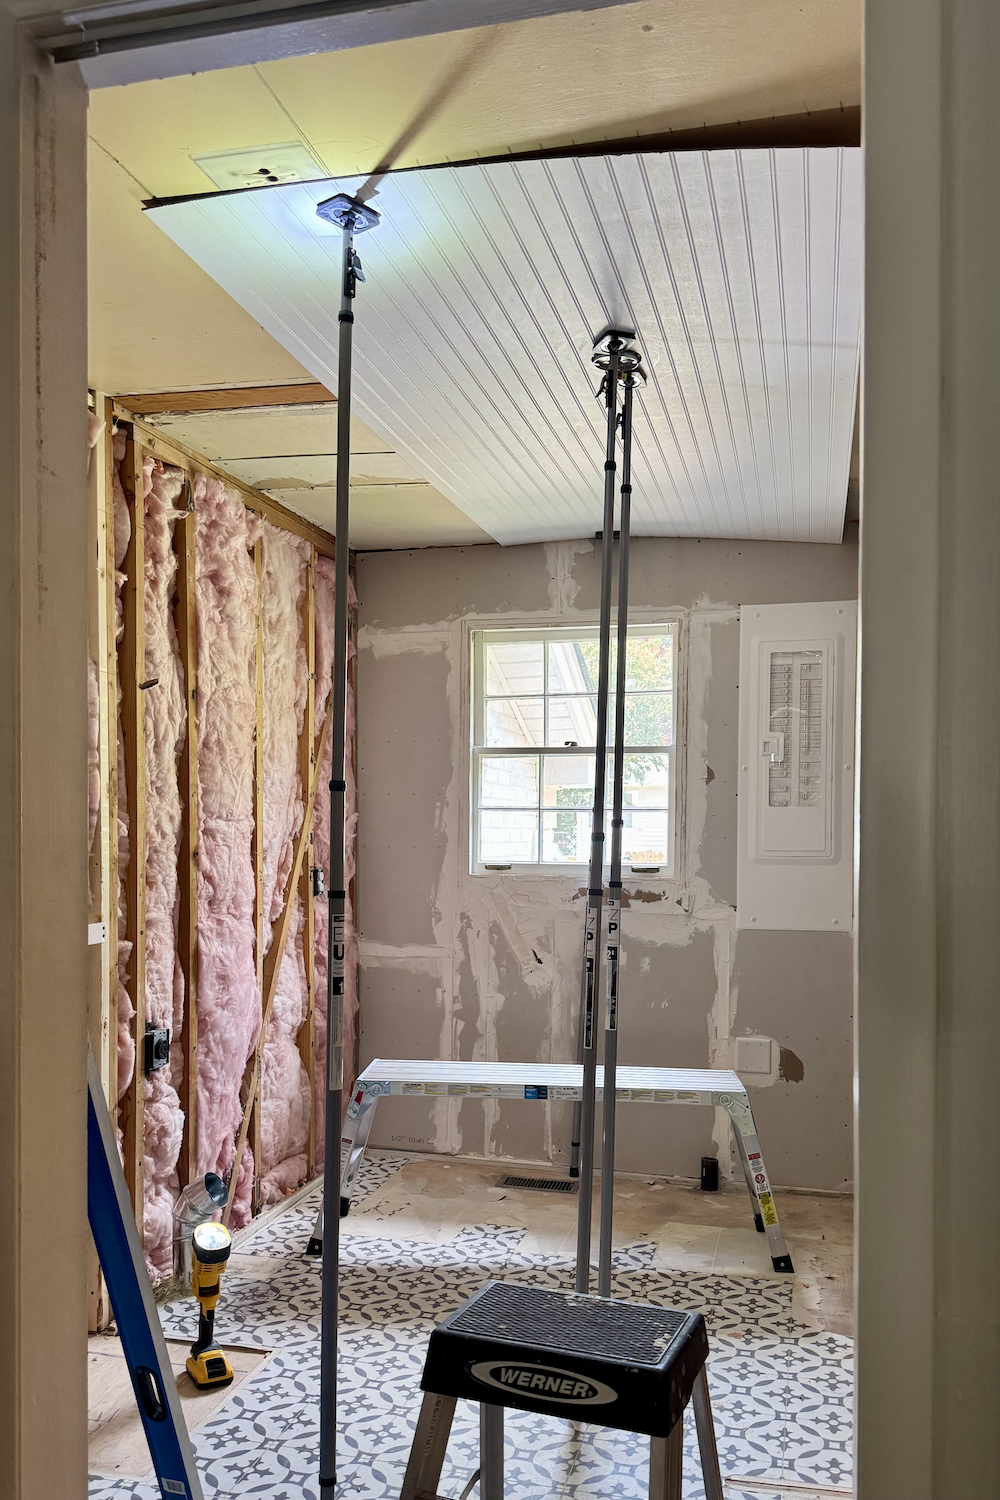
When we first gutted our laundry room down to the studs, drywall seemed like the obvious next step. It’s what we’ve always done. But as we stared at those bare studs, tape measures in hand, it dawned on us that drywall wasn’t actually our best option.
In a room this tight, every inch counts. Adding drywall would’ve stolen valuable space from our cabinet layout, and when you’re already trying to squeeze storage into a narrow laundry room, two inches is like gold.
On top of that, we were way behind schedule and the thought of drywall sanding made my eyes twitch. If you’ve ever lived through that dust, you know it lingers in your house for weeks.
That’s when beadboard came into the picture. We realized it could solve all of our problems at once:
- It’s thinner than drywall, so we wouldn’t lose cabinet space.
- It installs quickly without the mudding, taping, or tons of sanding.
- And best of all, it instantly adds that vintage cottage charm we love.
So beadboard it was. And honestly? It might have been one of the best DIY decisions we’ve ever made.
Related: DIY Shiplap Ceiling With Crown Molding
Related: How to Install DIY Stair Wainscoting the Easy Way
How We Installed Our Beadboard Wall
Step 1: Measuring and Cutting
We measured the wall height, marked it on the panels, and cut them to size. A circular saw handled the big cuts, and a jigsaw worked perfectly around outlets. Nothing fancy, just straightforward cuts that came together surprisingly quickly.
Step 2: Prepping the Wall
Before hanging the first panel, we used a stud finder to mark out the studs with a pencil. This step is key because the nails need to grab into solid wood, not just open space.
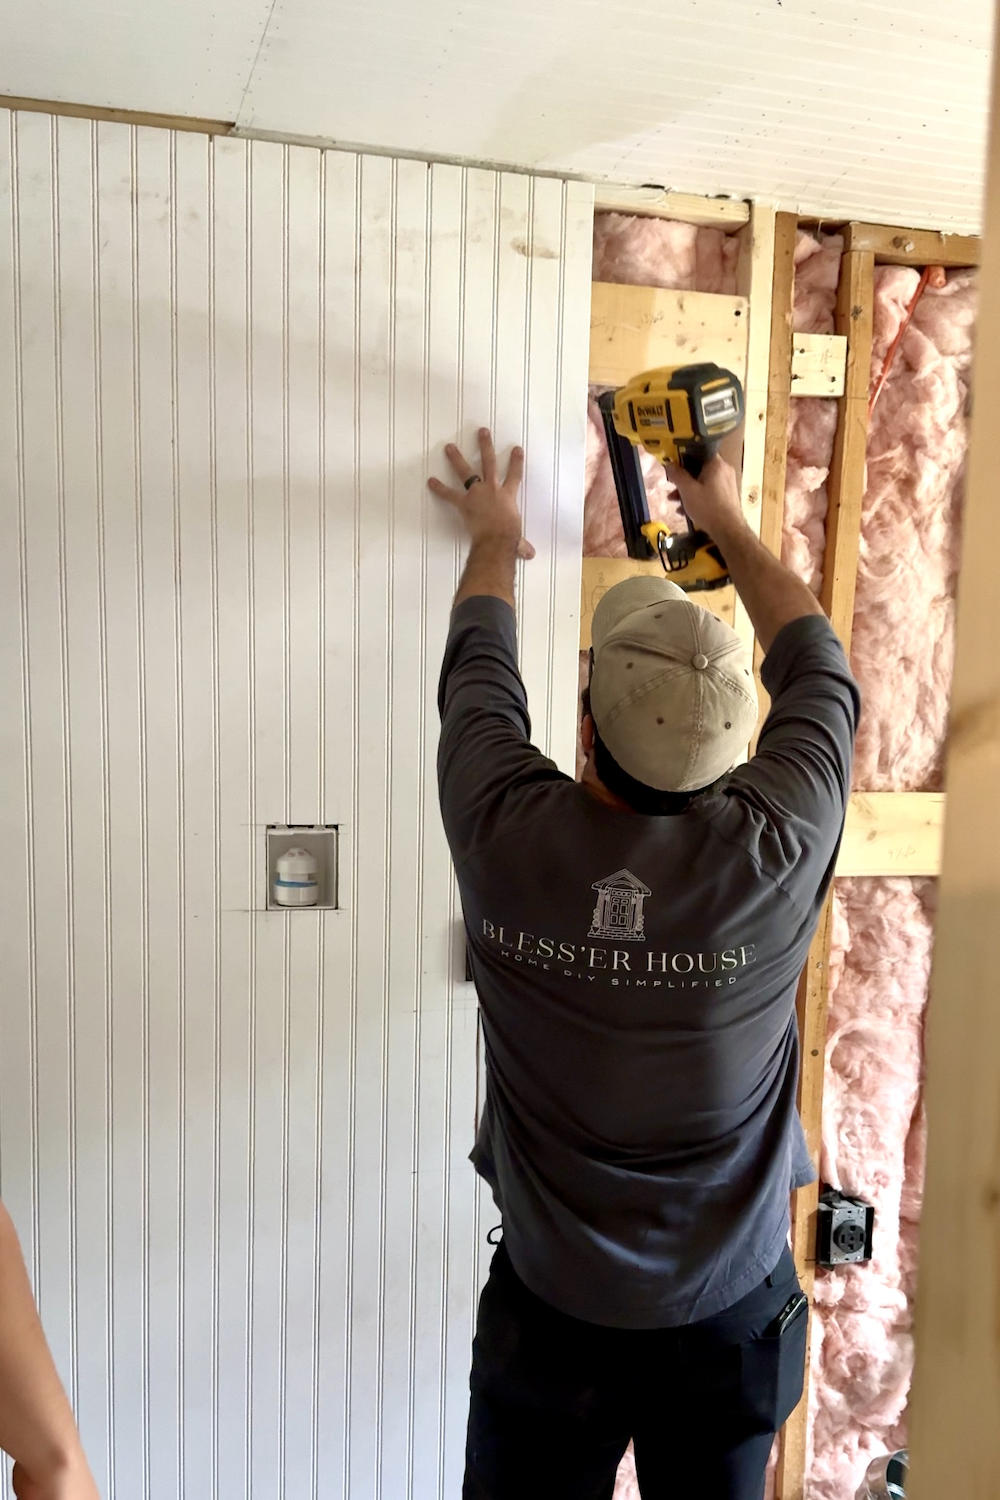
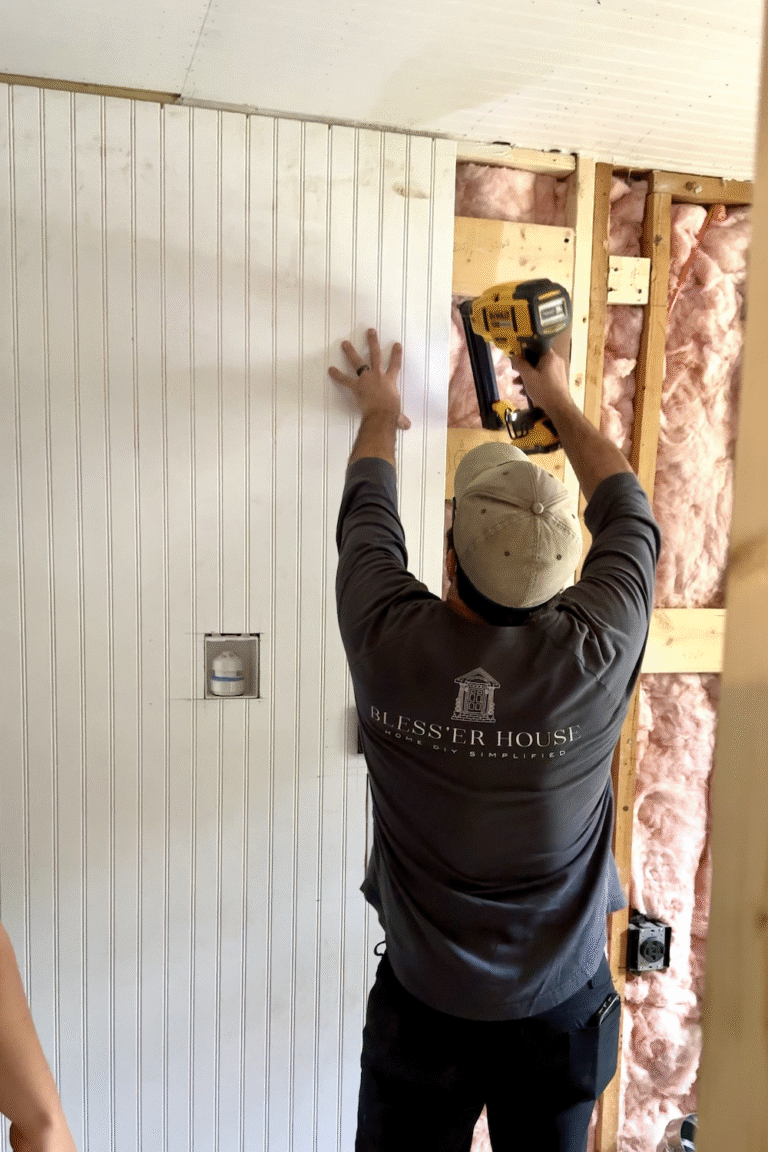
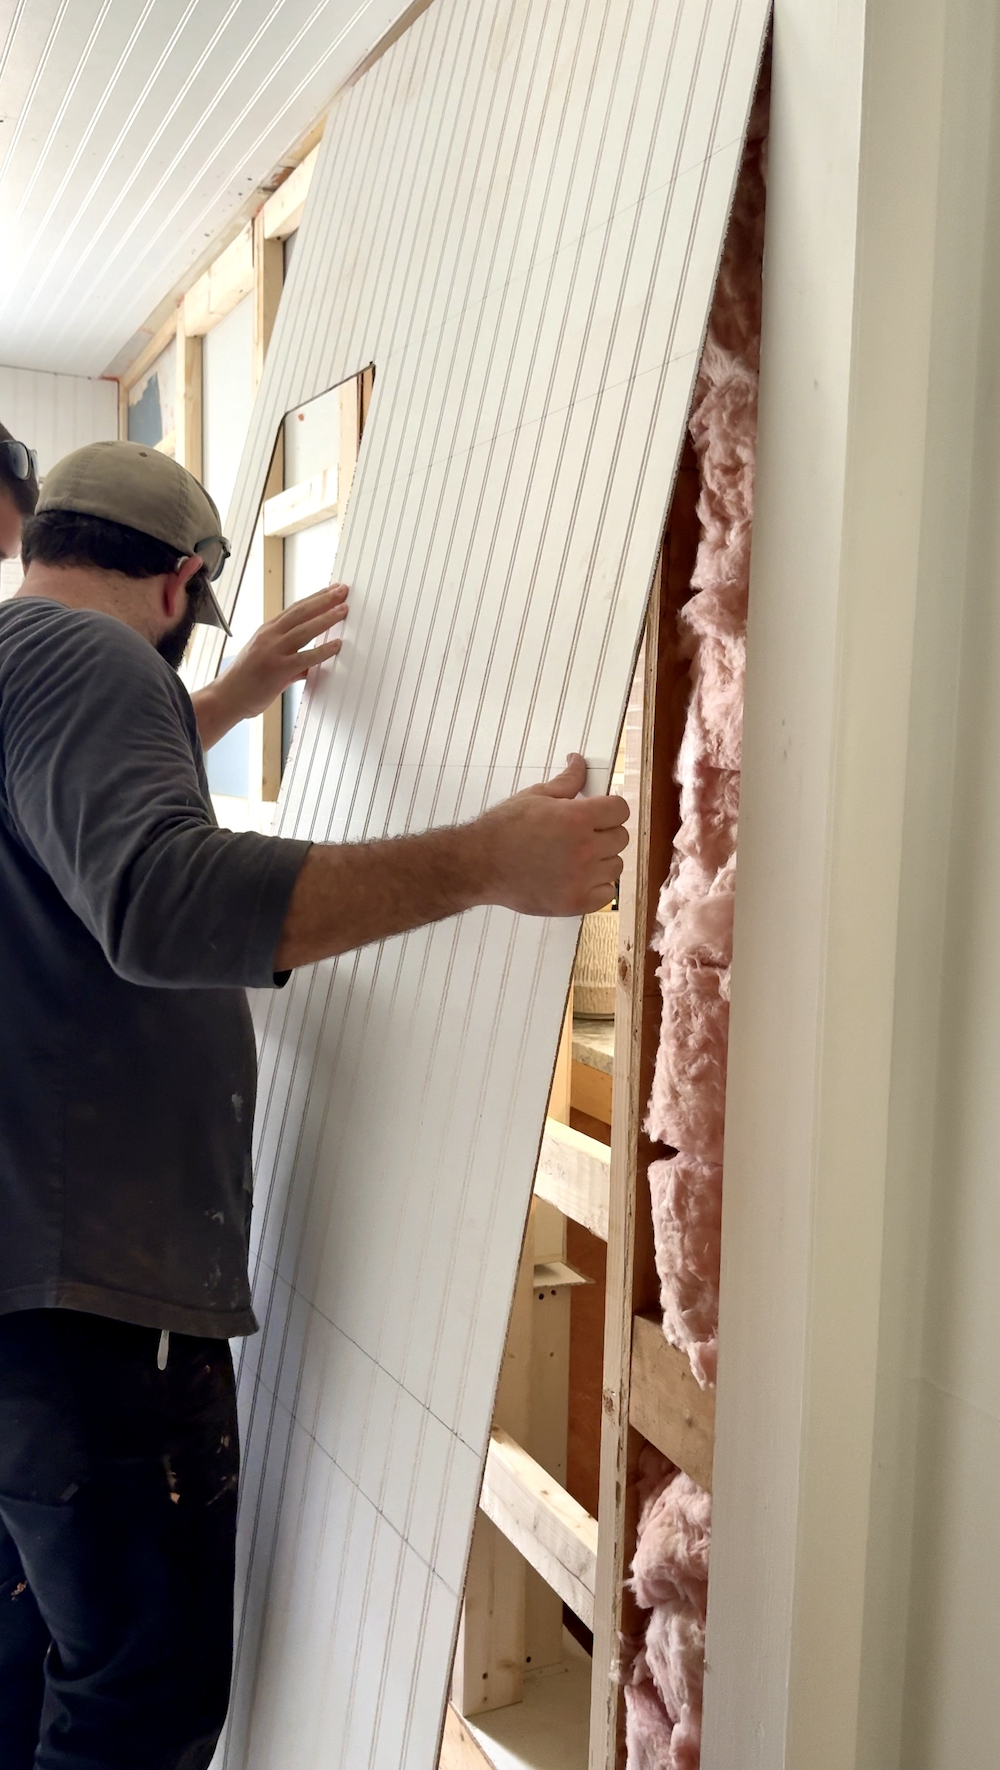
Step 3: Installing the Panels
We spread construction adhesive on the back of the panel, pressed it against the studs, and followed up with finishing nails along the lines we marked. The first panel clicked into place so easily. By the end of the afternoon, we had all the walls covered.
Related: Inexpensive DIY Batten Wall Using Lattice Strips

Step 4: Caulking the Seams
The beadboard itself looked great right away, but caulk is what makes it look seamless. We ran a bead of caulk in the corners and where panels met, smoothed it with a finger, and suddenly it all looked intentional, like it had always been there. Then we just covered nail holes with wood filler and sanded smooth.

Related: DIY Faux Wall Planking for $20
Step 5: Painting for the Finish
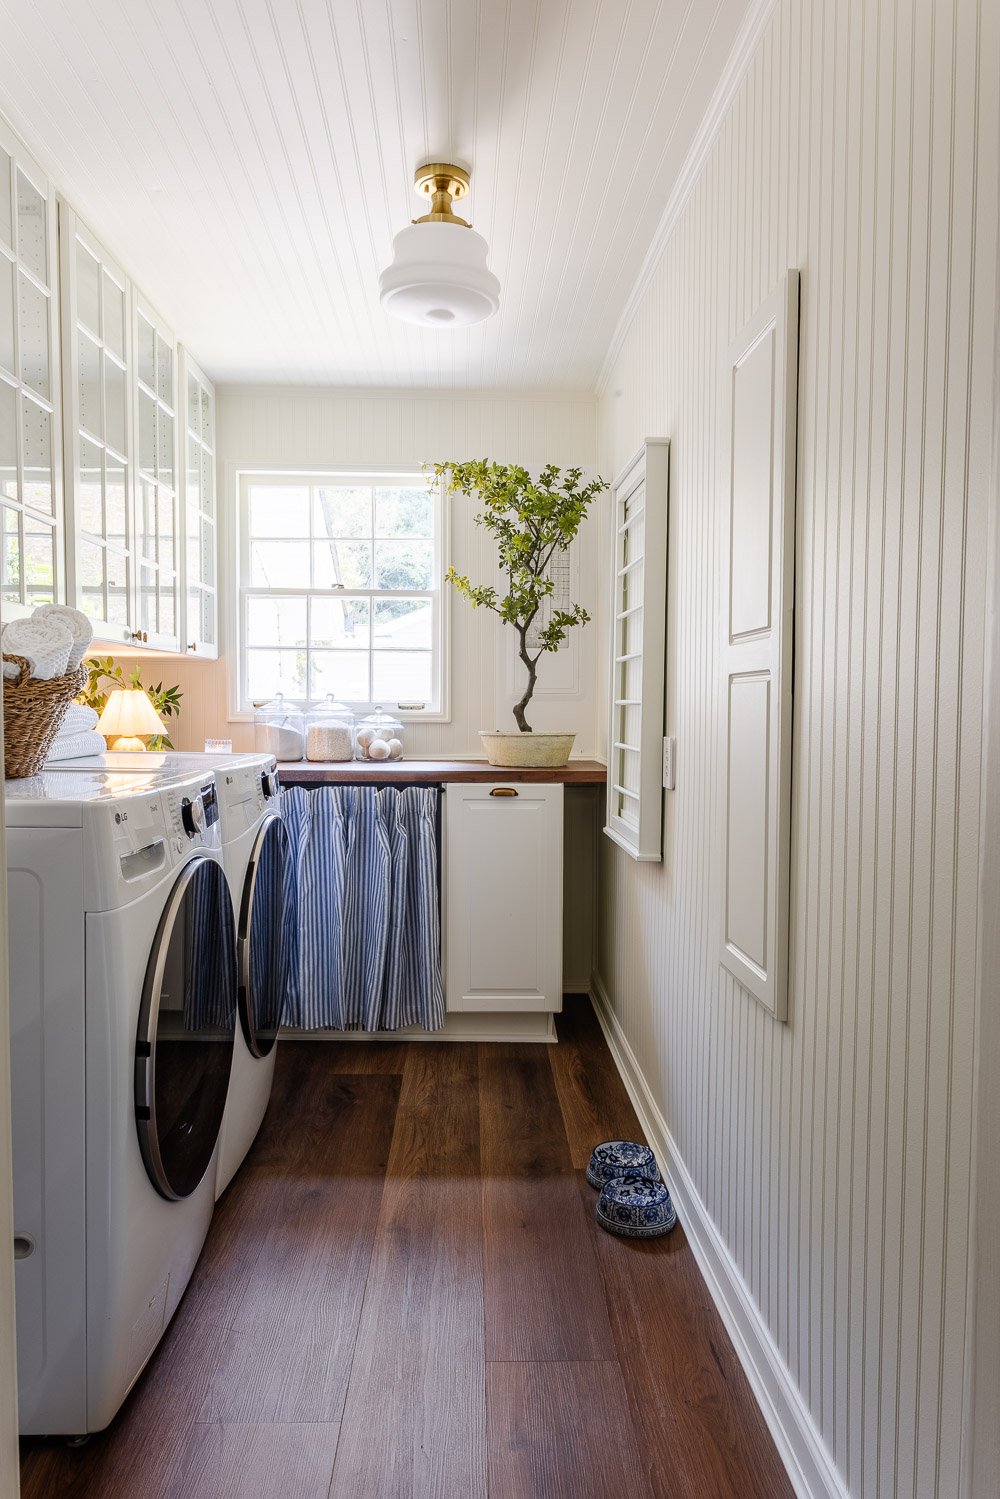
Once the caulk dried, we rolled on a coat of paint to match the trim. The vertical lines of the beadboard gave the whole space more height and character.
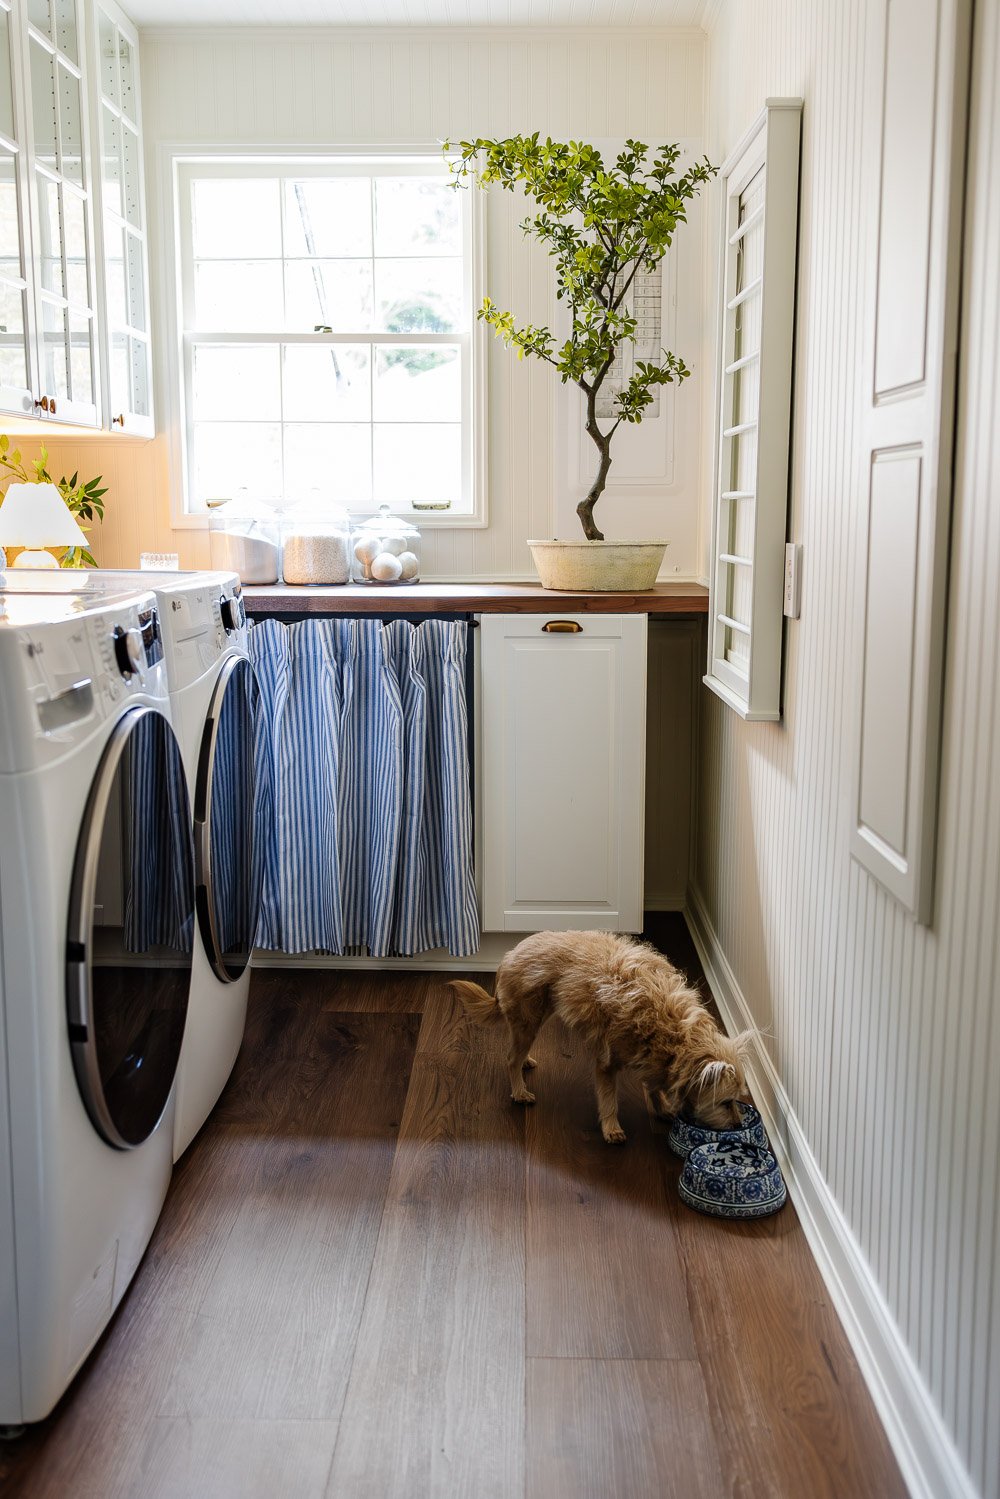
Why We’d Choose Beadboard Again
This project was exactly what we needed in the middle of a chaotic remodel, fast, affordable, and instantly charming. Skipping drywall saved us time, space, and a whole lot of cleanup. It’s officially my favorite DIY shortcut. Instead of a plain box of a room, our laundry room has a wall treatment that feels classic and custom.
Related: DIY Faux Brick Walls
Sometimes as DIYers, we learn the hard way that the “easy” route isn’t actually easier. But in this case, the shortcut really was the smarter path. Beadboard gave us the look we wanted without the headache, and I’d choose it over drywall again in a heartbeat.
