

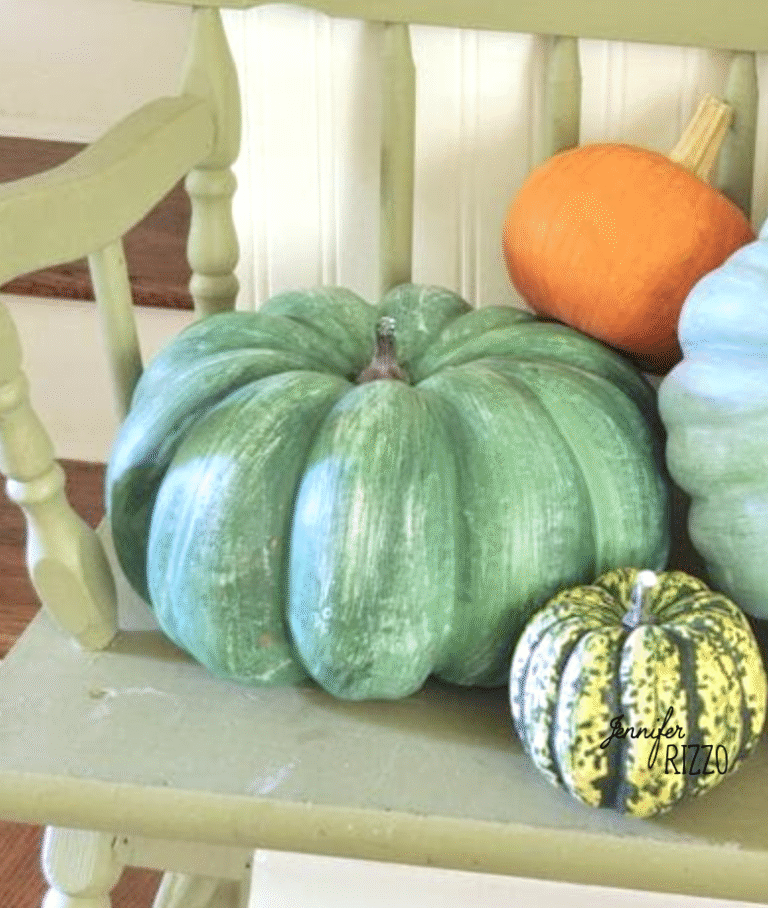

If you are an early fall decorating person, fake pumpkins make decorating for fall so much easier! Not only can you decorate for fall even earlier and use them from year to year, but you don’t have to worry about the local wildlife munching on them. Every time I attempt to put real pumpkins outside, not matter what I treat them with, they don’t last more than a few days without the squirrels helping themselves and chomping away. Sometimes I will mix them in with the fake ones and they last a little longer, but it’s always a gamble. The one thing I don’t love about fake pumpkins besides trying to find the storage for them, is that sometimes, they look fake. While they are getting better, I have found I can paint them to look more realistic and give them more custom colors.

Supplies for Painting Pumpkins
-Fake pumpkins
-Multipurpose paint (colors of choice)
-Brushes
-Drop cloth
-Paper towel
-Outdoor varnish or sealer

Prep the Pumpkins
The pumpkins themselves shouldn’t need much preparation. They take paint pretty well. Just make sure there isn’t any sticky residue from any tags or oil from fingers and they are clean and free of dirt.
Add a Base Coat to the Pumpkins
In the craft paint aisle, I found some great pumpkin-y colors in the multi-surface acrylic paints! The blue-gray pumpkins I primed in an off-white color and then painted a coat of Folk Art’s Greenscape and then a light dry brushing of Sea Mist. These can also be painted fun colors by the kids for Halloween. YIhave found multi-surface paint is the best paint to stick to the pumpkins because regular acrylic paint or tempera paint will just wash off, or chips very easily.

The stems can also be painted with the same techniques. Dark brown, black and green paints can give them a mossy, weathered look.


Paint the Tops and Then the Bottoms of the Pumpkins
It’s helpful to paint the tops, let them dry and then flip them over the paint the bottoms. I also put them up on containers meant for the recycling bin to dry so the bottoms of my painted pumpkins wouldn’t stick unless they were 100% dry. Make sure to clean up any drips right away.

Add a Second Accent Color with Dry Brushing
The green pumpkin was painted with several coats of Folk Art’s Sap Green and then dry brushed with Italian Sage paint. If you aren’t familiar with dry brushing, it means to put paint on your brush and then off-load at lot of the paint onto a paper towel to remove most of it, then brush it over the surface of your dry base coat in one direction. This will give you that streaky, more natural color variation of a real pumpkin. Believe it or not, the worse condition your brush is in, the better it looks, so grab those old mangled brushes and put them to good use!
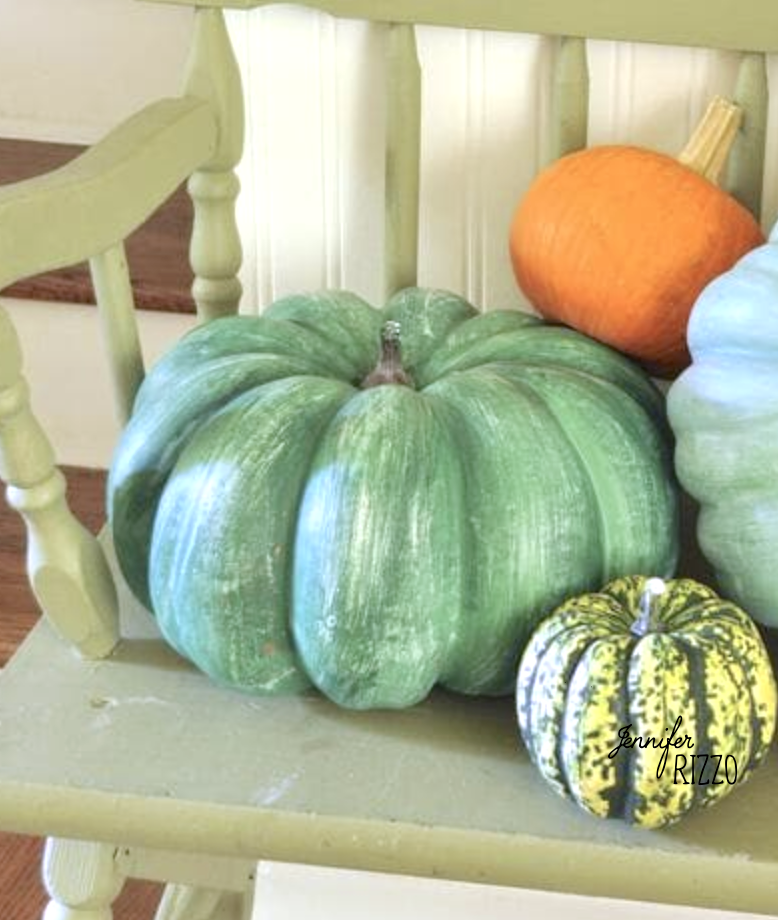
And once the paint was dry, I sprayed them outside in a well-ventilated area with an outdoor matte varnish spray to make them more weather durable.

If you mix them in a display with real pumpkins, no one will ever know the difference and it may even help fool those little snackers! Just make sure you put the right ones away at the end of fall. I made that mistake once and had a not so fun surprise int he attic one year. Luckily, it was a little one!
If you liked this post, try painting your pumpkins to look more like concrete.

You can also paint them with milk paint for an awesome look here like Miss Mustard Seed did!
