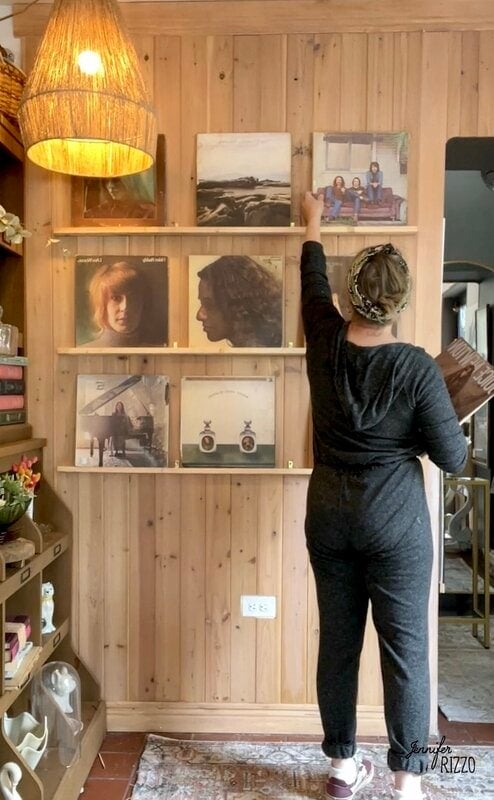
While music streaming is now the gold standard, records have made their own kind of comeback. Streaming is easy, but there is one thing can’t be denied, record albums have a vibe to them and some of them have the most amazing covers and deserve to be displayed as works of art. Whether it’s a special record that means something or just an old favorite, creating a record album art wall for display is an easy way to show them off and change them out easily. I wanted to create a record album cover wall in the store. I love having records play when customers come in, and I think some of their covers are just amazing works of art. It was so easy to put the wall together and was less than $20.
This post contains affiliate links such as Amazon affiliate links. See our sponsor and affiliate disclosure here.
I have a feature wall in the shop in Lisle when you first walk in. My hubby added the wood and it has such a nice, warm feeling to it. I knew it would be the perfect place to display the vintage record album collection and be able to set up the record player.

It was really fun to share with you on an Instagram live how I sorted though all of the albums to decide which ones I wanted on the upcoming wall.

Supplies For How I Made A Record Album Display Wall
For this project I used 3 of 1 x 2 boards pre-cut to length of wall, 2 three packs small 1-to 2 inch L brackets, a level, a stud finder, and a screwdriver or drill.

To create the record display wall, I bought three 48 inch (common) boards 1 x 2’s from Home Depot that were pre-cut. I just made sure to check them for a smoother finish, similar color and pattern and that they were straight. The cost of the wood was about $9.
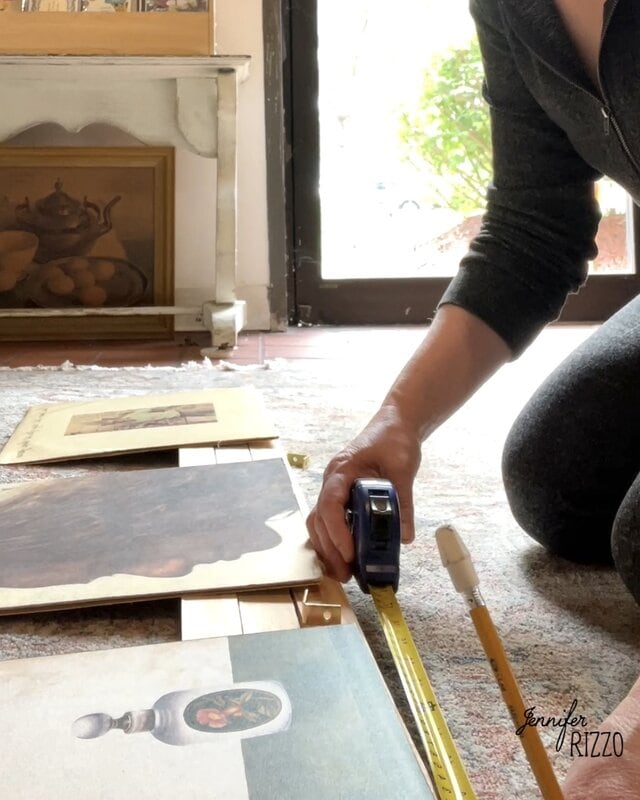
To hang the wood, I then used small 1″brass colored L brackets. These came with the screws and in a 3 pack. I ended up using 6 L brackets in total for about $4 each. After measuring the record spacing out, I screwed the L brackets into. the wood boards first, making sure to line up the back of the bracket with the edge of the board so it would lay flat on the wall when it was screwed in. I also wanted to make sure that the records sat flat on the board when they leaned and didn’t sit unevenly.

Once the L brackets were in place I measured how far apart I wanted my mini-shelves to be from each other. I finally decided on 15 inches from top of bottom shelf to the bottom of the shelf above it. This would give me enough space to set the record albums (which are about 12 inches by 12 inches) and fill the wall well.
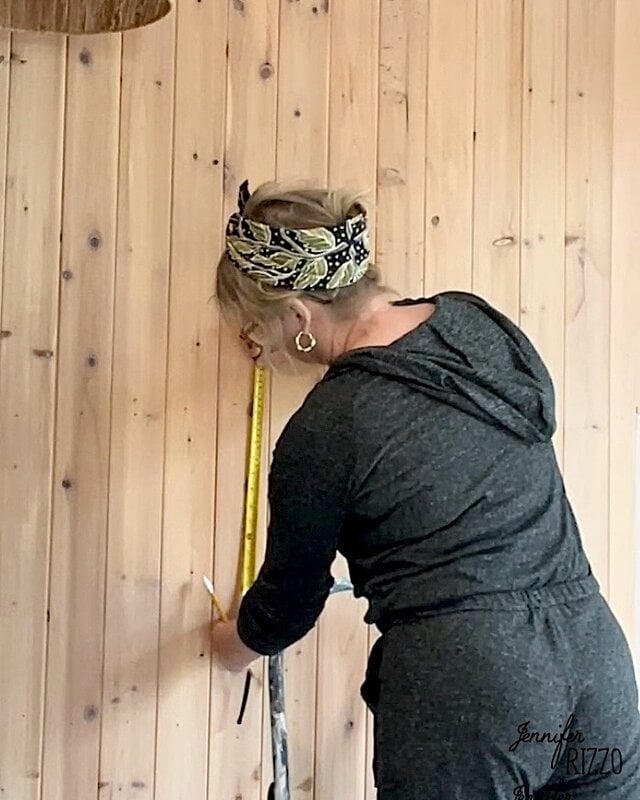
After checking for electric and finding the studs, I measured and screwed in each shelf, using a level to make sure they were straight on the wall.
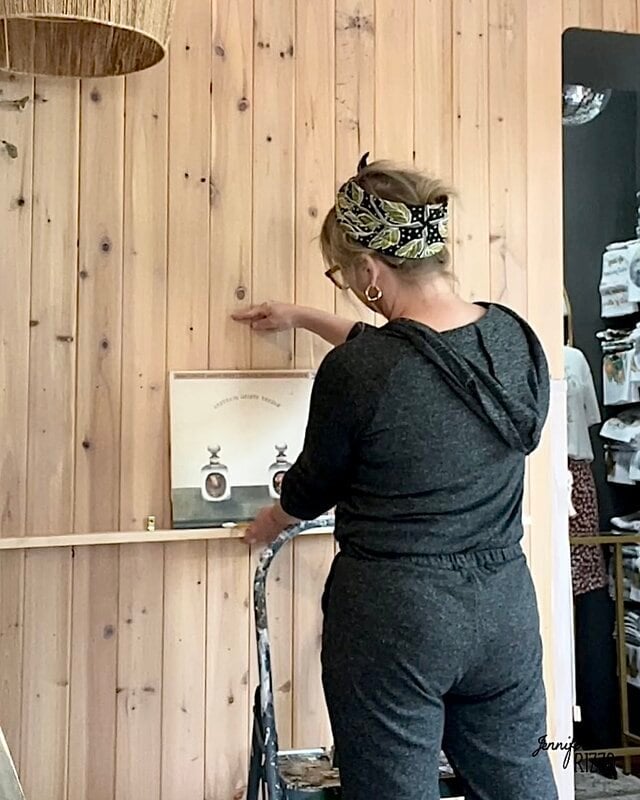
It was easiest to install the bottom shelf of the record album wall first and then the middle shelf next and and top shelf last.
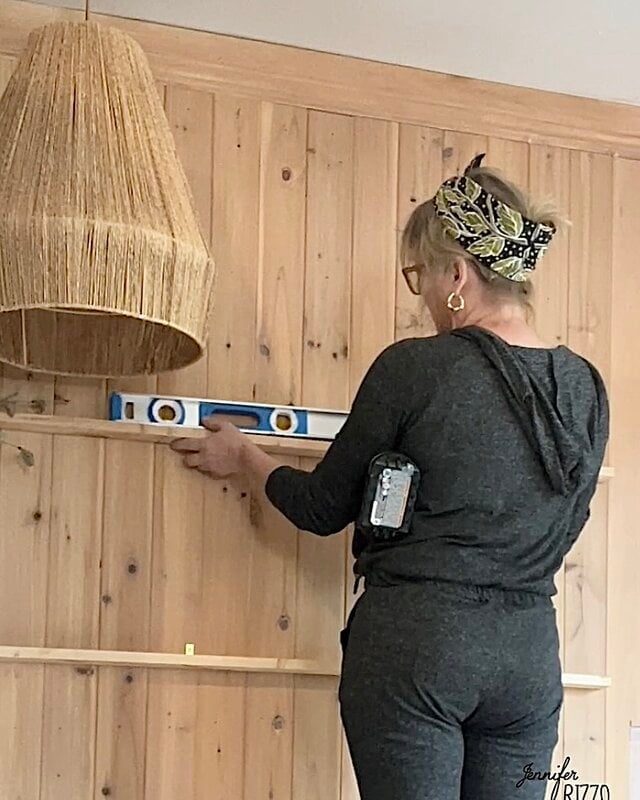
Once my shelves were hung on the wall, it was time to add my albums! I had a lot of fun picking out records that had a cozy fall feel to them and that I loved to play.

I will swap them out seasonally and if I get tired of records, I can always add artwork instead. It really has some fun options to play with. It’s really a fun way to display not only my favorite records, but really enjoy them as art. It creates almost an art with the Record Album Cover Wall.
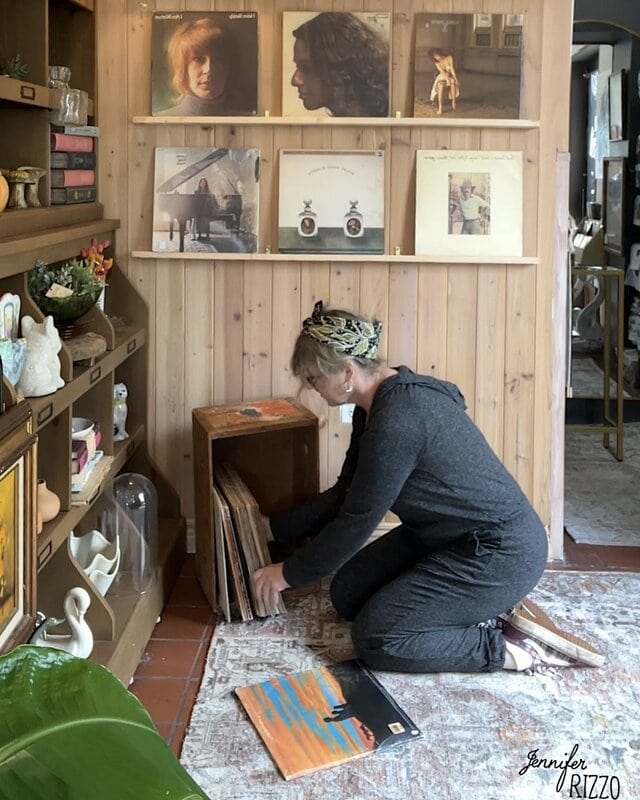
I used a vintage crate to hold my record collection and placed my Crosley record player on top. I adore my collection of old and new records I love having the sound of the records play in the store when customers come in, and they seem to really enjoy it too. You can shop some of my favorite records here.

If you liked this post, check out our create + cozy fall workshops. Or if you want a creative project, see how to make this repurposed flannel shirt into a garland.


