
What would summer be without tomatoes? Besides being one of the favorite foods used in recipes and to grow in the garden (it’s my favorite!) they make a cute subject matter for art and decor as well! This summer strawberries, oranges, and lemons are having a moment and tomatoes are right along with them. We want to show you how to create an easy and cute art canvas using sponge stamps and craft paint to create a cute cherry tomato bunch in acrylic paint that will add a touch of whimsy and nostalgia to your summer decorating. It’s so easy to paint and once you make one you’ll want to paint many, many more in lots of different colors! We hosted this as a drop in workshop in the art studio and it was so much fun! If you missed the drop in, here is how you can paint your own tomato painting in acrylic paint!

This post contains affiliate links. See our sponsor and affiliate disclosure here.
Supplies To Paint a Tomato Canvas:
8×8 canvas board (or larger)
Craft paint in your choice of colors. We used red, green, white, yellow ,sage, beige and pink
3/4 Round, 1/2 square and small star sponge pouncers ( if you can’t find the right shape pouncers you can cut a sponge to shape)
A flat paint brush
Small liner paint brush

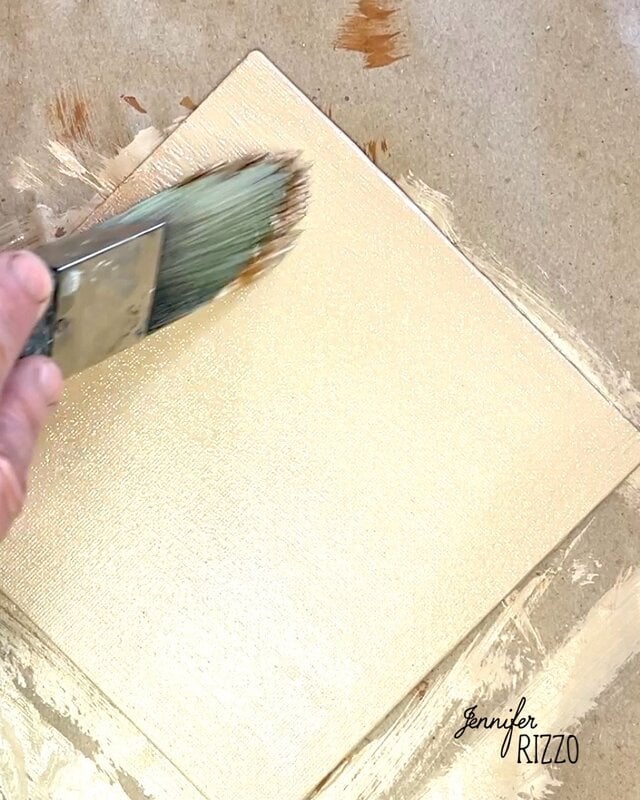
Base Coat the Canvas
Start by base coating the canvas. Depending on the thickness this may need one to two coats of paint (use a color that will be a fun contrast with your rectangles). Let dry. We base coated one canvas in a beige color and the other in a soft yellow.
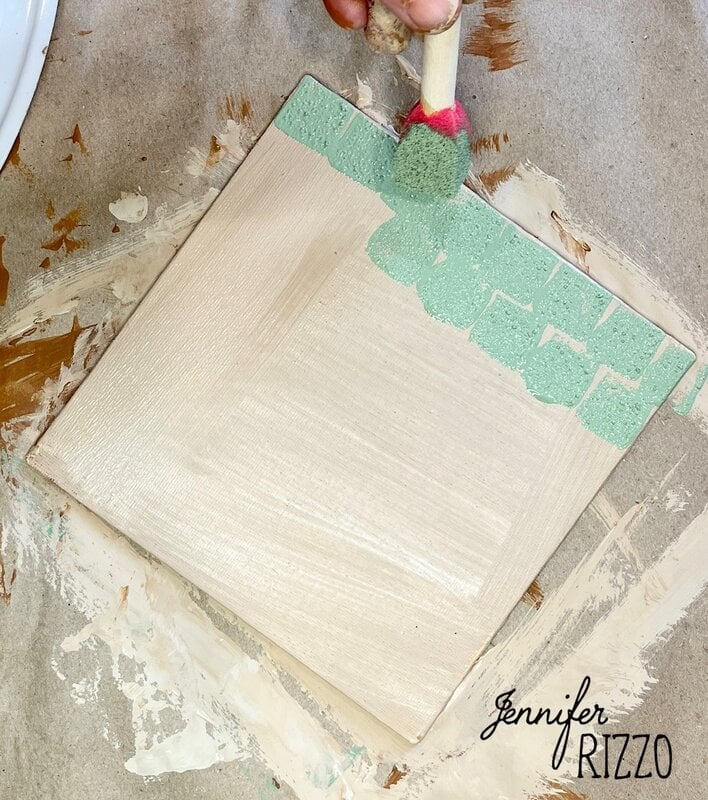
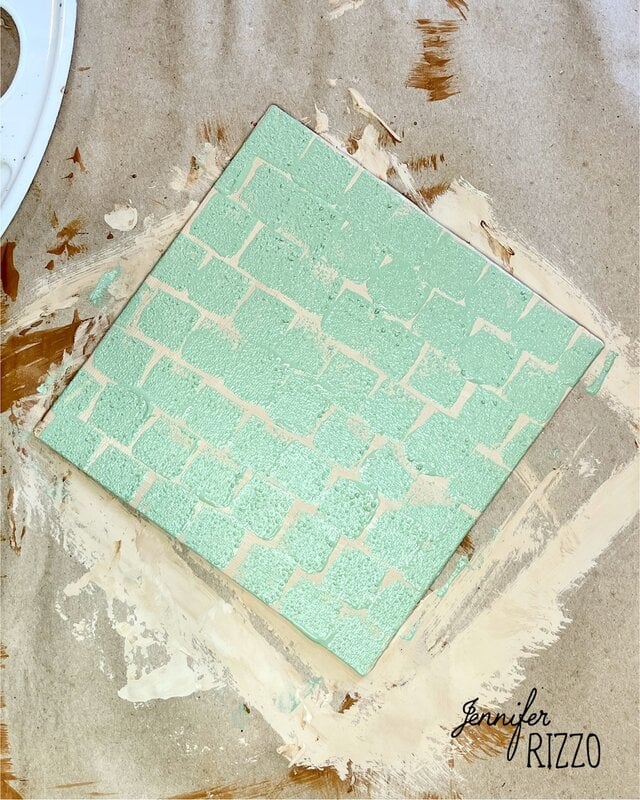
Use The Square Pouncer to Create a Tile Shape
Load the sqaure pouncer with a color of choice. We used sage green paint on one canvas and a fun pink on the other canvas. Off load the paint filled pouncer slightly to remove any lumps and start pouncing the rectangle in a row. It helps to practice on a separate board or canvas to get the right amount of pressure down. We found wiggling the foam a little can change the shape slightly and add more paint if needed. After completing and entire row of painted “tiles” move on to the next row down. At this point you can either line them all up so they are even or you can offset them in a more traditional tile pattern. Complete the entire canvas and let dry.
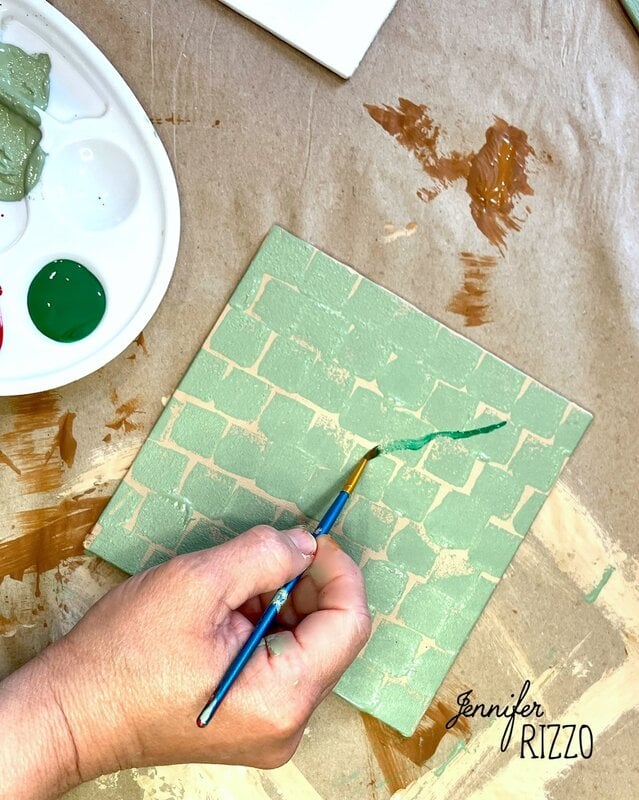
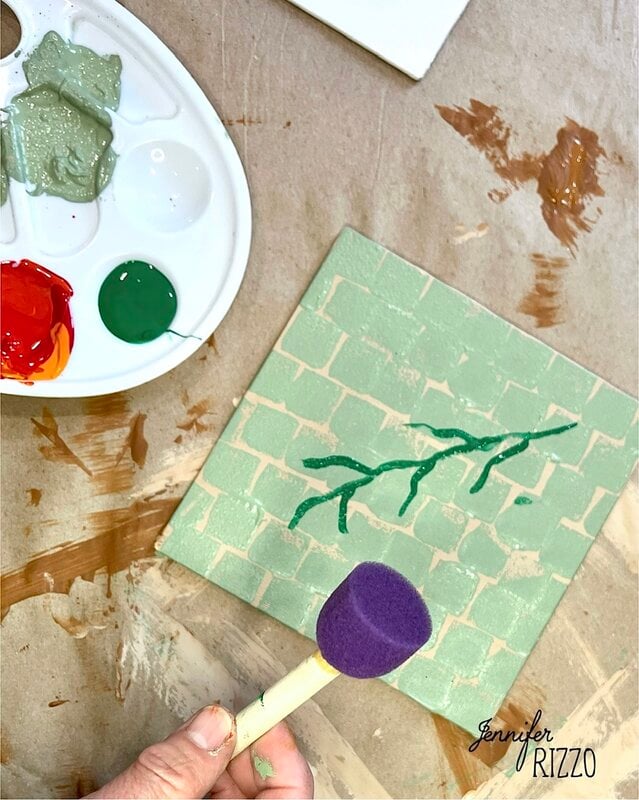
Paint a Green Stem and Mini-Branches
Use the thin brush and green paint to lightly paint a stem and little branches off of the side of it. The best part of it is the more crooked and quirly the stem is the better. Tomatoes plants have very crooked stems. While this step can be done either before or after the tomatoes are painted, it depends on your comfort level. If you feel you need a guideline of the stem for tomato placement, paint the stem and mini-branches in first. Otherwise they can be added in after. Let dry.
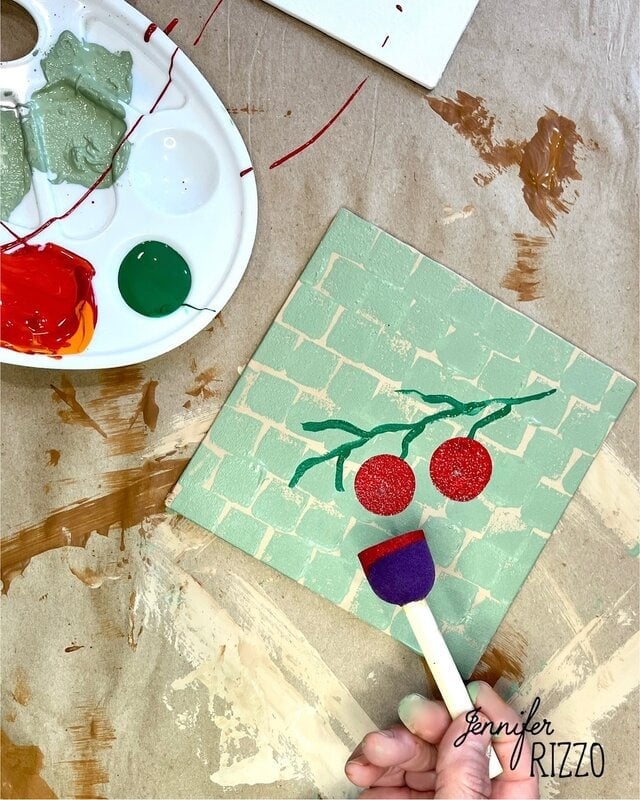
Use a Tomato Colored Red Paint on the Round Pouncer
Load the round pouncer and do a few painted test spots. Pounce circles along the tomato branch. In a regular tomato branch, the fruit is offset and opposite of each other. This may need two coats depending on how much paint transfers from the foam pouncer. Let the paint dry.
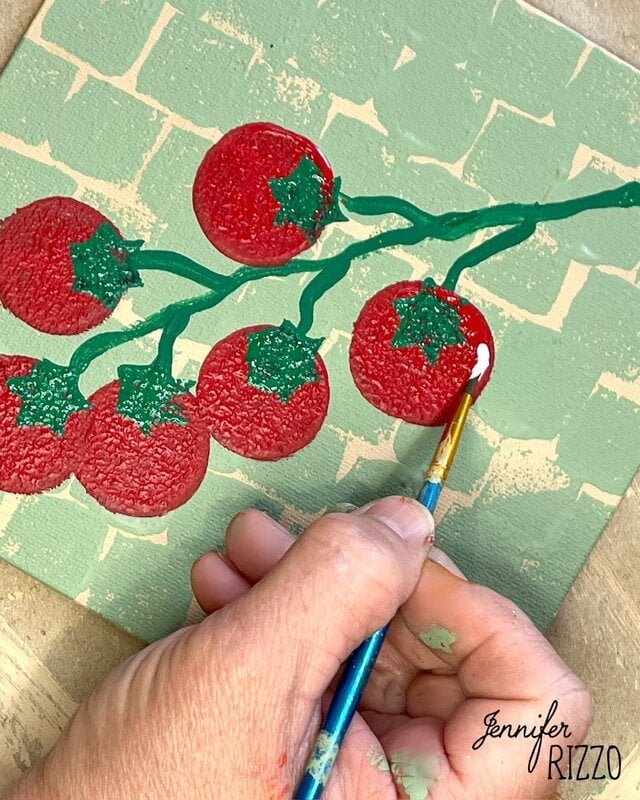
Add the Green Tops
At the top of each tomato is the star-shaped top. This is very easy to use a star shaped pouncer to create this! Simply add it where the stem meets the top of the tomatoes.
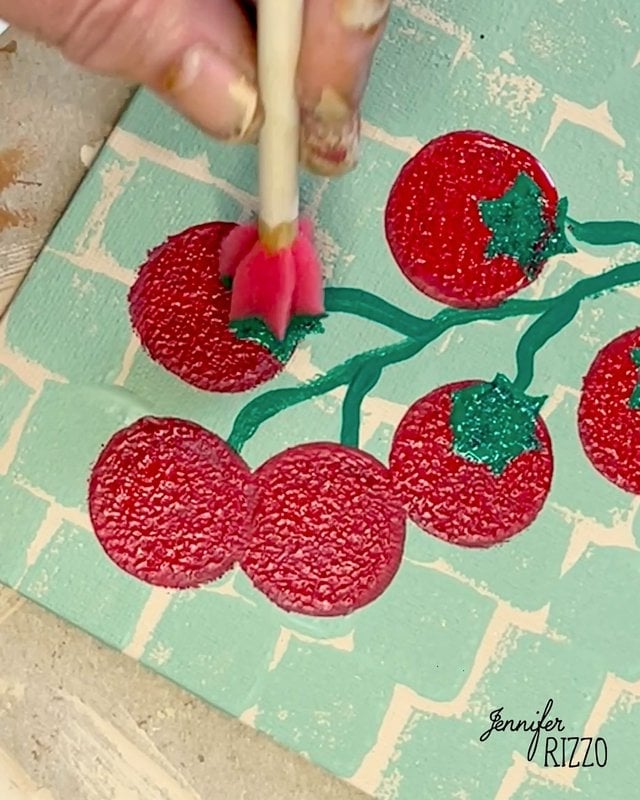
After the tomato tops are added, go back with a thin brush and touch up any tomato branches.
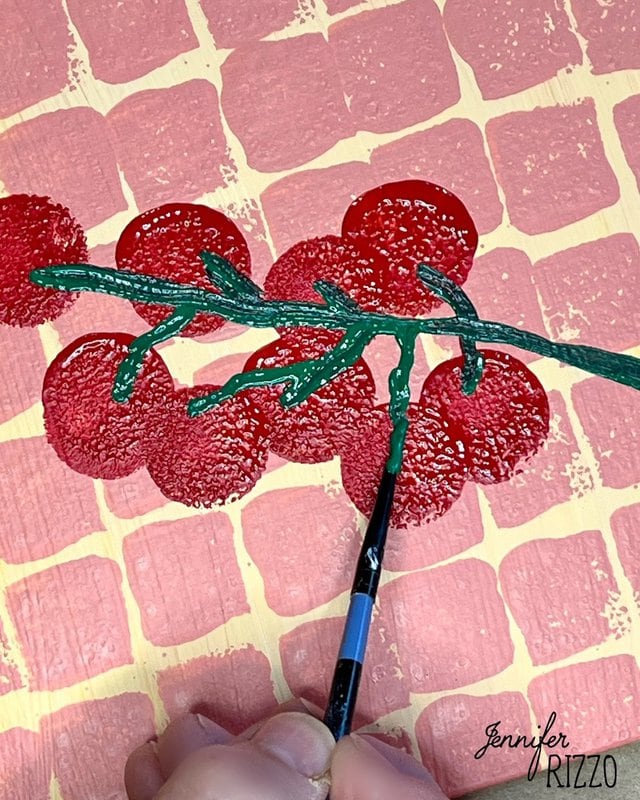
Add a White Painted Highlight
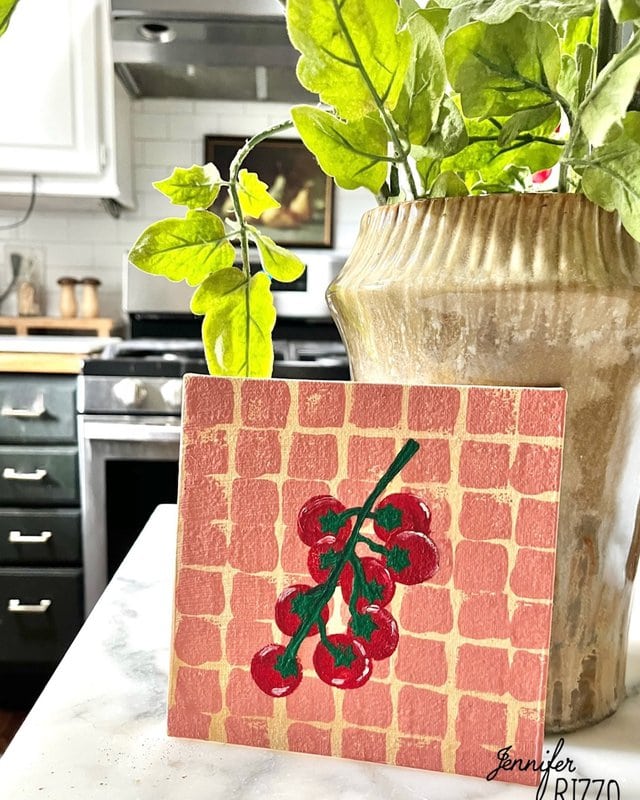
Use the thin brush and some white paint to create a slightly curved highlight at the top of each tomato. This will give them a little bit of depth. Let dry and your painted cherry tomato work of art is ready to display as cute decor! I added mine to my kitchen as a fun pop of color and decor piece for the summer!
It was fun to paint these in two different colorways. I used a slightly smaller round foam stamper for the painting with the pink background. It made it feel more like a cluster of cherry tomatoes. Adding some “underneath” the stem also made it feel a little more realistic. This is a really fun and easy project that doesn’t require any kind of artistic skills at all, just the willingness to Paint a Cute Cherry Tomato Bunch in Acrylic Paint and give it a go!

I love how easy these are to make and there are no art skills required at all, just a few stamps! You could create a smaller version of painted orange branches or any other circle fruit with the same stamps!

And it’s so easy to create it in different colors and designs.

If you liked this post, see how you can make an easy sponge stamped tote bag.

