

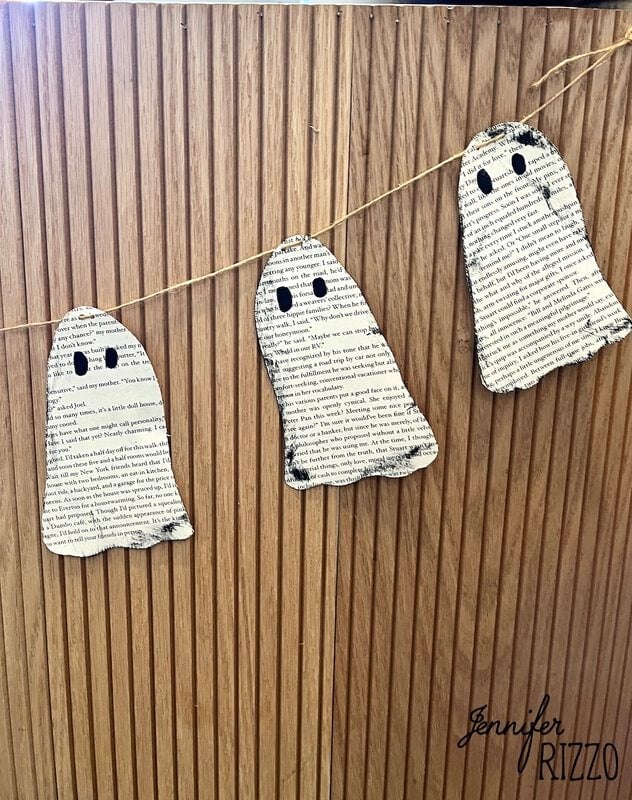
I recently had a tunnel book workshop in the studio and had lots of cut out book pages left over that I needed a project for. Making a cute ghost garland from the old book pages seemed like the perfect way to create some really cute Halloween decor and use the pages. It was so easy to put together and even the kids will love making this simple project.
I know many people hate the idea of cutting a part an old book. When I create book projects, I either use hardcovers that aren’t that old, or I’ll use books from the dollar store that are mass produced. That way I don’t have to feel guilty about cutting a part a book that might have some value to it.
Supplies to create a book page ghost garland
For this project, you’ll need:
Loose book pages
Scissors
Black Marker
Hole punch
Ghost template
Twine or ribbon to hang banner
Brown stamp ink pad
Matte Clear tape(if needed)
Trace Ghost Outline
Start by tracing out the ghostly silhouette onto the book pages with the black marker. These can all be the same size or they can be varied. The template is at the end of the post.
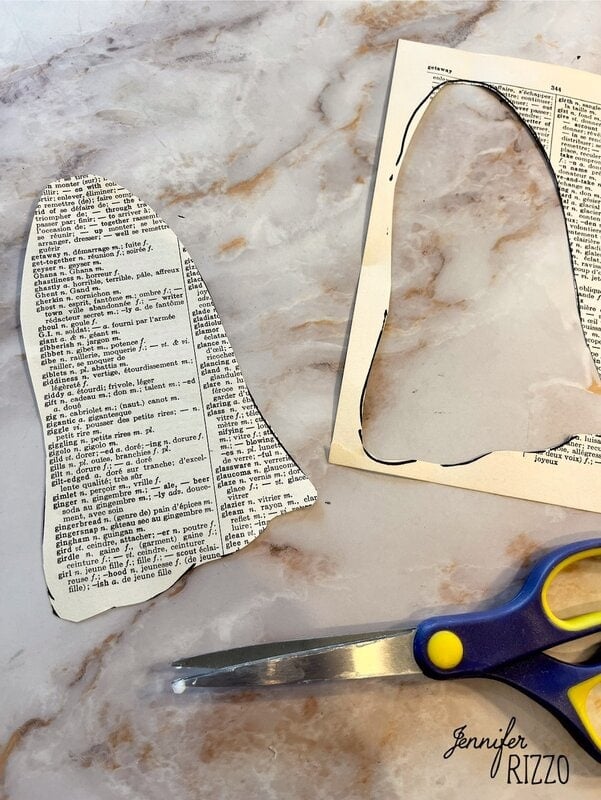
Cut out Ghosts
Cut the ghosts out following the outlines. It’s OK if they don’t follow the outline perfectly. The amount of ghosts to cut out depends on how long the garland will be. We cut out about 10 to go across the length of the shop desk.

Add Ghost Eyes and Aging

Use the black marker to draw on two eyes. You can see this article for a guide on different styles of eyes to draw. Now is a good time to use the brown/black stamp pad to add a little aging to the edge of the ghosts by rubbing the paper on the stamp pad.

Punch Holes in the Top of the Ghost Cut Outs
Once the eyes (or face) are drawn onto the ghost, use the hole punch to punch two holes next to each other in the top. Make sure to leave enough paper on the top so the paper doesn’t rip.

If it seems flimsy or if you would like extra reinforcement, add a piece of clear tape to the front and back and punch through that.

Add Twine to the Ghosts

String the twine or ribbon though the punched holes, coming in from the back side of the ghost and exiting the second hole. If it’s difficult to place through the hole, try adding a piece of tape around the tip of the twine to create a pointed end to push through.

Once the ghosts are all hung on the twine, it’s ready to hang! This is such a cute and inexpensive bit of Halloween decor! Make sure to keep it out of reach of kids, pets and open flame.

Just grab this ghost template below to start creating!

