
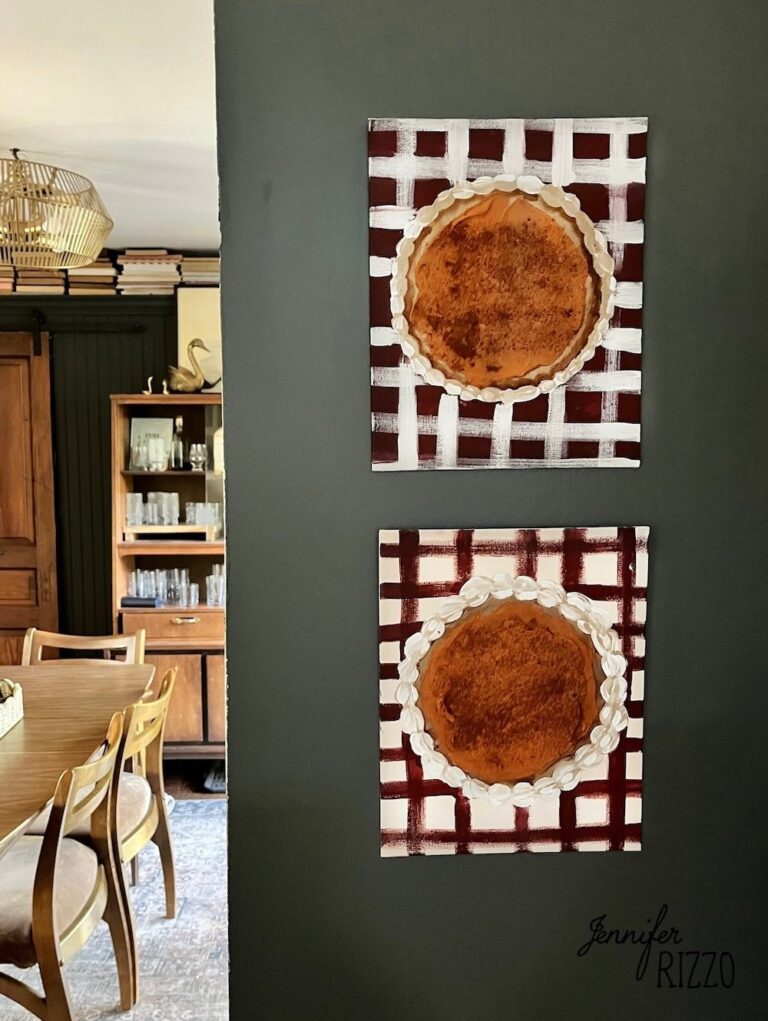
Who doesn’t love really cute wall art? I know I do! Once Halloween is over, everyone seems to jump right on Christmas and forget all about Fall and Thanksgiving. What if you could make really cute kitchen wall art for your Thanksgiving gathering? I gotcha! These pumpkin pie wall art canvases are textured and have 3-D element that are fun to make and hang. They are even finished off with a sprinkle of real cinnamon! The tutorial below for painting your pumpkin pie wall art will lead you through step by step! In this tutorial you are going to see me add the background afterwards in the example, but I recommend you paint it at the beginning and then draw the pie over the top.

This post contains affiliate links. See our sponsor and affiliate disclosure here.
Supplies to Create Your Own Pumpkin Pie Wall Art:
Find all of the supplies here on Amazon
–Love Frosting Dimensional Paint
–Acrylic Craft Paint. For these canvases I used DecoArt’s Americana Acrylics in Spiced Pumpkin, Titanium White, Fawn, Chocolate Brown, Heritage Brick, Oyster Beige
–Canvas Board (11 x 14 or 8 x 10)
–Paint Brushes
–Cinnamon (the ground spice)
–Saw Tooth Hangers
–Angled Palette Knife
–Low Temp Hot Glue Gun
–White craft glue
–Flat brush and angled paint brush
Base Coat The Canvases and Paint the Background
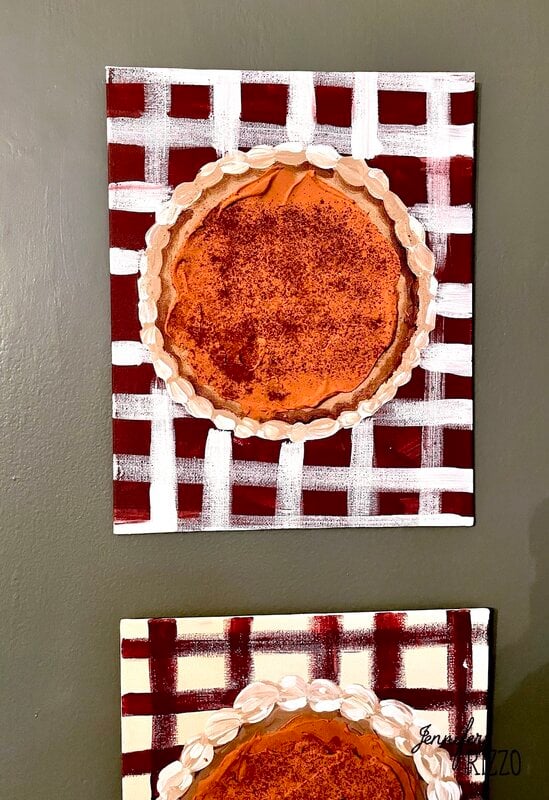
I wanted to paint two canvases with opposite plaid-style backgrounds, so I base coated one canvas board in Oyster beige paint and the other in Heritage brick. I made a mistake not painting the backgrounds first.

Once the canvases are base coated, use a flat paint brush and the oppose colors to paint stripes first horizontal then vertical to create a grid pattern as if it were a table cloth.
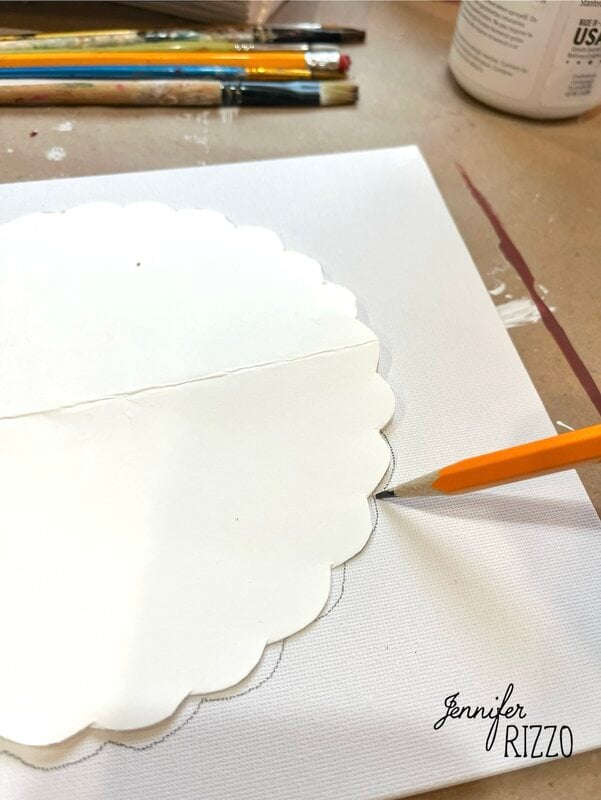
Outline and Fill in the Pie Shape
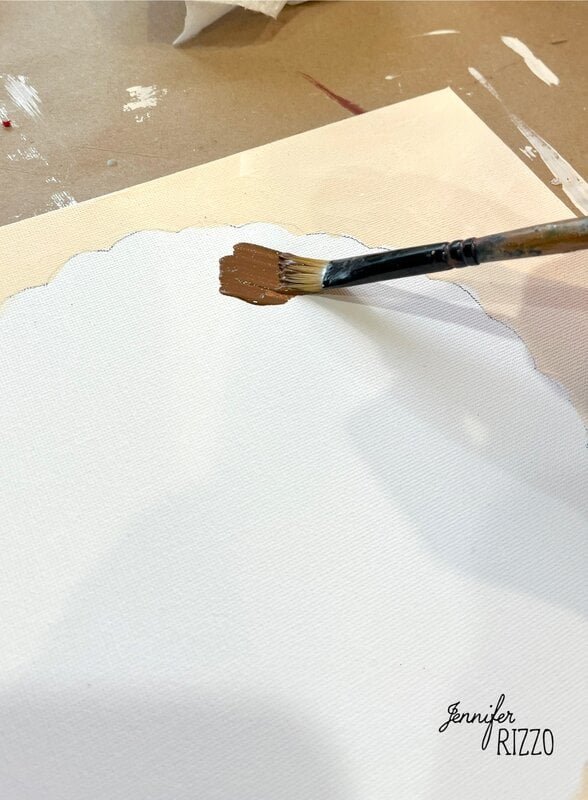
Use the template below to trace in the scalloped edged pie shape, then paint the entire inside of the shape in brown craft paint. This is undercoating your image, let dry.
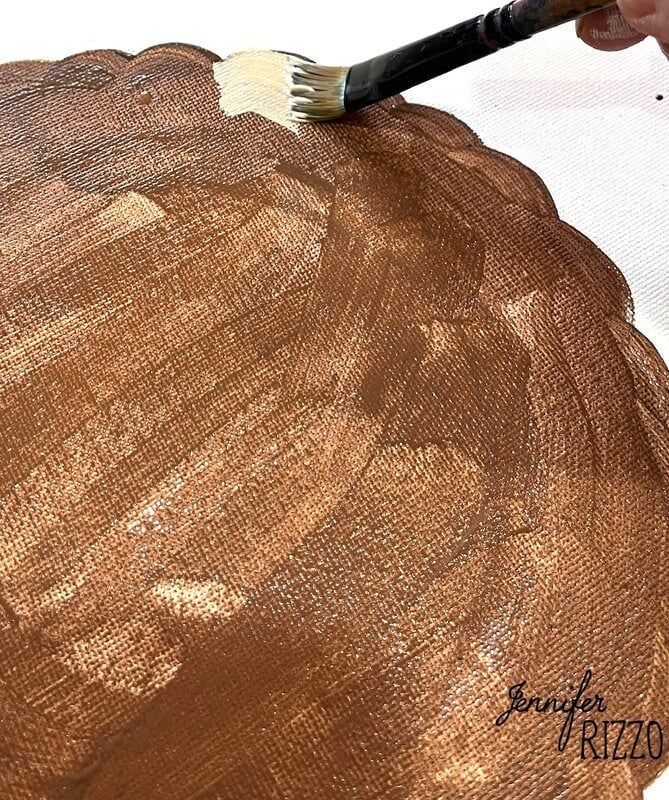
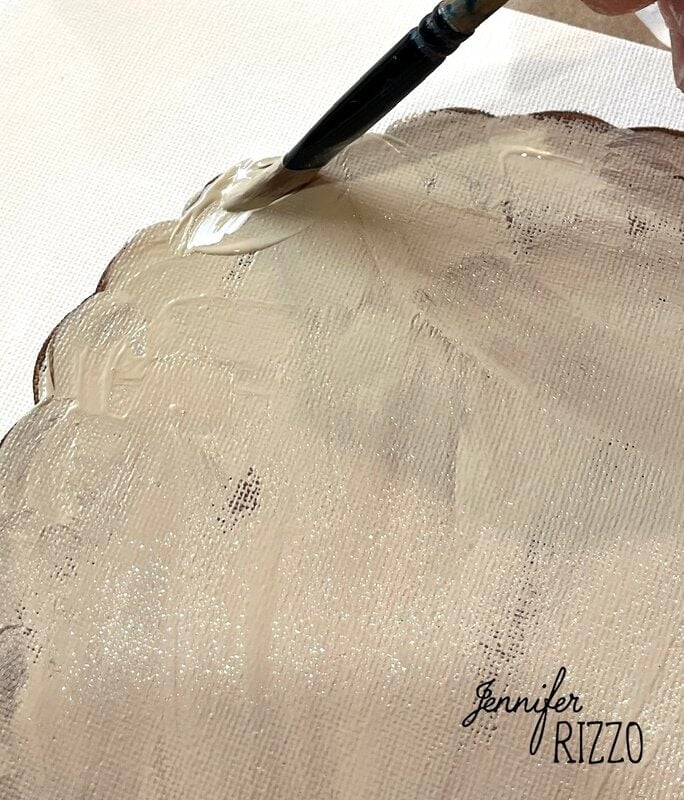
Paint in the Pie Shape
Once the brown paint is dry, use a brush to paint in the pie with Fawn acrylic paint. It’s ok to paint it in leaving bits of brown showing. This helps to give it texture.
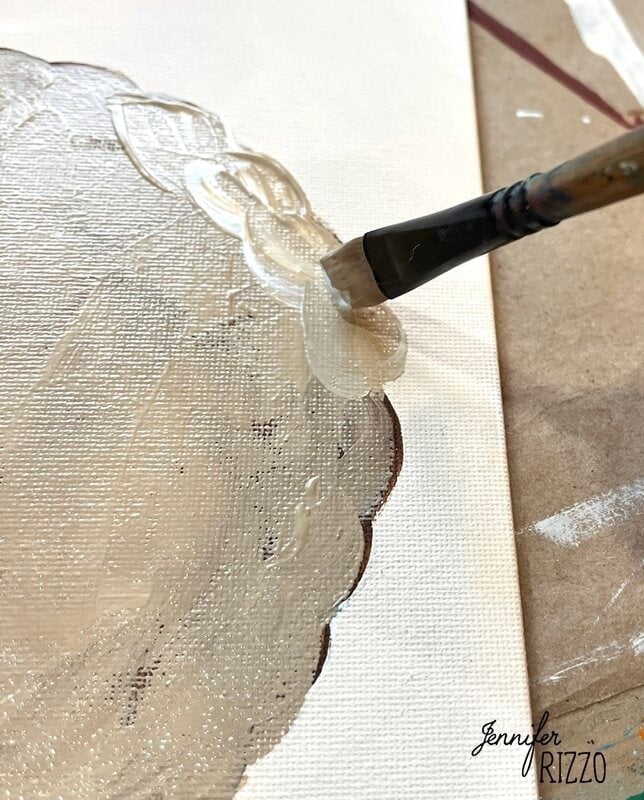
Paint in the Pie Crust Edge
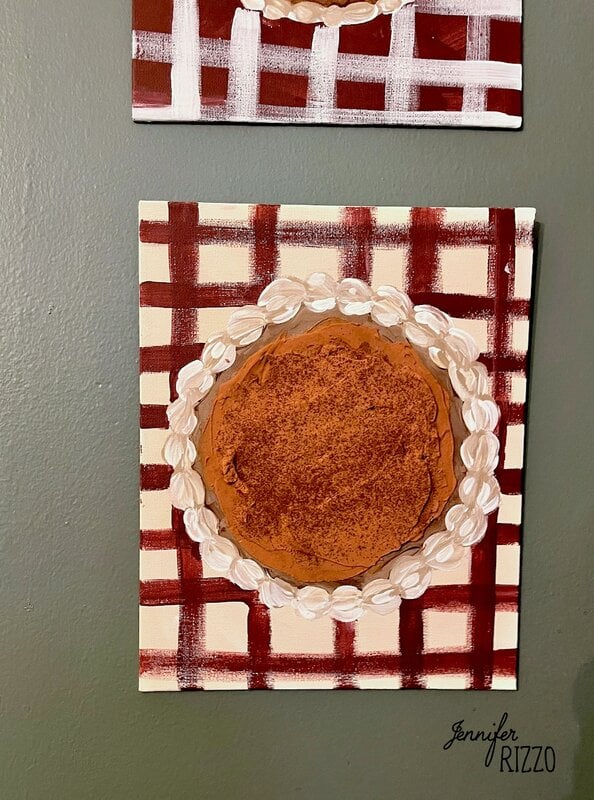
Place Titanium White and Fawn next to each other on a paint palette. Dip one side of your flat brush in Fawn and the other in Titanium White. With the brush on its side, Paint a half circle at the top of one of the fluted bumps and then another the opposite direction underneath it. Reload the brush with paint and continue around the edge.
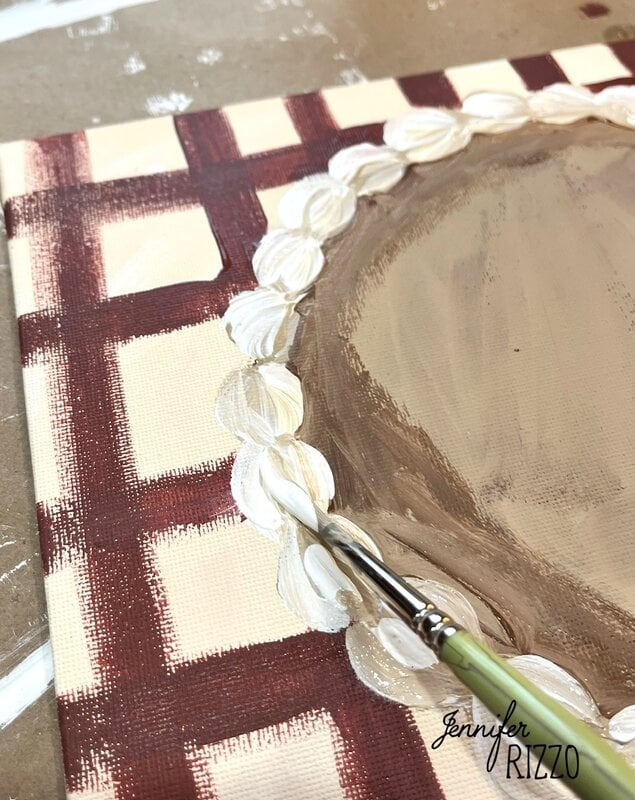
Add a Shadow to the Pie Crust
Once the edge of the pie crust is painting, use the brown paint and an angled brush to create some shading, following the scalloped edge. Paint around the entire edge underneath and let dry.

Add additional white highlights on the painted pie crust edge if desired.
Mix the “Pie Filling”
Now comes the fun part! Mix 1/2 a can of Love Frosting dimensional paint with 1/2 a bottle of orange Pumpkin Spice acrylic paint and mix. Add more paint if needed for a deeper hue. If a darker color is desired add a small amount of Heritage Brick. Add this in very small drops, mixing as it’s added to get an accurate color. Once it’s mixed it’s ready to paint with (It looks like pie filling but of course is paint and is not edible, so make sure to keep it away from kiddos or pets and discard extra.)!
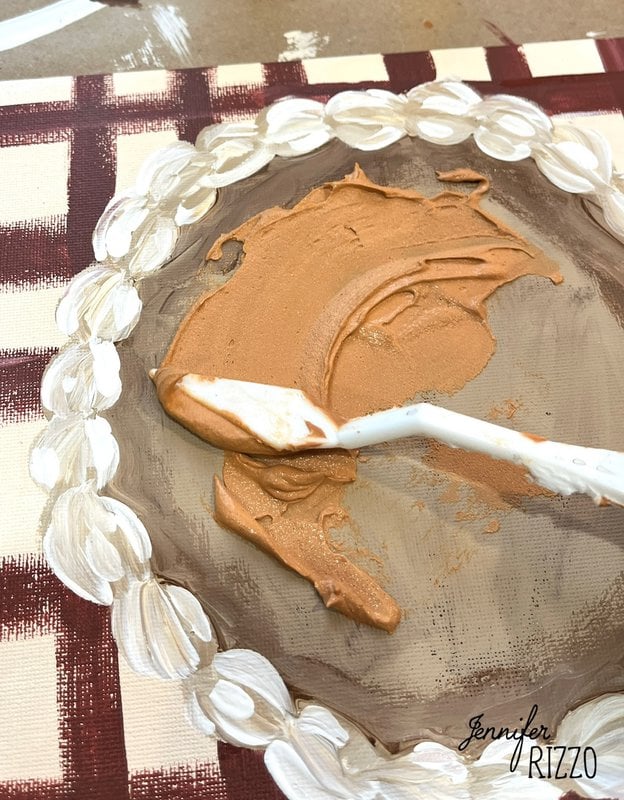
Paint on the Pie Filling
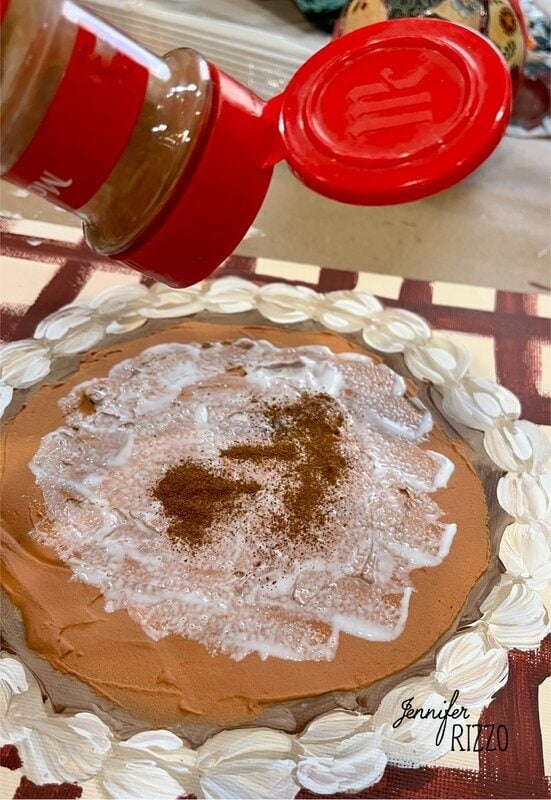
Scoop up a glob of the Love Frosting that is now tinted a light orange and spread it onto the part of the pie where the filling would go. Add it to the center circle and smooth. Once its all smoothed into place, let dry. Paint white craft glue over the pie top and lightly sprinkle cinnamon on top for a pumpkin pie look. You can pipe Love Frosting on with a frosting piping bag if you like as well to give it even more dimension.

Once it’s dry shake off any excess cinnamon over the garbage can.
Let Dry and Add a Hanging Element to Your Painted Pumpkin Pie Wall Art
Let dry flat for at least 24 hours. Once dry, flip over and glue saw tooth hangers with hot glue onto the top back of the canvas in the center or place in a cute frame or on a stand on the countertop. Your Custom pumpkin pie wall art is now ready to hang for Thanksgiving!
Grab the scalloped edge pie template here. It’s made to print out full page on a piece of printer paper and painted onto an 11 x 14 canvas board. Print at full size and borderless on the printer and cut out.

