

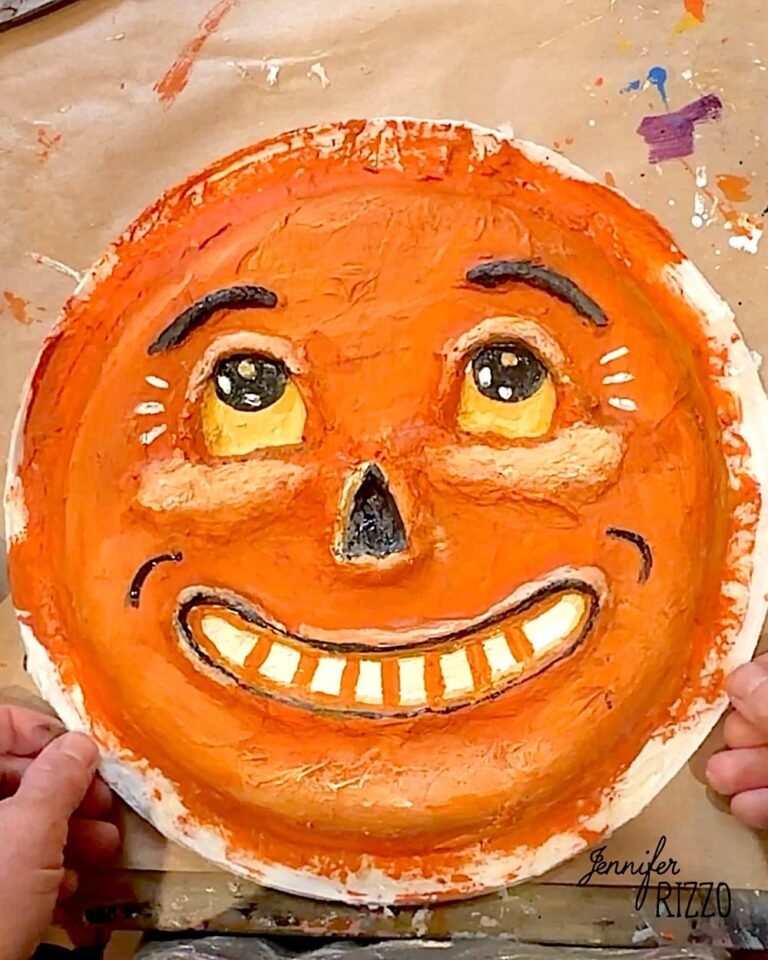

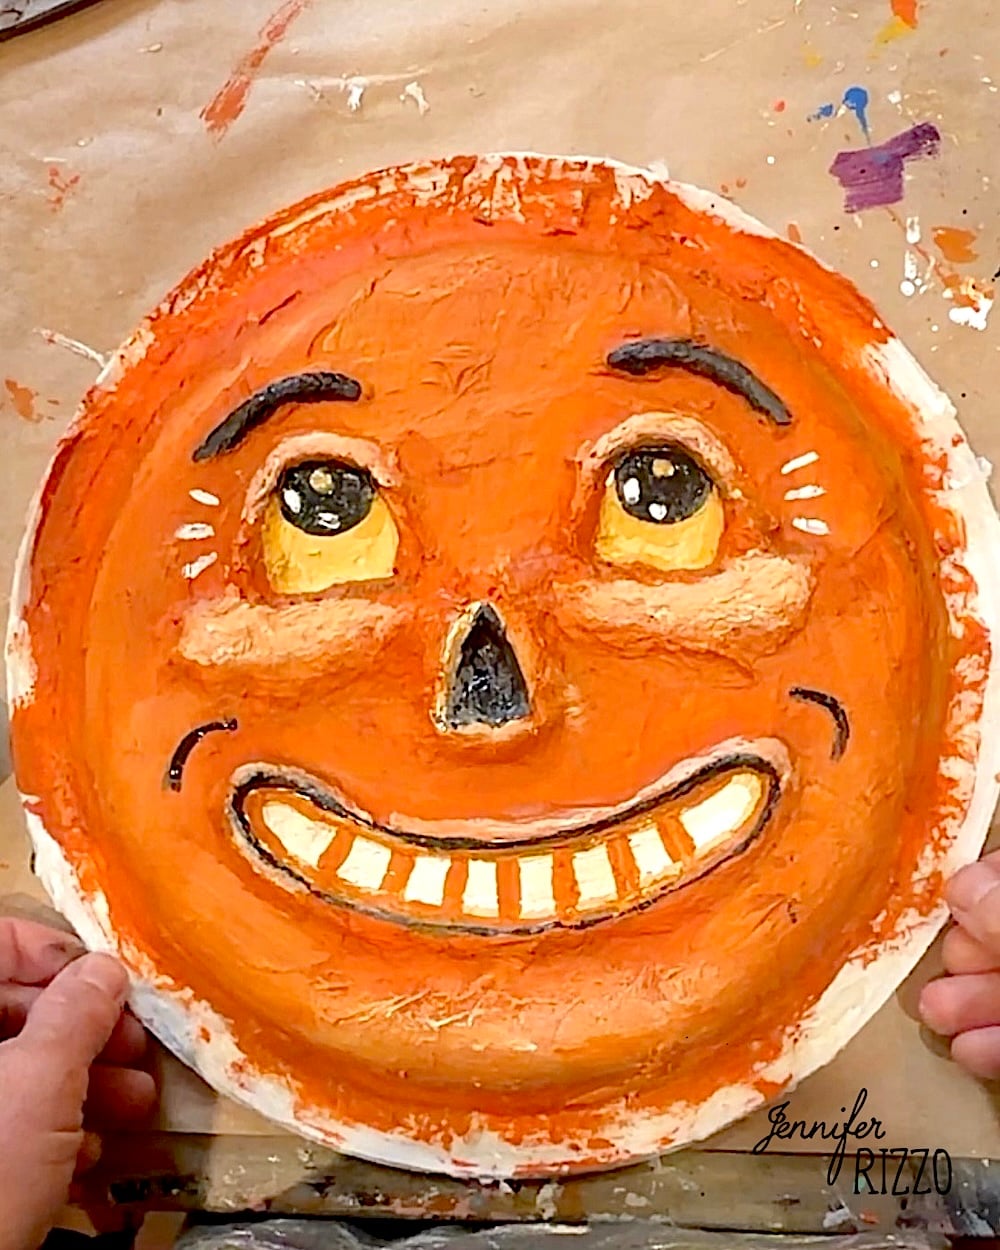
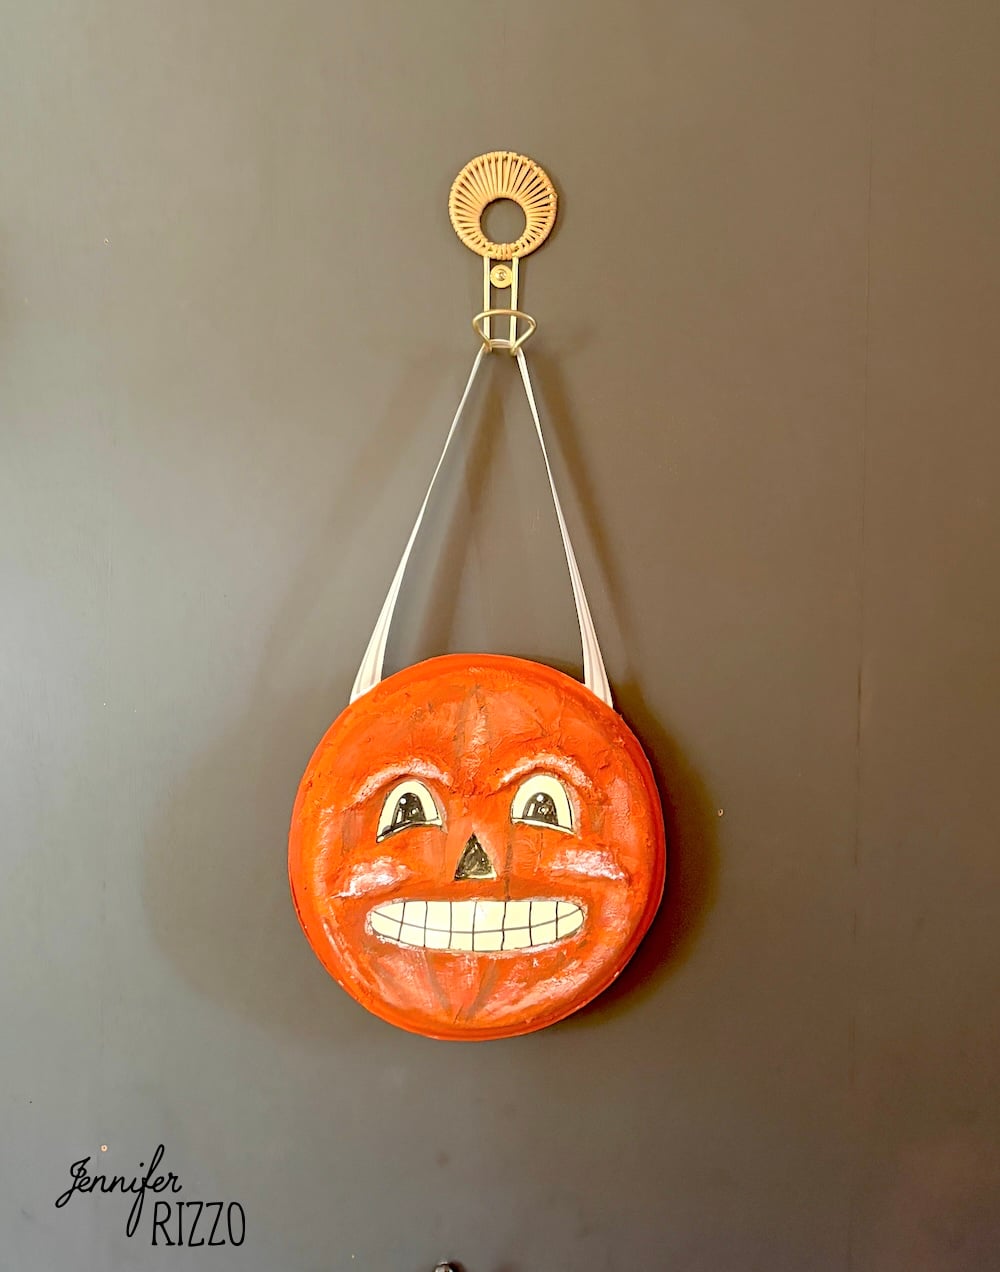
Do you love a vintage-style paper mache pumpkins? There is something so nostalgic about Halloween paper mache pumpkins from the 30’s and 40’s with their cartoony, yet spooky faces. I love the growing trend of creating your own from either using regular trick or treat pumpkins as a base, balloon or even paper bags. Instead of traditional flour paper-mache or strips of newspaper, this project uses toilet paper paper-mache which is easy to mix and dries pretty hard and can be a fun family activity with supervision. I wanted to create the look of these with simple materials and something fun! By using paper dinner plates as a base, you can create a fun vintage-style jack-o-lantern face that can be used as wall decor or a fun door hanger. You can even add battery operated twinkle lights.
Supplies to Create a Halloween Paper Mache Pumpkin Face
-Heavy paper dinner plates
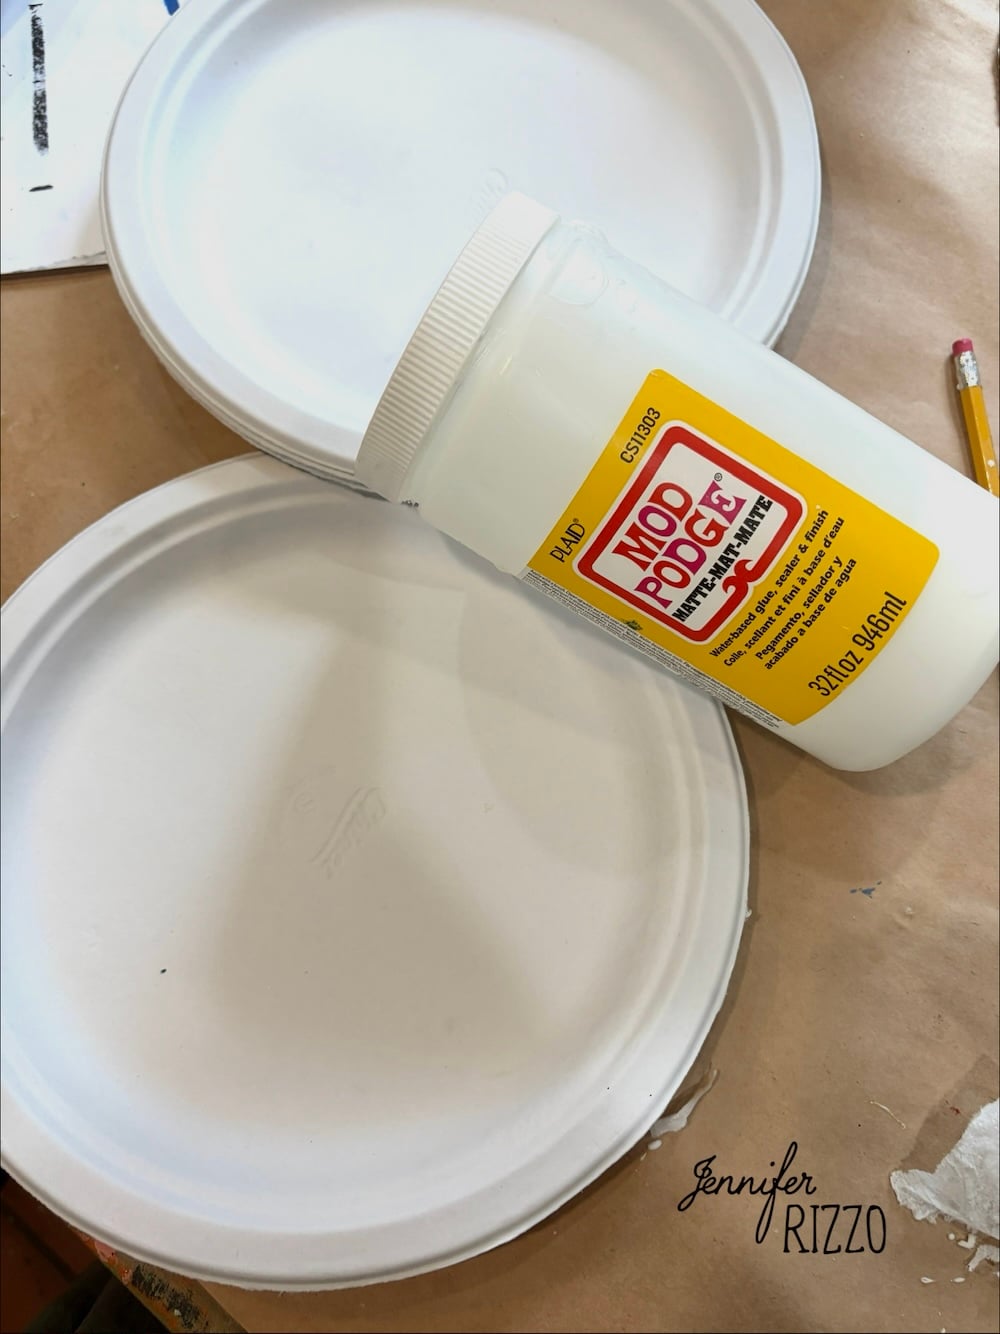
-Decoupage medium
-1 ply toilet paper
-White craft glue
-Acrylic craft paint in orange, light yellow, pink, brown paint white and black paint
-Paintbrush
-Table covering
-Vellum paper
-Black permanent marker
-Ribbon / twine
-Twinkle lights
-Scissors/craft knife
-Gloves (if needed)
-Bowl and water
-Hot glue
Mix the Paper-Mache Material
In a craft bowl, mix a handful of toilet paper with a small amount of water just to dampen it. Add in enough deoucpage medium until it develops a clay like texture and mix it around with your hands until all of the toilet paper breaks down into a pulp. This is where gloves come in if you don’t want the feel of the decoupage medium and paper-mache on your hands. I love working with decoupage medium but I do find that it doesn’t always wash off, and I end up picking it off even a few days later.
Sculpt the Face
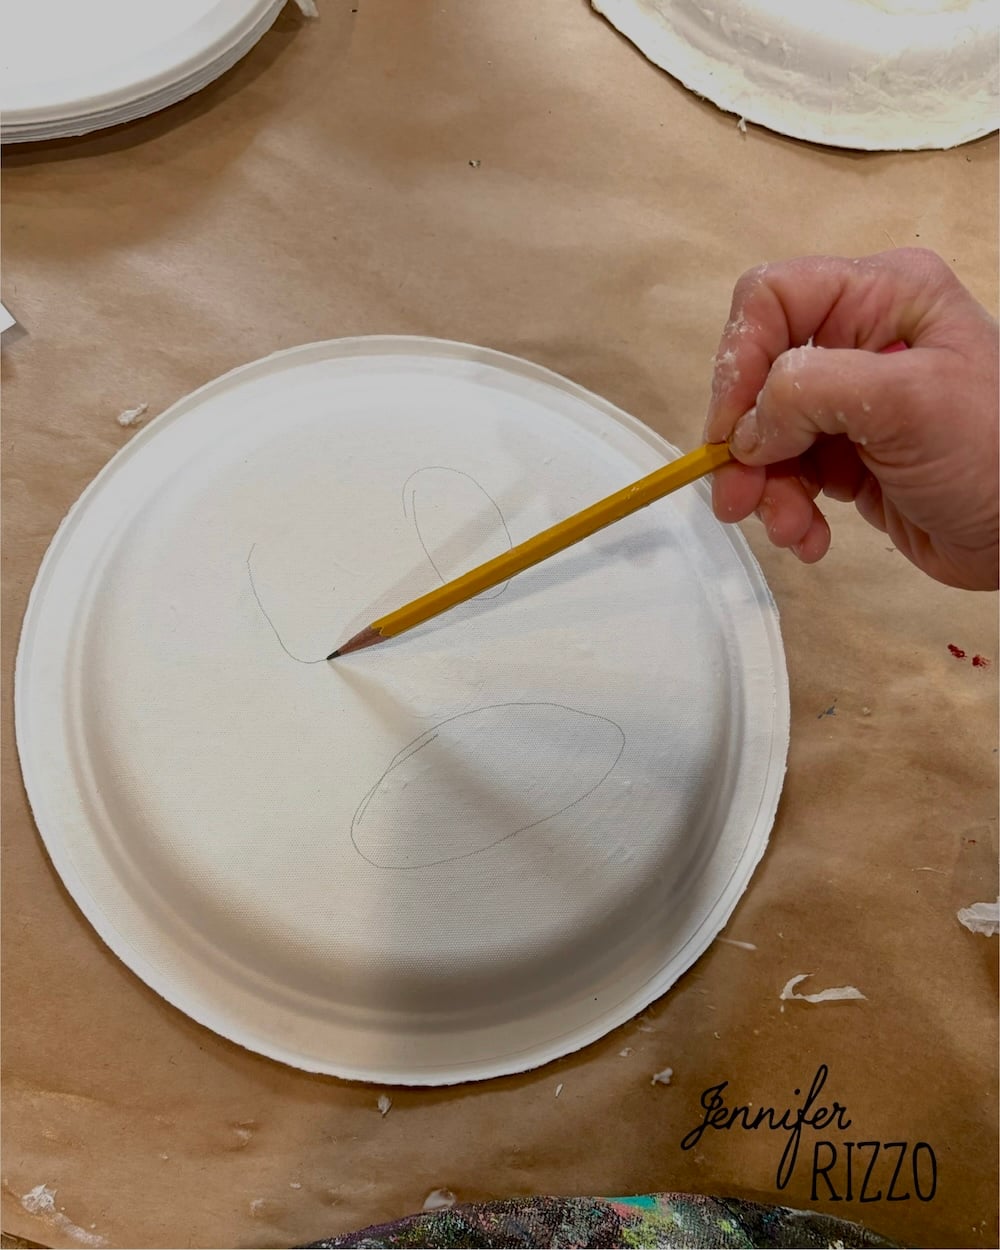
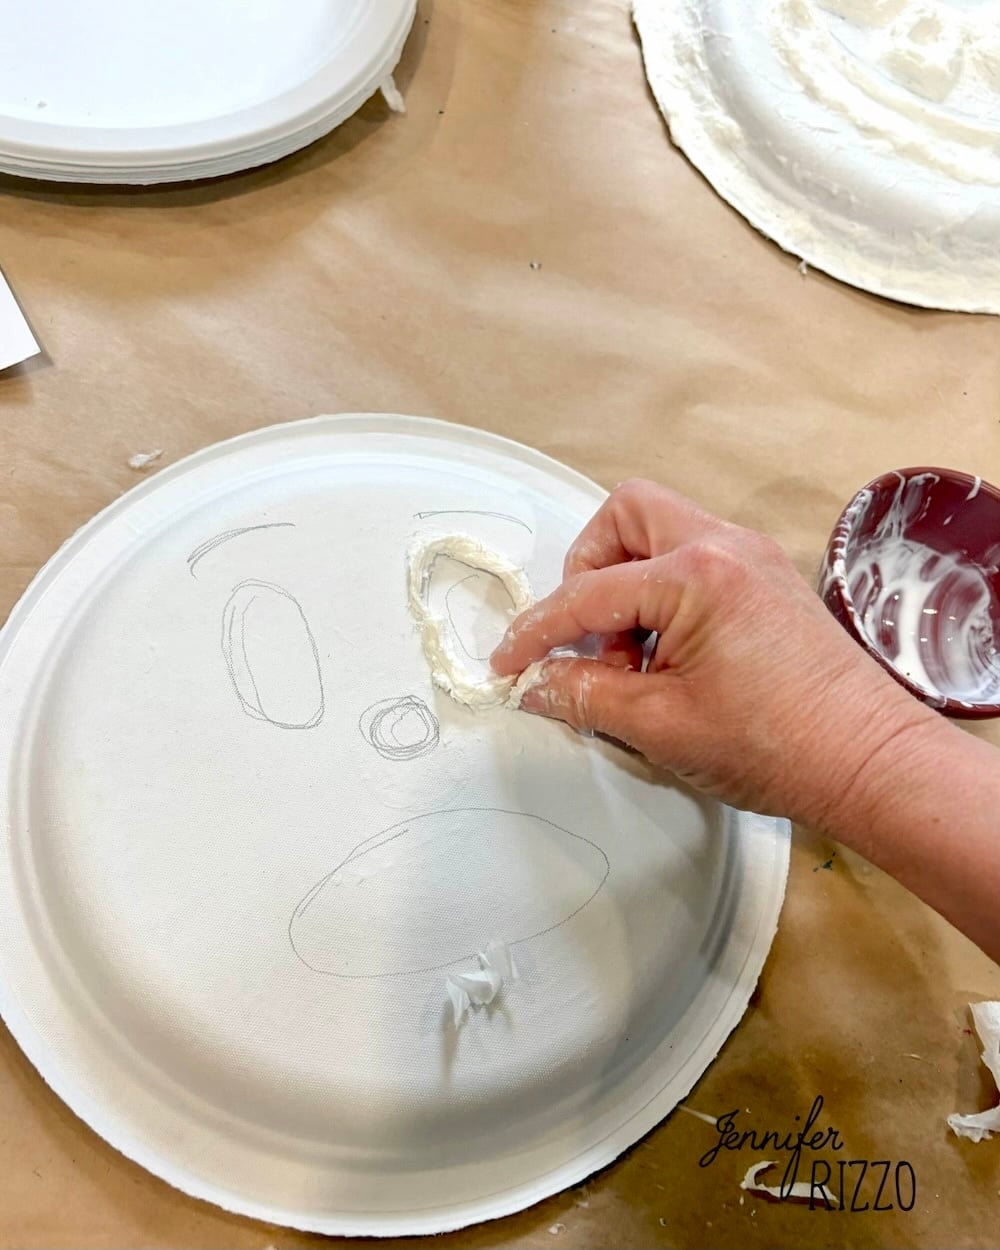
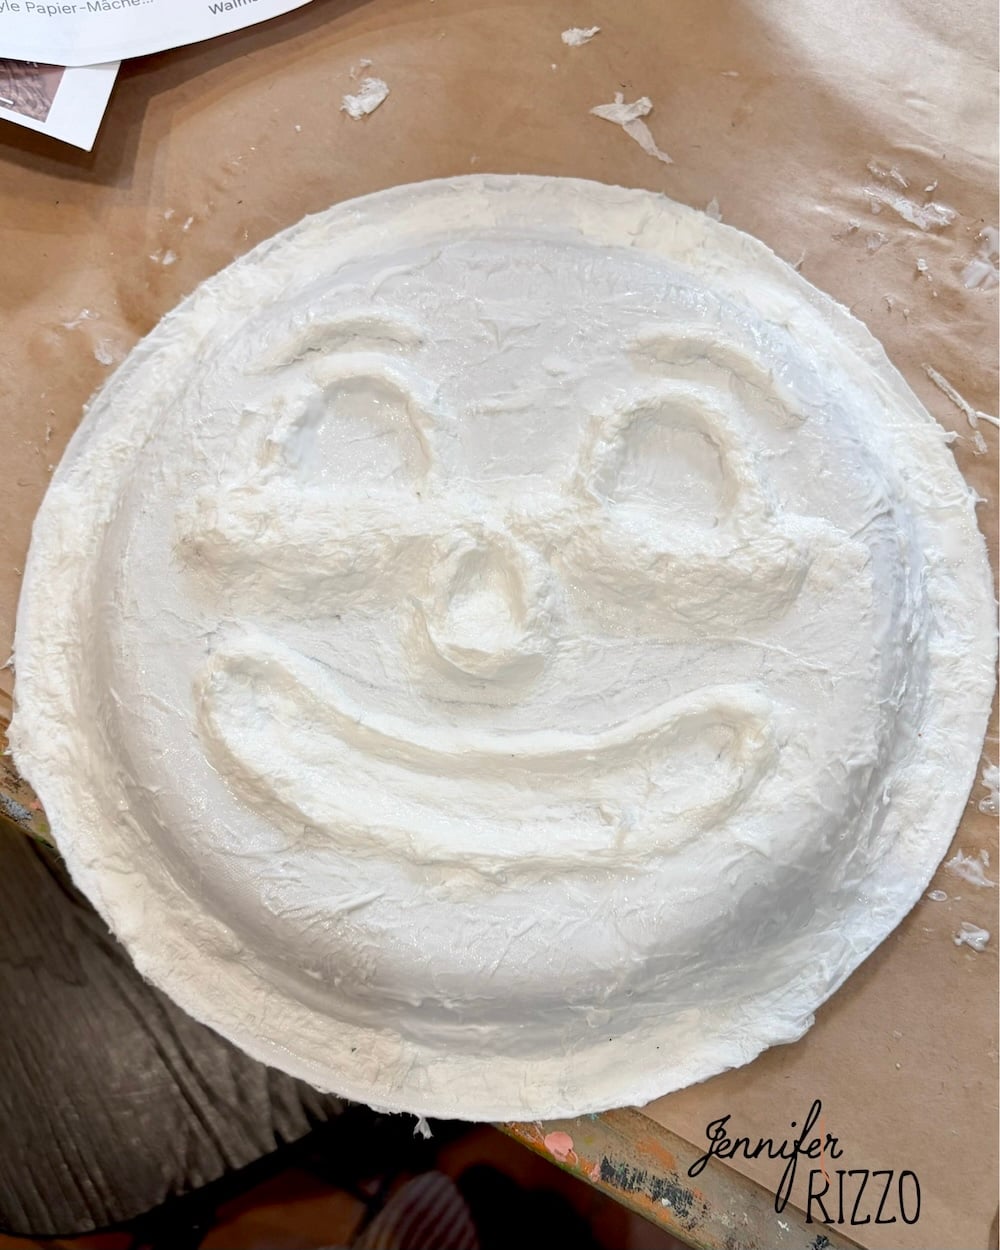
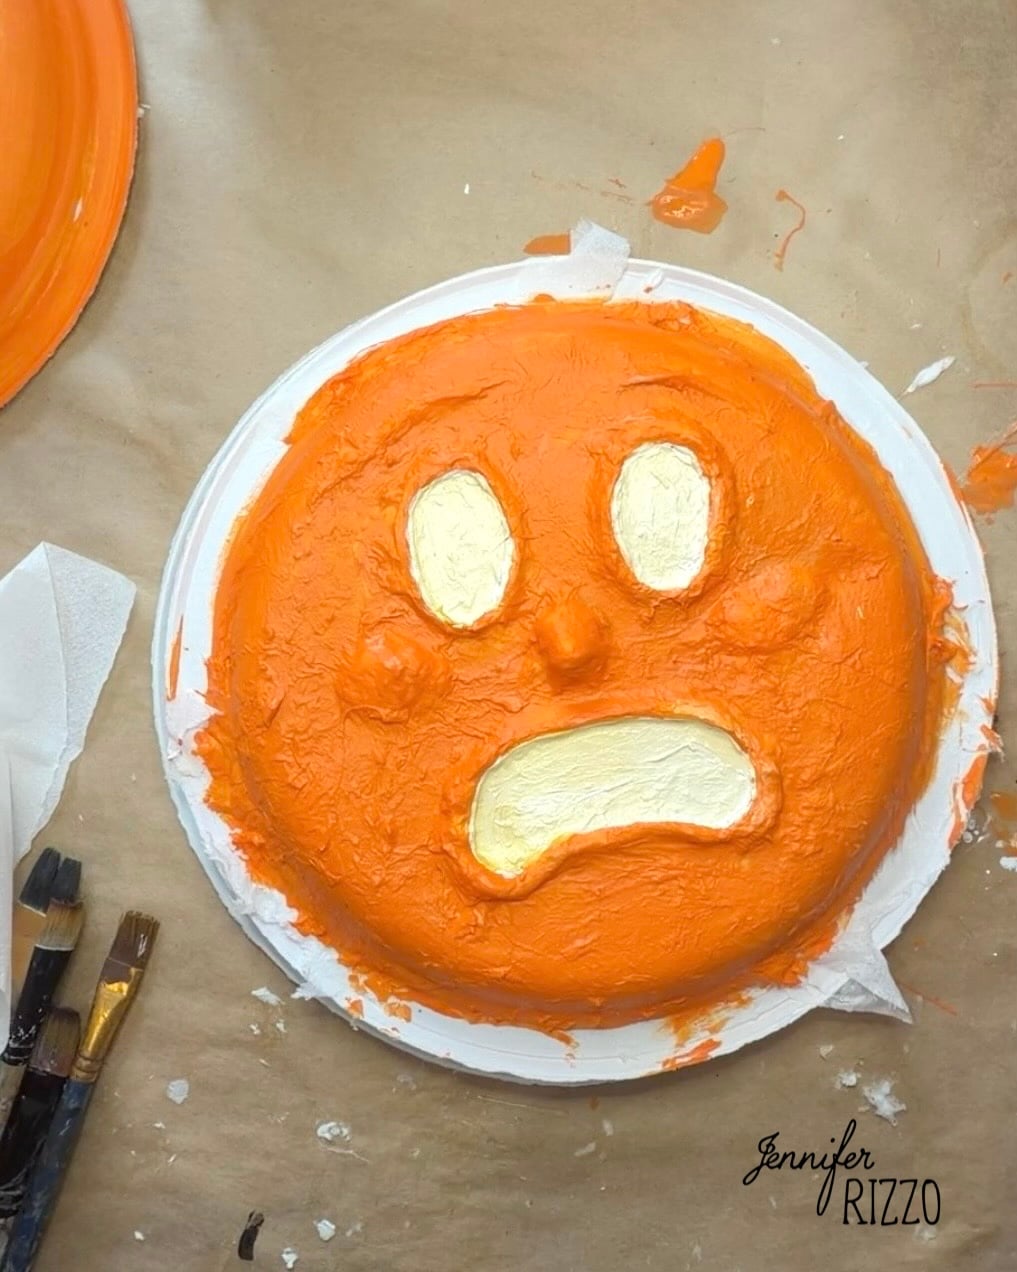
ON a paper plate use a pencil to trace out the general shapes of the eyes, nose and mouth. Place a second plate under the first to add support while sculpting. Using the Paper Mache material, sculpt a set of eyes by creating a long “snakes” and bending it into a circle to create two matching ovals. You can also add ridges of eyebrows as well. Make sure to smooth the paper mache shapes down while they are still wet.
Add the Mouth and Cheeks
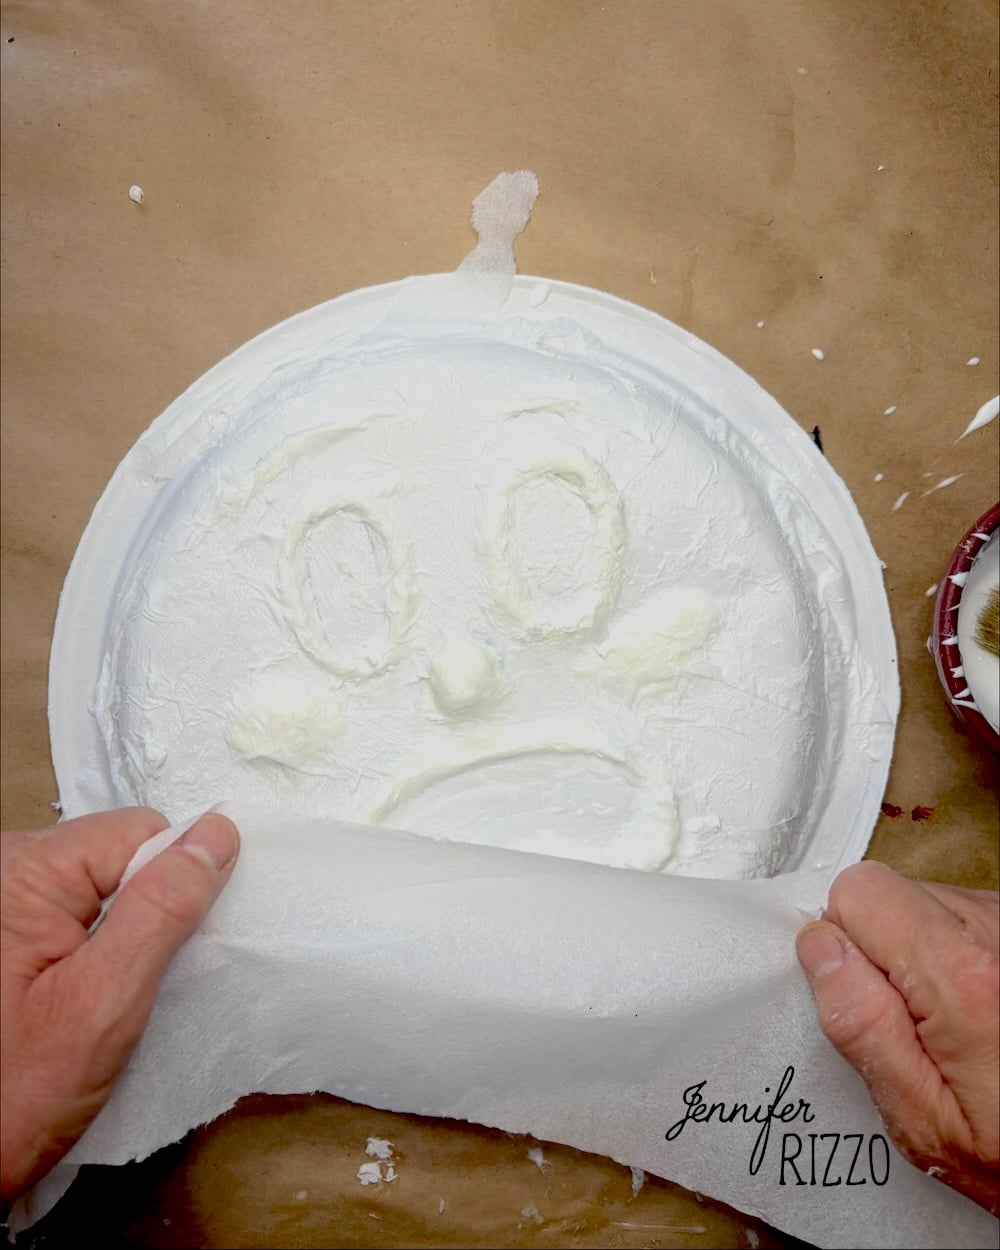
Add cheeks by adding two round, flat lumps of paper mache clay, making sure to smooth down where the edges of the paper mache meet the plate.
Add a Layer of Toilet Paper All Over the Pumpkin
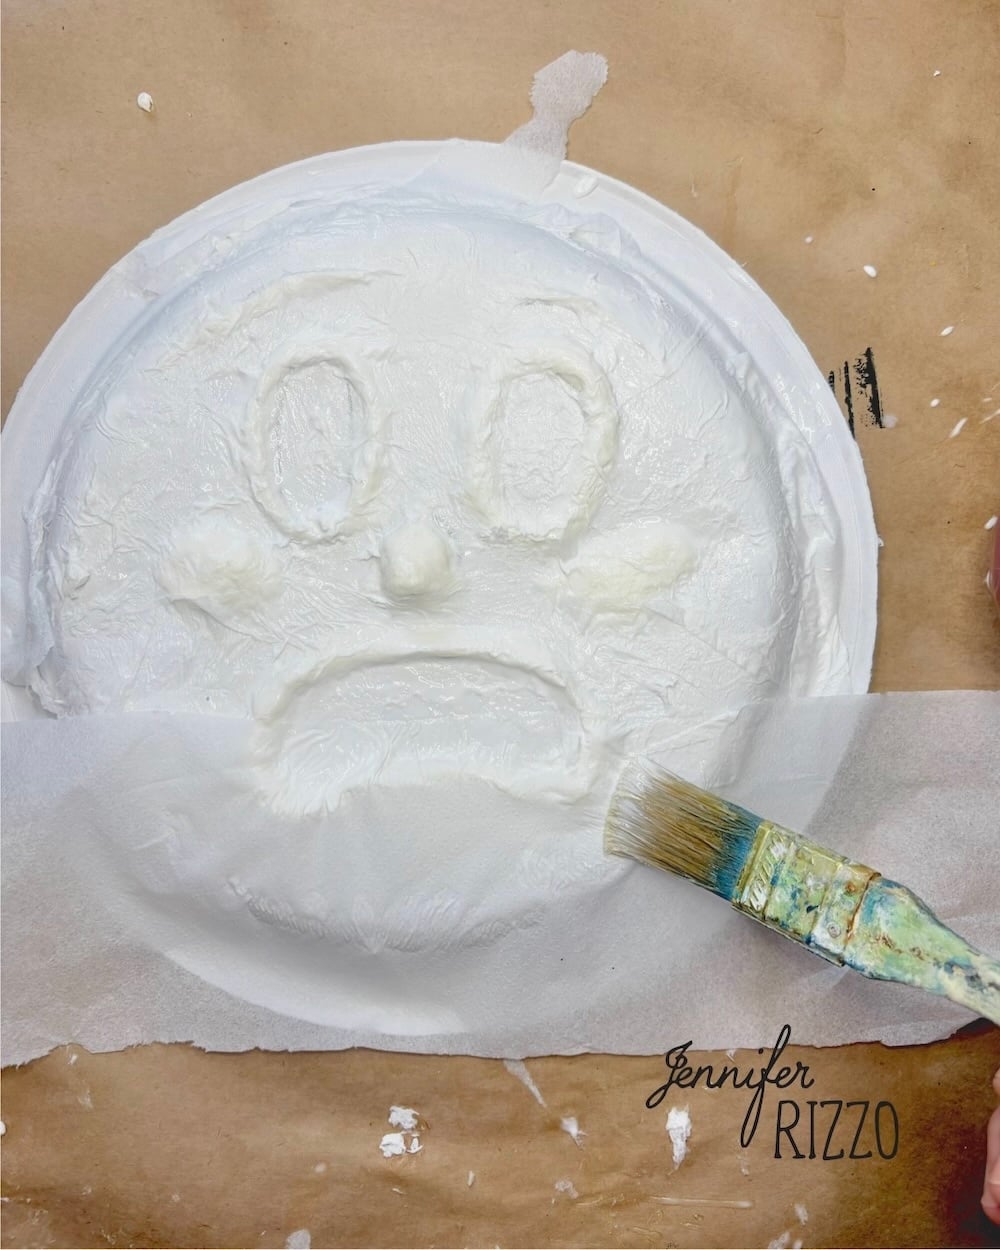
Once all of the features are sculpted, brush the entire face with a paintbrush and decoupage medium and add a layer of thin toilet paper, brushing down on top of it with more decoupage medium to create a cohesive surface.
Expression is Everything to Change the Face
Change the shape of the features to add different expressions. Wide open round eyes would show fear, a long oval mouth could be scary and a smile with triangle eyes feels more like the classic vintage style jack-o-lantern face we know.
Other Ways to Add Features
Instead of sculpting a lot of the features, they can also be carefully cut out with a craft knife. The best thing is these can be personalized any way you like and you can make all kinds of facial expressions by using both cut out and raised areas of paper mache.

Let the Paper Mache Dry Completely then Paint the Features
It’s important to let the paper-mache dry completely before painting. One it’s dry, coat the entire surface with the orange craft paint and let dry. Also paint a second plate with orange paint. At this time you can also use brown paint to add ridges to the pumpkin. Once dry, Paint the inside of the mouth and eyes in a light yellow paint.
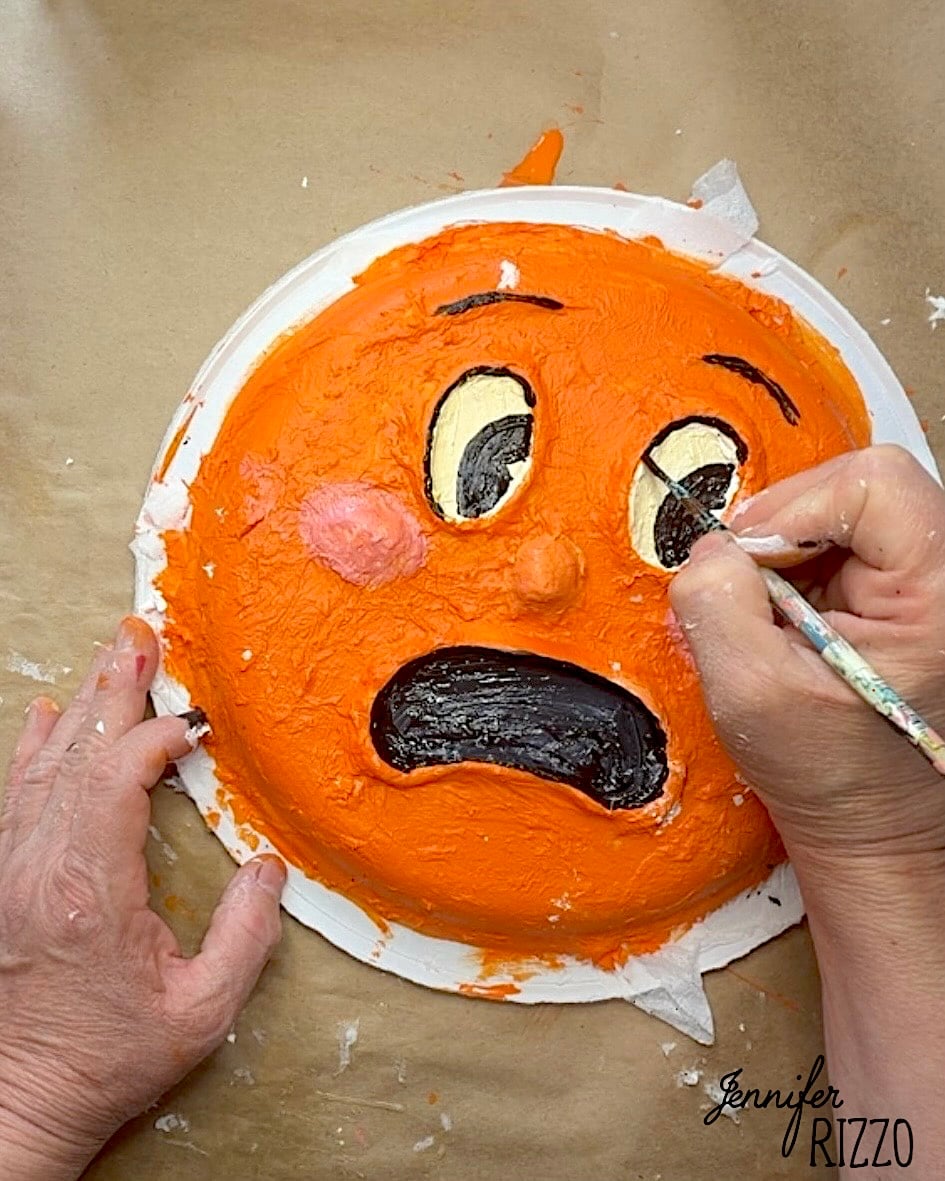
Once the yellow paint is dry, paint in the eyes in black paint, add pink paint to make the cheeks and then touches of white on the top to add highlights.
Glue the Ribbon at the Top of The Pumpkin
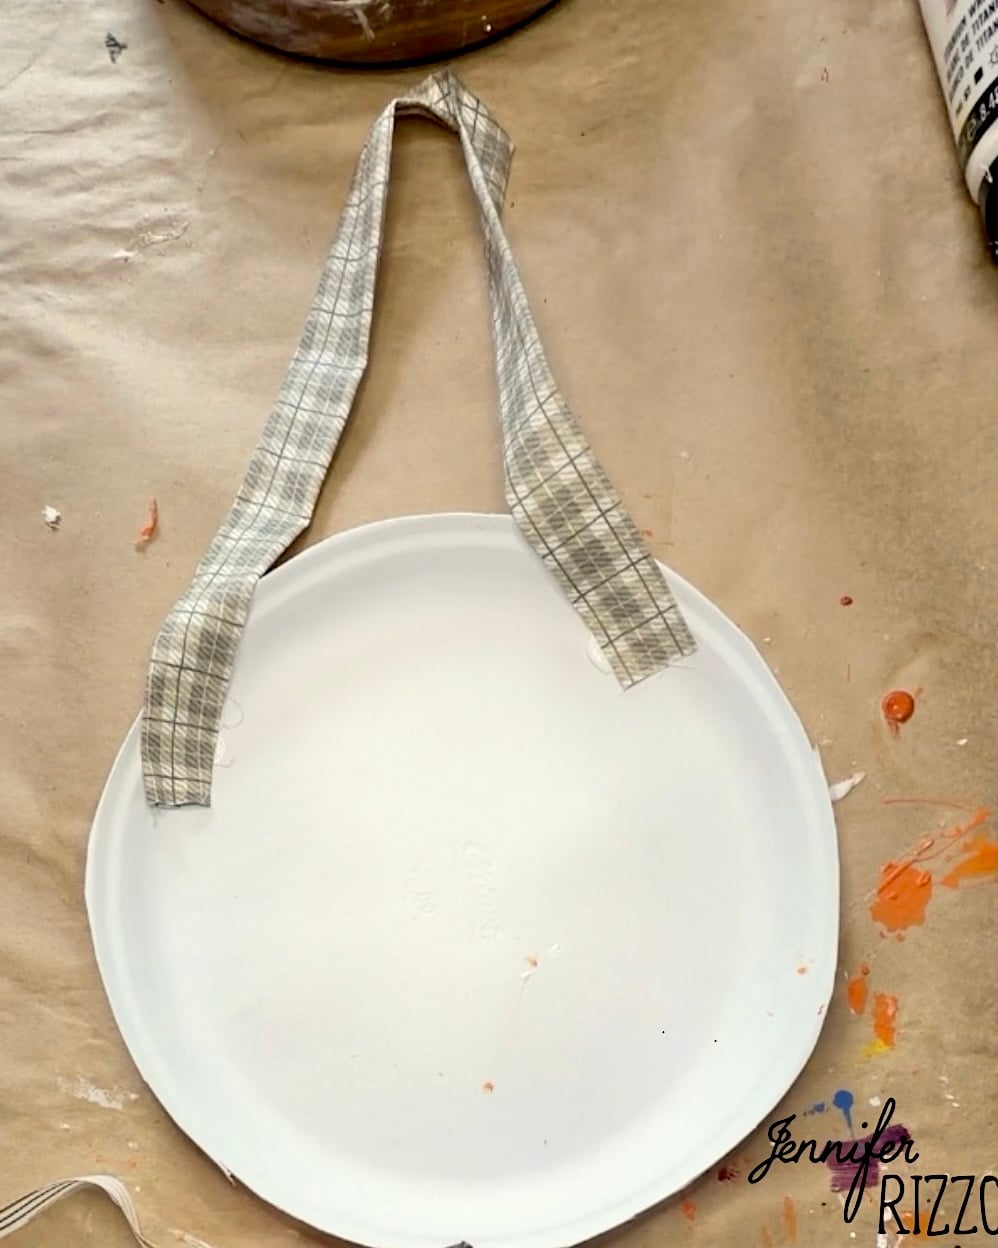
Once the paint is dry, cut a ribbon or twine to length and use hot glue to make a hanger. You can also add a stem at this time if desired.
Glue the Plates Together
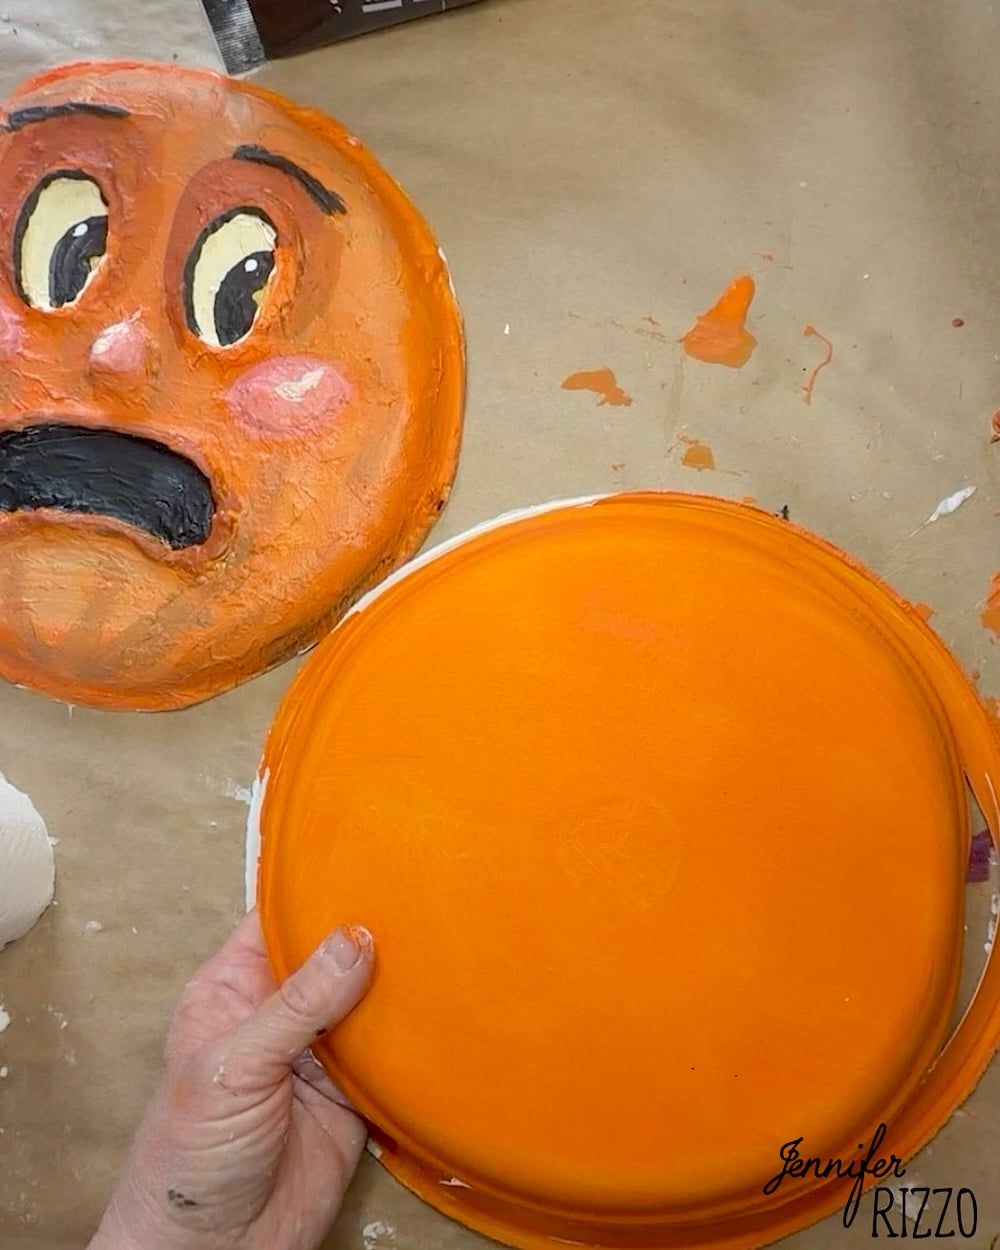
Turn the tops of the plates into each other and glue the orange painted plate to the plate with the paper mache on it. Once the glue is dry, the plate edges can be left or carefully cut down a little to remove the rim.
For a Light Up Pumpkin Face
Before gluing both halves together, cut out the eyes and mouth area. On vellum, use a black marker to add features like eyeballs and teeth. Glue the vellum underneath the cut outs, let the glue dry. On the back orange plate, cut out a small area big enough where battery operate twinkle lights or a glow stick can be dropped in and retrieved. Then Glue the two halves together.
Isn’t this such a fun project? If you love fun pumpkin decor, try making this no sew yarn pumpkin.
