

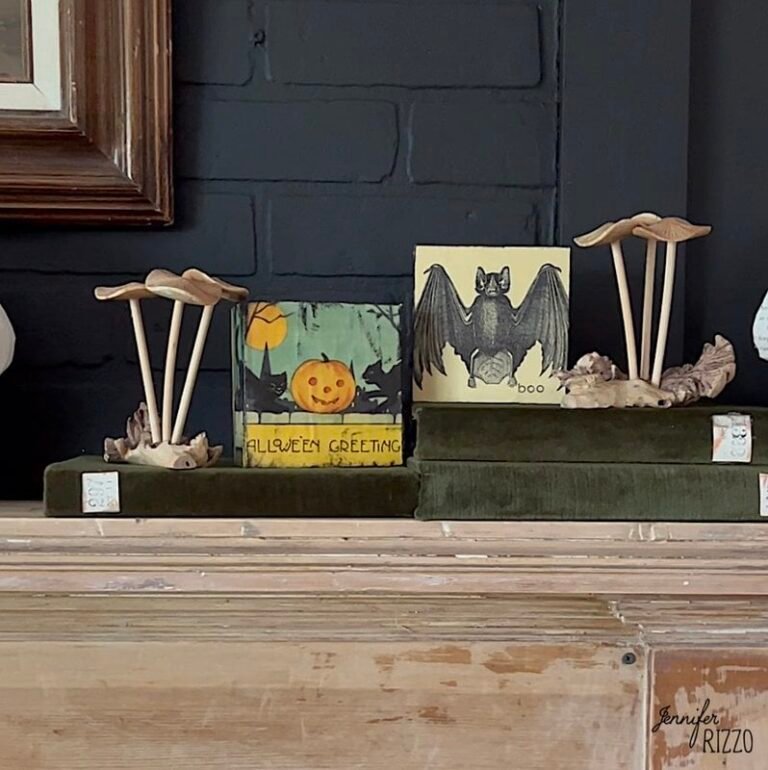

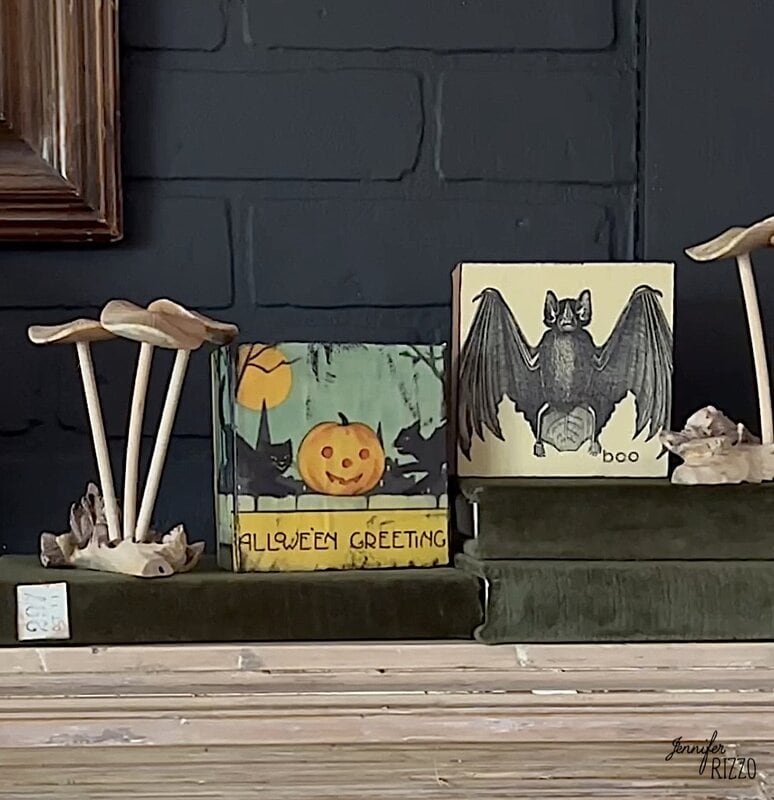
Do you have a small space in your home like a windowsill or skinny shelf that needs a little touch of homemade Halloween decor? We love making DIY Halloween decorations and these decoupaged vintage image shelf sitters are the perfect option! Shelf sitters are mini canvases or wood blocks that are the perfect size to add a little bit of art anywhere! I wanted to repurposed some old art blocks I bought on clearance at the craft store and make cute decoupage vintage-inspired Halloween shelf sitters. This is so easy to do, the kids can even do it and the results are so darn cute! I used vintage images from The Graphics Fairy (link at the end of the post) and Mod Podge to create this fun Halloween decor and get your home halloween-ready and no frame needed! You can also watch a video of this post that shows the project start to finish. This would be a fun Halloween party project too.
this post contains affiliate links including Amazon affiliate links. Please see our sponsor and affiliate disclosure here.
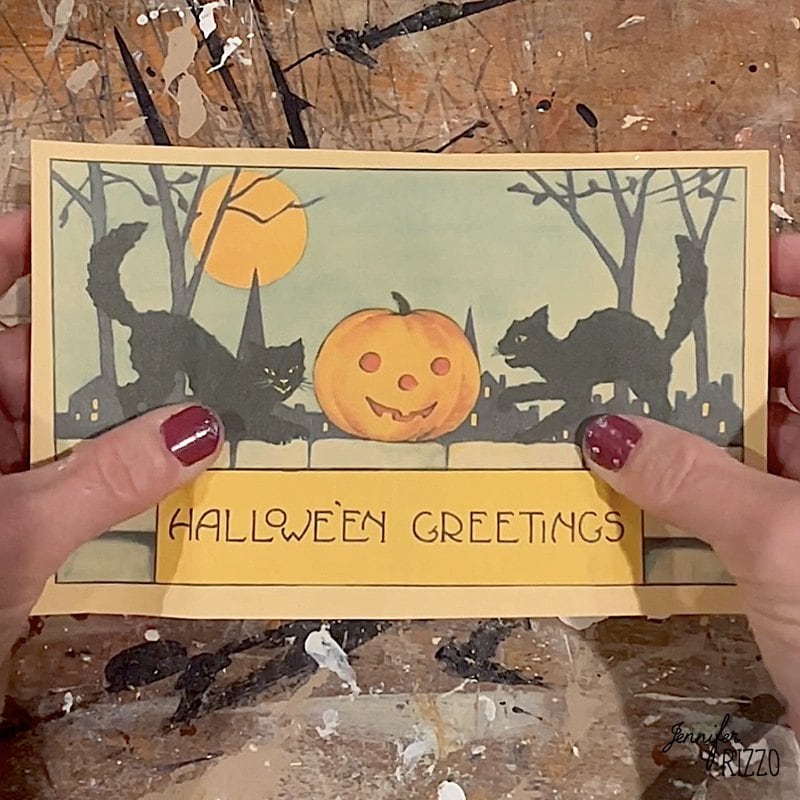
To make this project, I used a small wood decorative block I had picked up on clearance from the craft store. It measures 4 x 4 inches and is the perfect size to create something with a little Halloween flair ( you can also use the back of a small box or tray). For my art , I used a vintage Halloween postcard image and a vintage bat image to make my shelf sitters. They are so cute on my mantel and an easy DIY project. It’s a simple yet effective decoration to delight your home and guests with.
Supplies to make your Vintage Halloween Decor Shelf Sitter
To make this fun vintage Halloween -inspired project you’ll need: A small wood decor box or small canvases. Matte finish Decoupage medium (like Mod Podge), soft brush, images printed on cardstock, a brown stamp pad, scissors.
Purchase supplies for this Halloween decor project here on Amazon.
Pick Cute Vintage Images
There are lots of vintage images to use including vintage postcards. Some of them have fun vampire illustrations, ghosts, pumpkins and these can even be made for Christmas time.
Add a Layer of Craft Paint
Start by prepping your surface whether you are just using a regular wood block for your holiday decor or a wood panel.
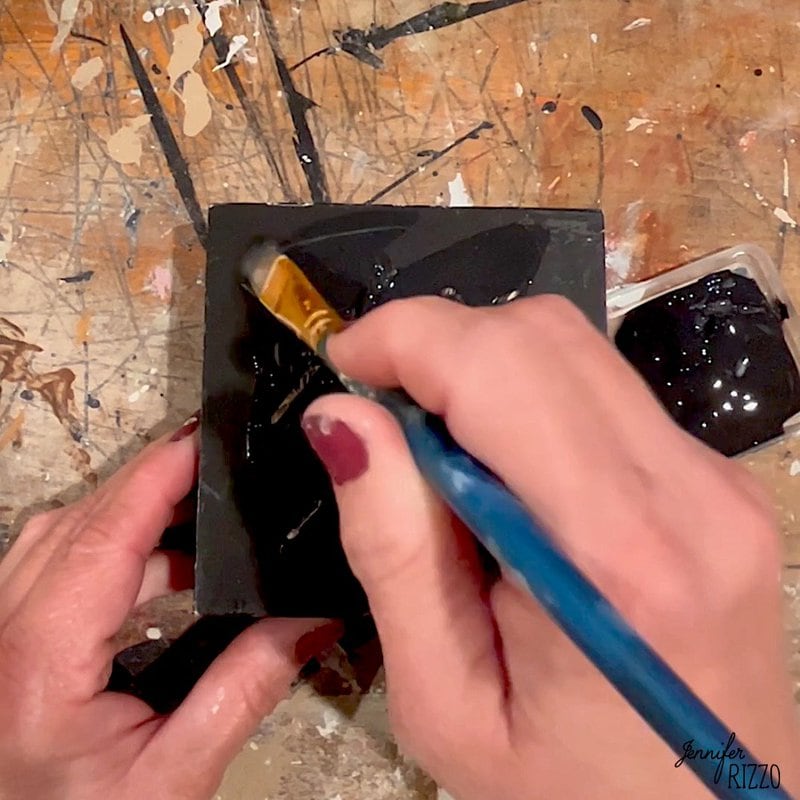
One of my blocks had some gold foil lettering so I decided to paint the surface with a bit of black craft acrylic paint so they wouldn’t bleed through. The other had more of a plain surface, so I didn’t need to paint on that one. If you’re repurposing a decor item that has a shiny or glossy surface on it, it may need a little sanding first to roughen it up so the paint or decoupage medium sticks better.
How to Print the Vintage Images on Cardstock
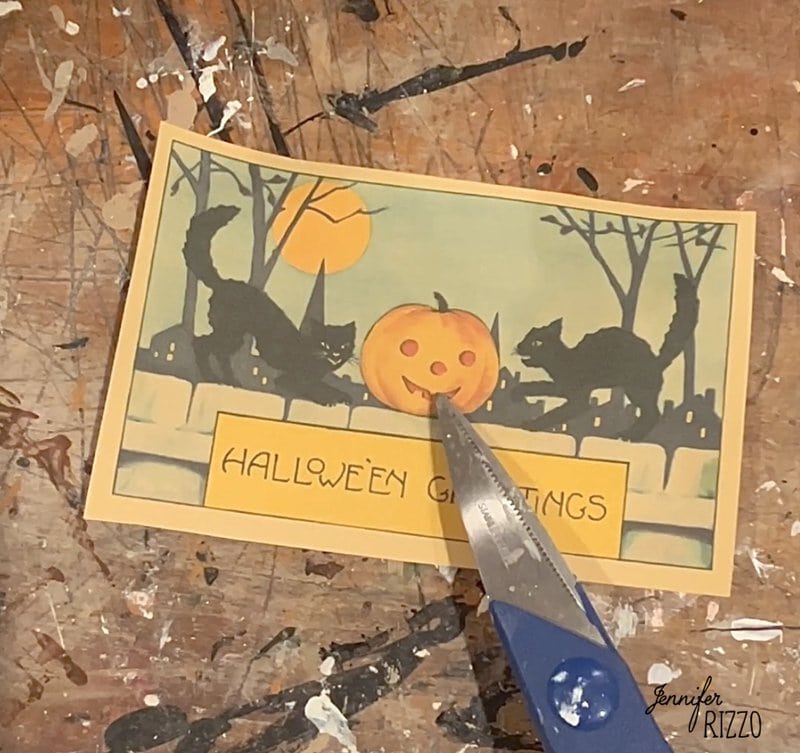
While the paint is drying, it’s a good time to print and cut our any graphics that are being used. Save any image you want to use to your computer as a jpg, and then use that file to print your art. I prefer to print mine on white or cream cardstock on our inkjet printer. The drawback with using an inkjet printer is that the ink is water soluble and can bleed when applying a wet medium such as decoupage medium. A great solution for this is to have it printed on a copier with toner like at a library or in an office setting. Another option is sending as a digital file from your computer it to you local print shop or UPS store. Prints like that on cardstock are normally less than 50 cents a print, you can ask them sometimes of they will repeat the image on the same paper, so you can get multiple prints to use. Once you print your images on cardstock you can also use them for garlands, wreaths and more.
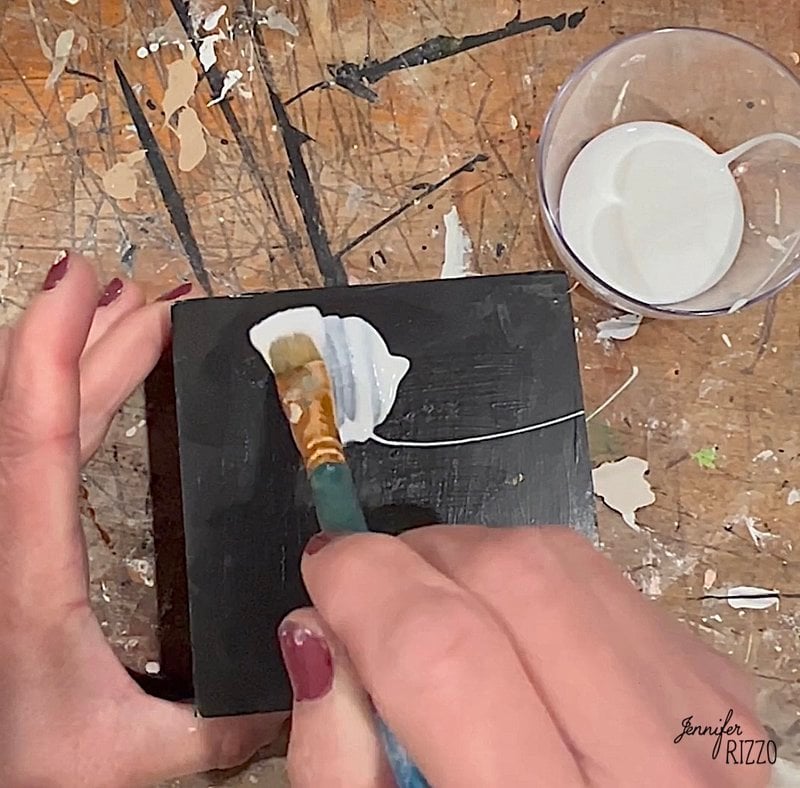
Use Decoupage Glue to Attach the Paper
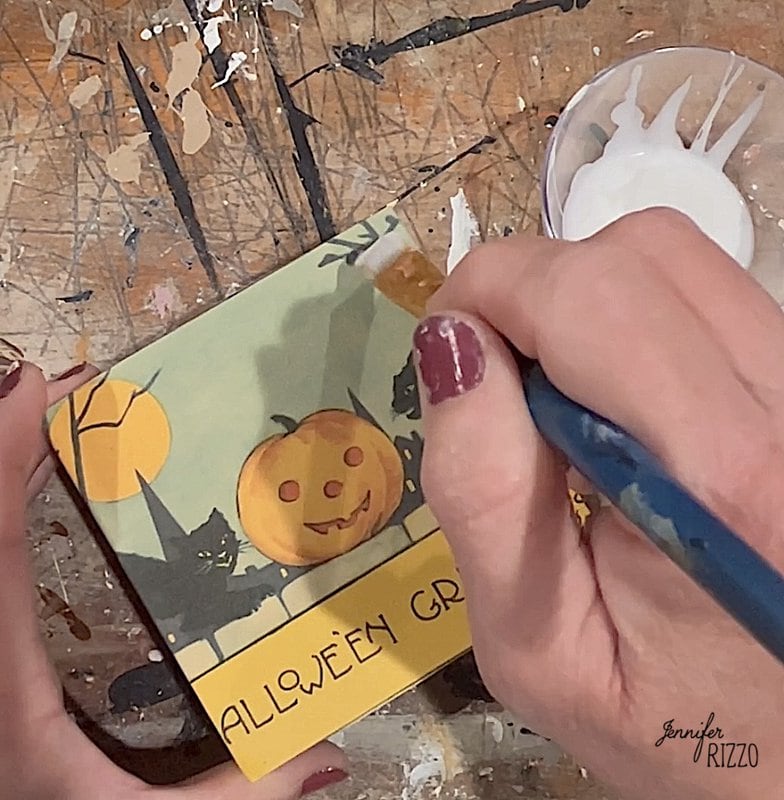
Once my image was cut out and the paint was dried, I applied decoupage medium to the top of the canvas, and then to the back of the paper of the image I am using.
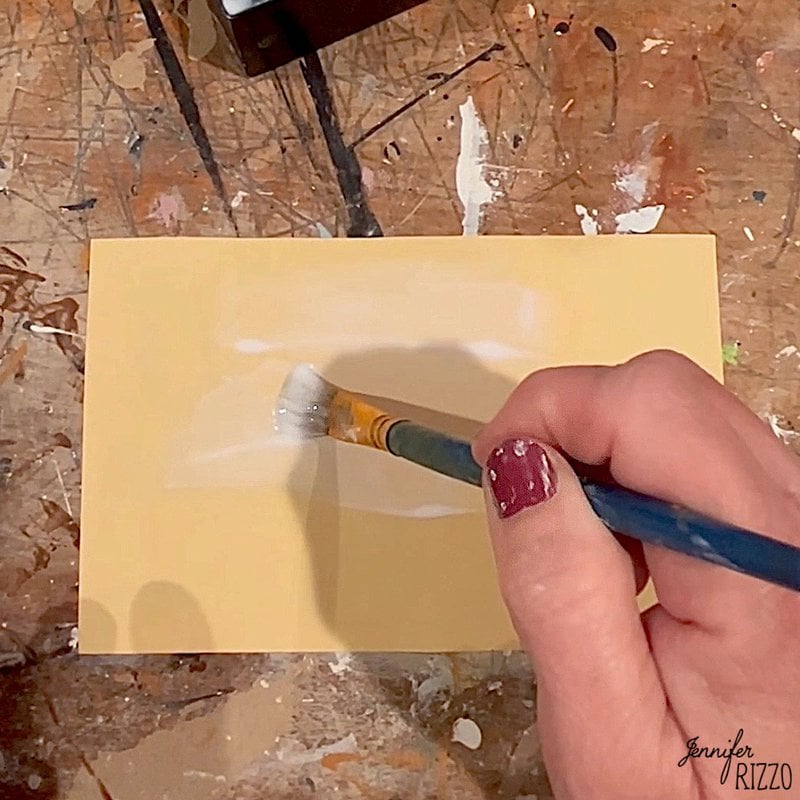
Press the paper onto the surface, and play with the positioning while the decoupage glue is still wet by sliding it around. Once it is positioned where you like it, press the two together and smoothing out any air bubbles, let it dry completely. A little trick is if you have corners that won’t lay flat, the can always be glues with hot glue after the decoupage medium is dry.
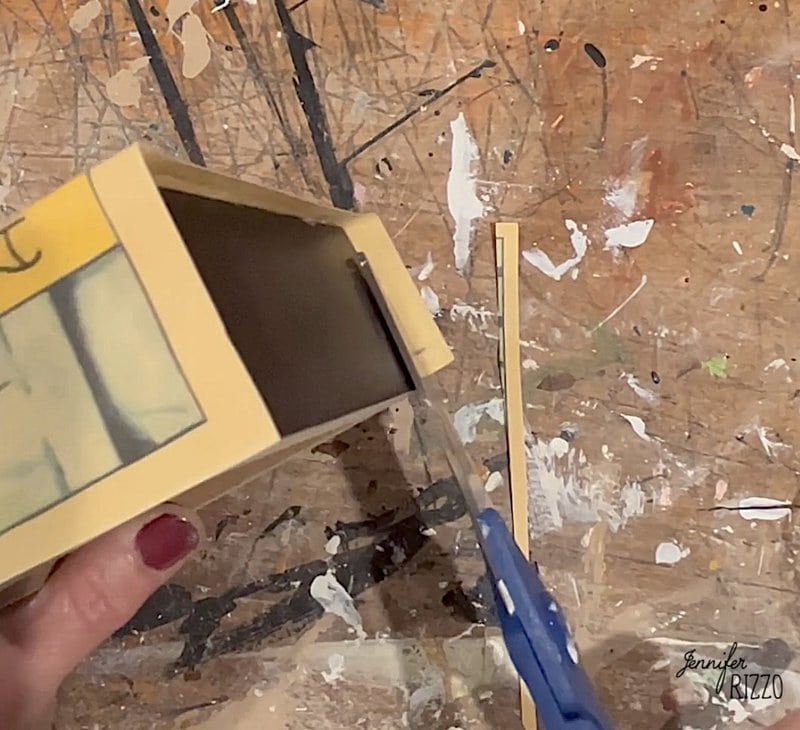
Trim the Edges
Once dry, trim any paper overhanging the edge of the DIY Halloween decorations, I wanted to add an aged look to my edges, so I used a brown stamp pad to rub along the edges of the vintage image. I love how the dark brown makes it look older and adds some character.
Brown stamps are a great way to add aging onto paper, like in this velvet- wrapped vintage display book project.
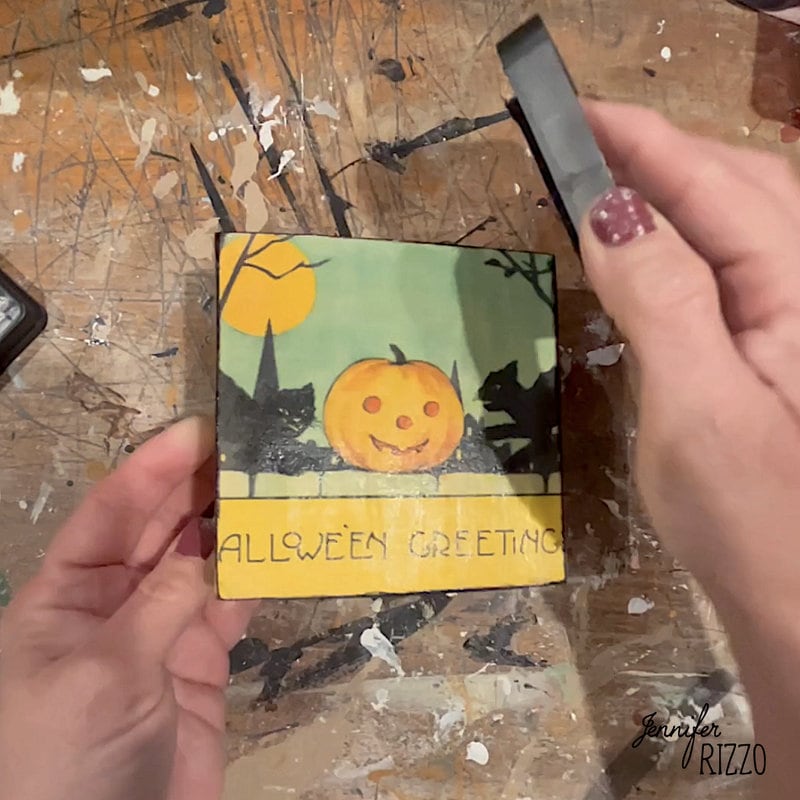
Let dry and on top of the paper and ink apply another layer of decoupage medium to seal the surface. Craft varnish can also be applied to the surface as well. This will not only deepen the colors, but give some protection to the surface from moisture.
Add Embellishments
Once your shelf sitter is made, you can add embellishments or texture to make it even fancier for a cute mood. You’re ready to display it! It’s such a cute way to bring a little decor to a small shelf or windowsill in your home! For more fun Halloween decor, check out this Halloween mantel with glowing skull luminaries.

Find the Vintage Halloween Clip Art Graphics:
Vintage Halloween Pumpkin Postcard Image
