

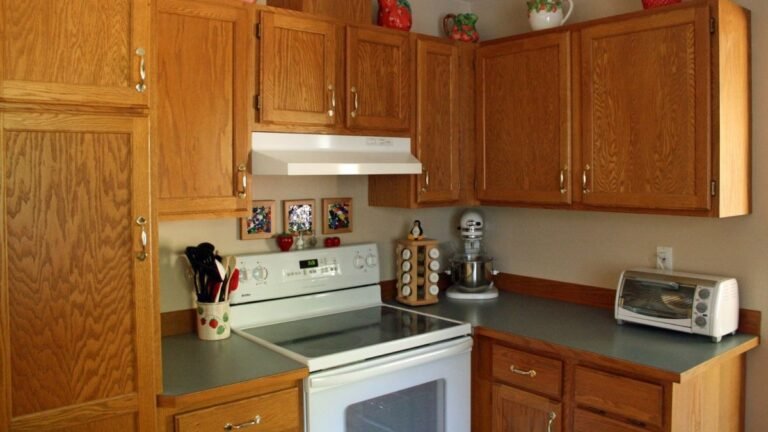

Orange oak covered the doors, cabinet sides, counter edges, and backsplash trim in this early 1990s kitchen. After a family-room addition brought white woodwork into the adjoining space, the kitchen’s golden finish stood out even more.
The homeowner behind Frills Fluff and Trucks convinced her reluctant husband to paint the cabinets white, then proposed beadboard and extra molding. She handled sanding and painting while he cut the panels and trim, working with the cabinet boxes and doors they already owned.
Starting in July 2009, the couple spent three months working on weekends to complete the makeover. She later reported spending less than $350, with beadboard accounting for a large part of the cost.
Orange Oak Extended Beyond the Cabinet Doors
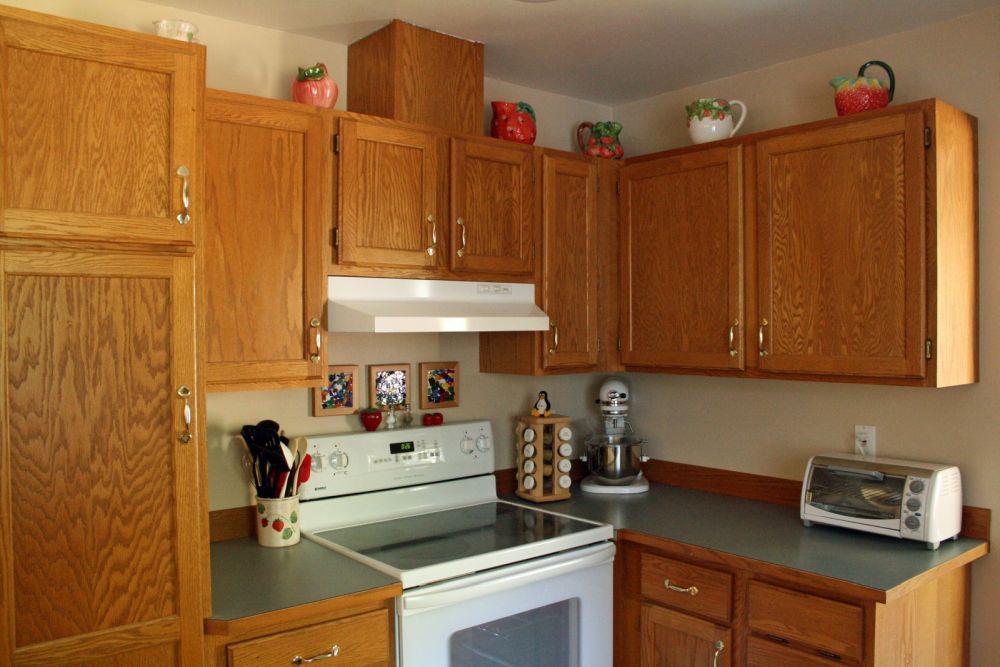
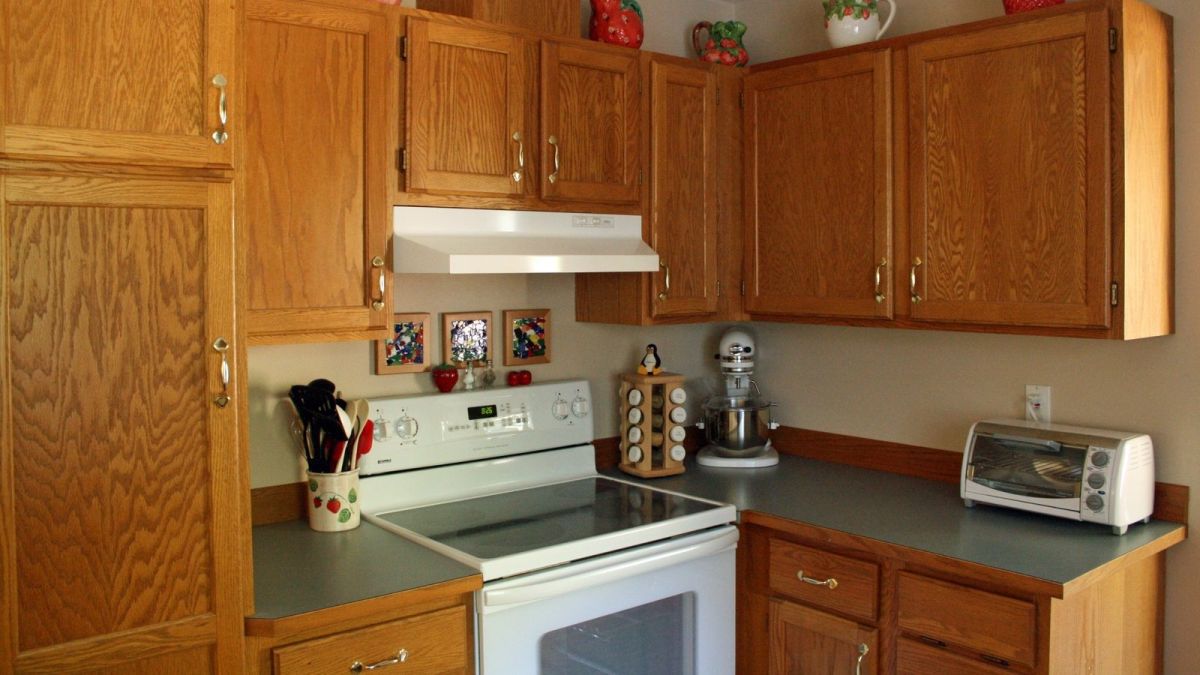
Golden wood surrounded the white range and hood, continuing across the upper doors, lower drawers, and tall pantry. Brass-colored handles followed the same warm palette, while dark laminate countertops separated the two cabinet runs.
Oak strips also edged the counters and ran along the wall behind them. Those narrow pieces mattered because leaving them brown would carry the original finish through the painted kitchen.
An Exposed Pantry Side Offered Space for Beadboard
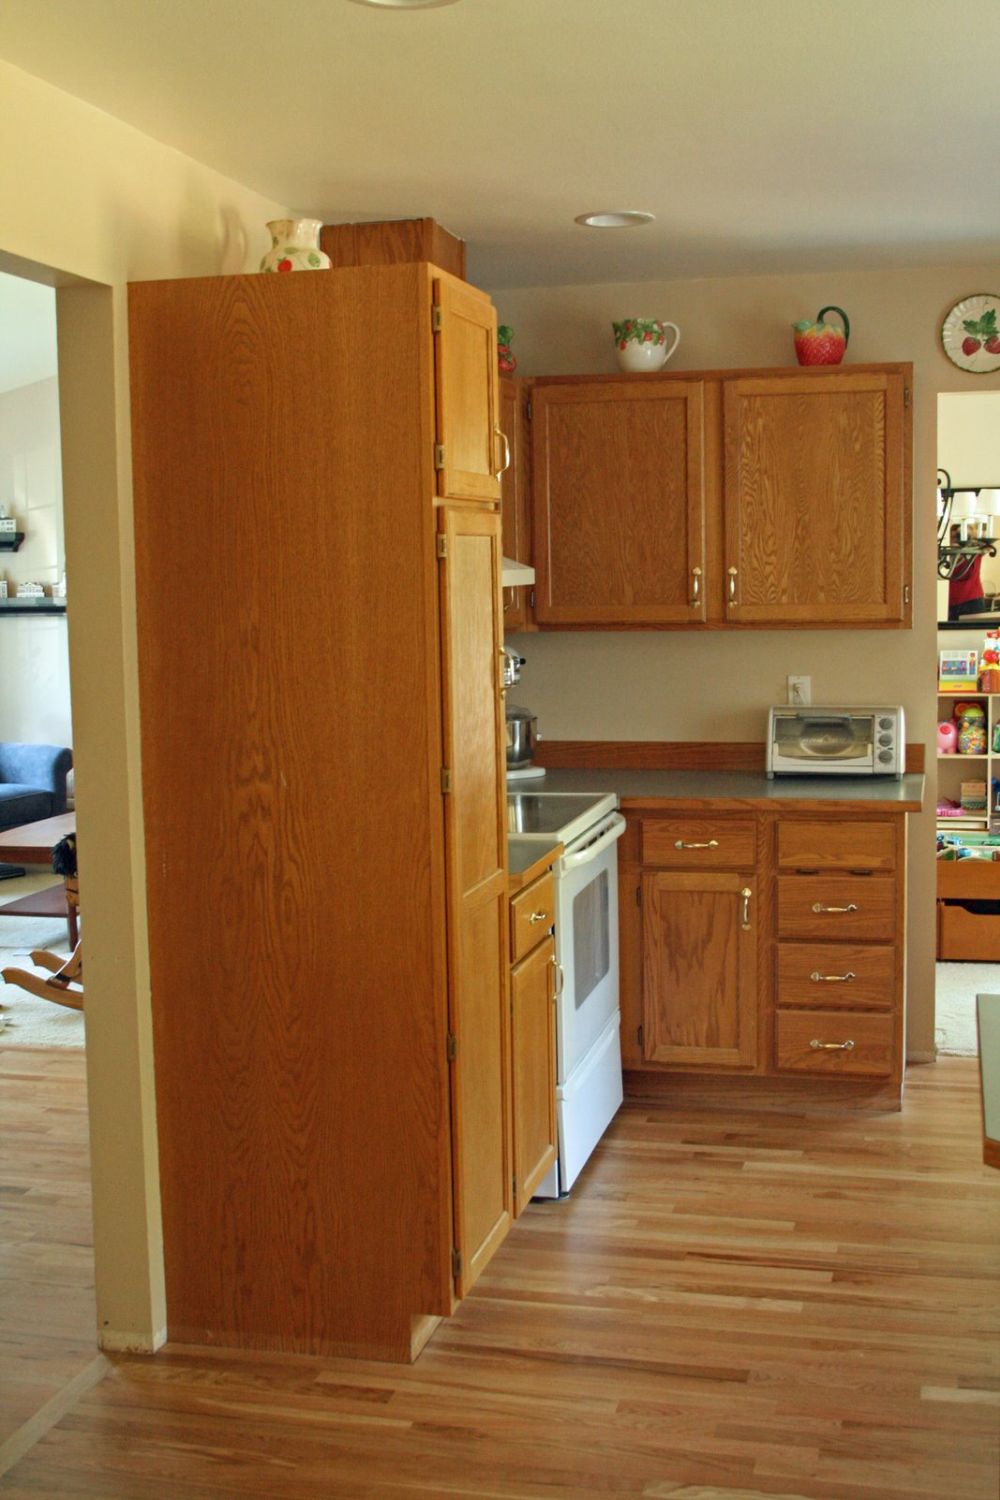
Facing the adjoining room, the pantry’s broad side formed one of the kitchen’s largest wood surfaces. Its uninterrupted grain contrasted with the framed doors around the corner.
Covering that panel would bring the new detail to the entrance of the kitchen, where it could be seen before the cabinet fronts.
Clamps Held the First Panel Against the Existing Cabinet
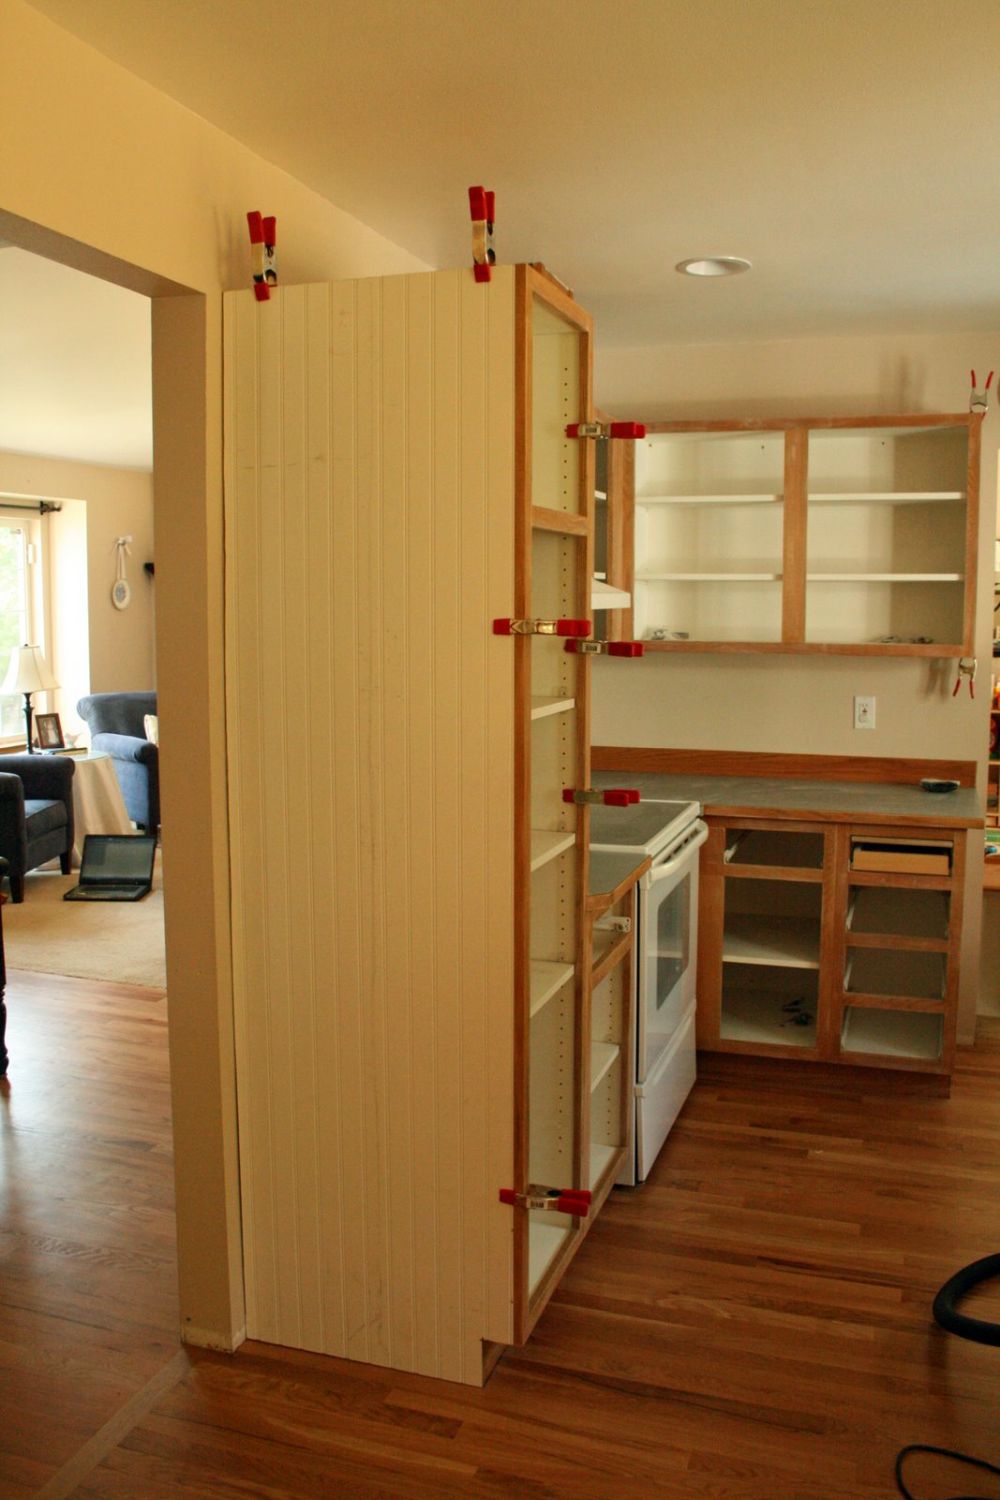
With doors removed from one side of the kitchen, the couple clamped a cut sheet of beadboard against the pantry. Vertical grooves replaced the broad wood grain, giving her husband his first view of the proposed change.
They attached beadboard to exposed cabinet ends and the flat inset sections of the original doors using Liquid Nails. Keeping the surrounding door frames gave each grooved insert a border without requiring replacement fronts.
Crown Molding Connected the Upper Cabinets
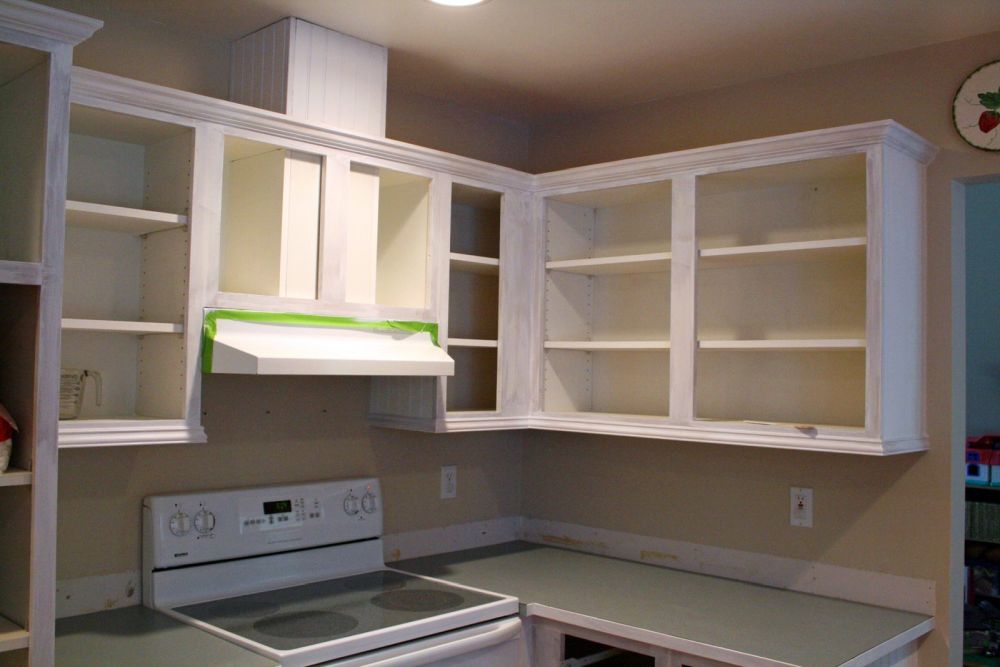
New molding followed the tops of the wall cabinets and turned through the corner above the countertop. Another strip traced their lower edges, adding a shaped profile beneath the boxes.
Her husband installed the trim with finish nails and a hammer. Their budget did not include a nail gun and compressor, and this was his first project cutting crown molding.
White Primer Reached the Frames and Counter Edges
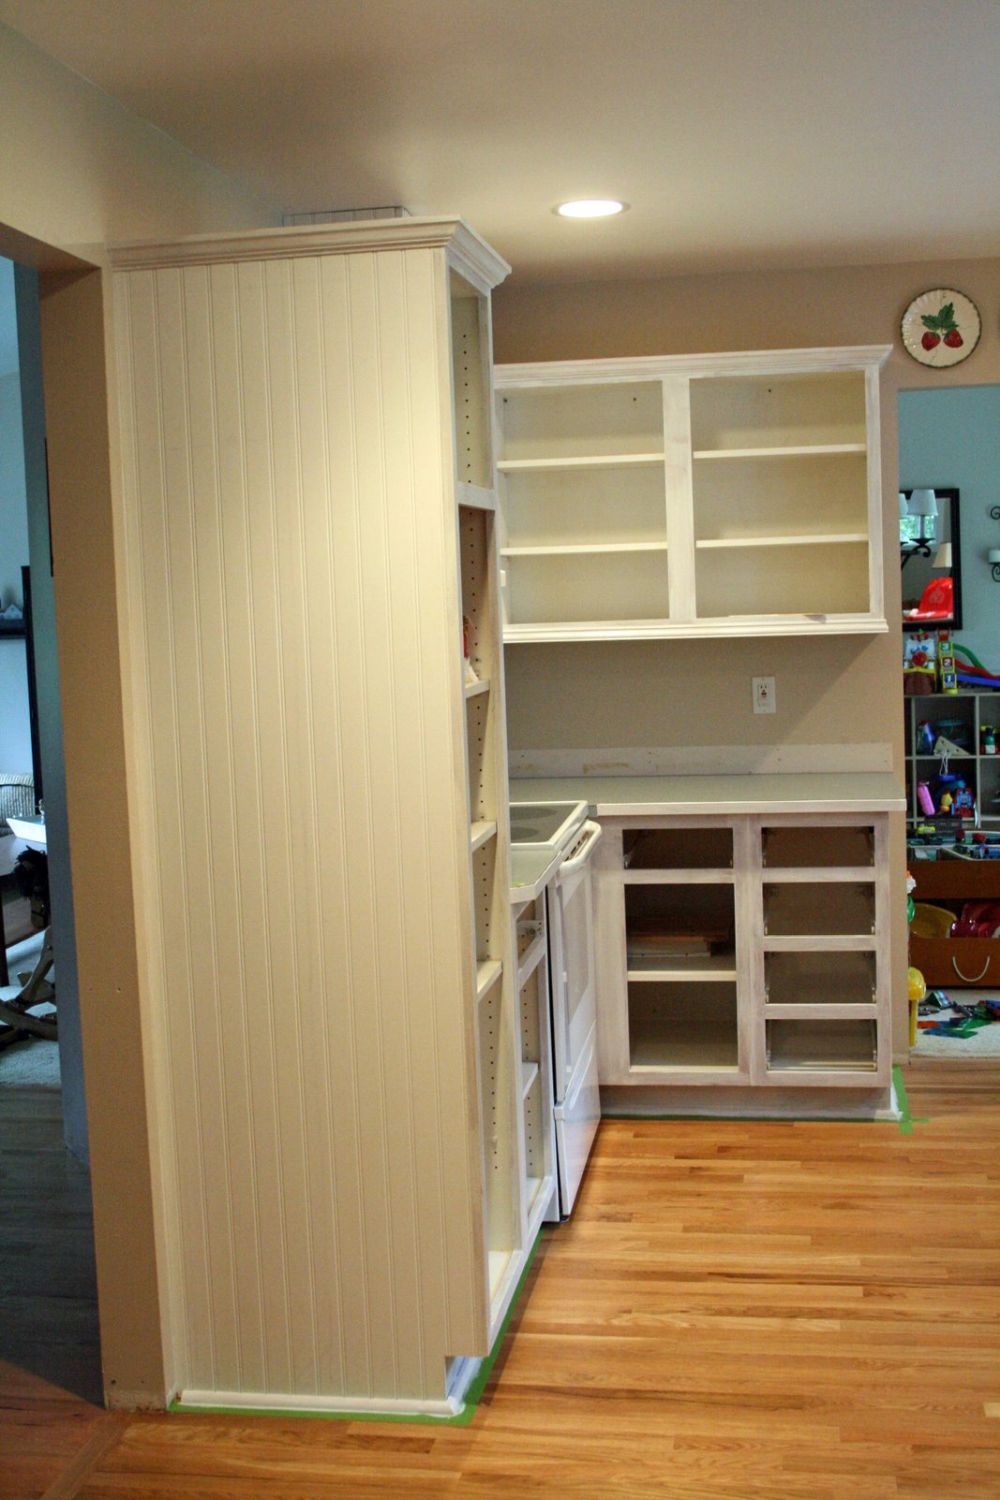
Pale primer covered the pantry panel, exposed face frames, and lower cabinet fronts while the doors remained off. Green tape marked the floor edge, protecting the hardwood during the work.
She sanded the doors with a random orbital sander and worked along their edges with sandpaper. The cabinet frames and oak countertop trim also received preparation before the white finish went on.
Grooves and Molding Required Care With the Brush
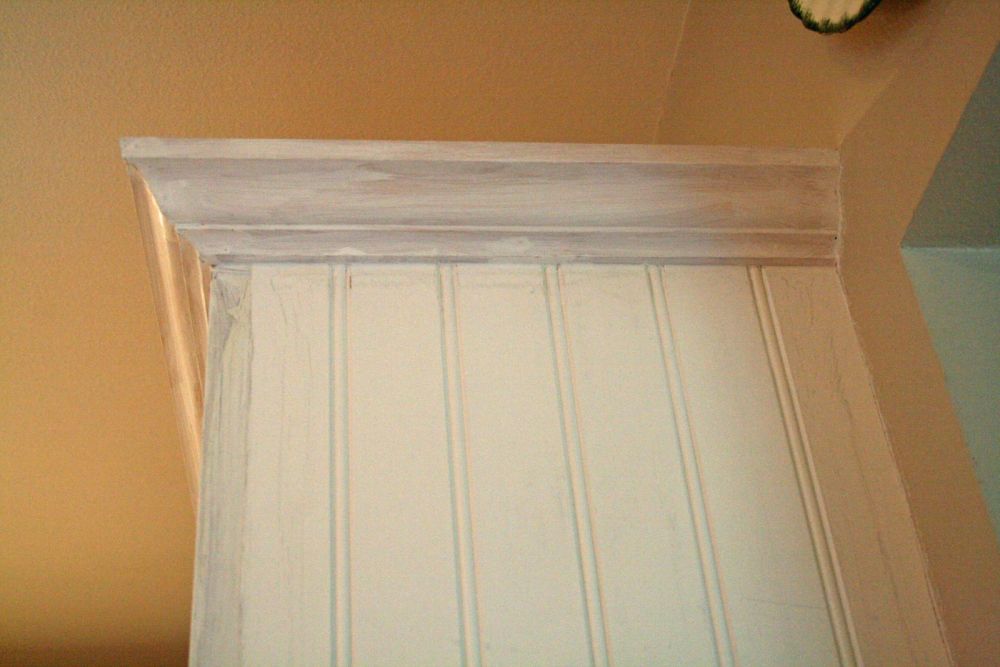
Close views of the preparation stage show primer across the crown molding and into the beadboard grooves. These recesses influenced how she chose to apply the paint.
Although they owned a basic sprayer, she feared having to sand drips out of the grooved panels. She used a Purdy brush instead, applying three coats of Benjamin Moore semigloss paint in the shade she identified as Decorator White.
Finished Doors Retained Their Original Frames
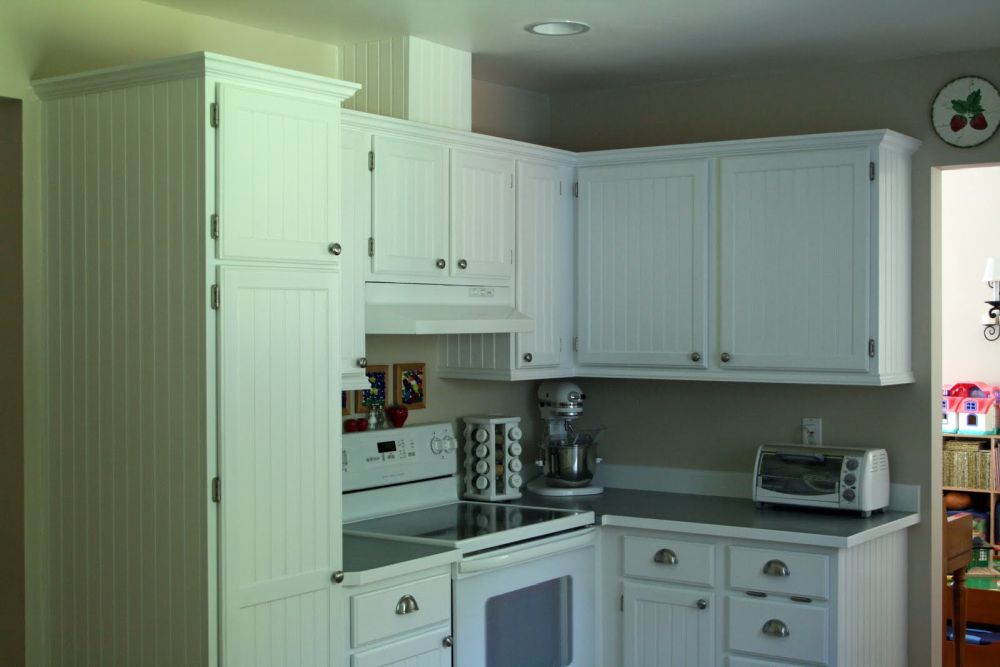
Once rehung, the doors showed how much the added inserts changed the cabinetry. Narrow vertical lines filled the centers, while white paint connected the original frames with the new panels.
Round silver-toned knobs replaced the curved handles on the doors, and cup pulls finished the drawers. Crown molding continued around the pantry and upper cabinets, giving their separate boxes a shared outline.
Beadboard Continued Around the Sink and Peninsula
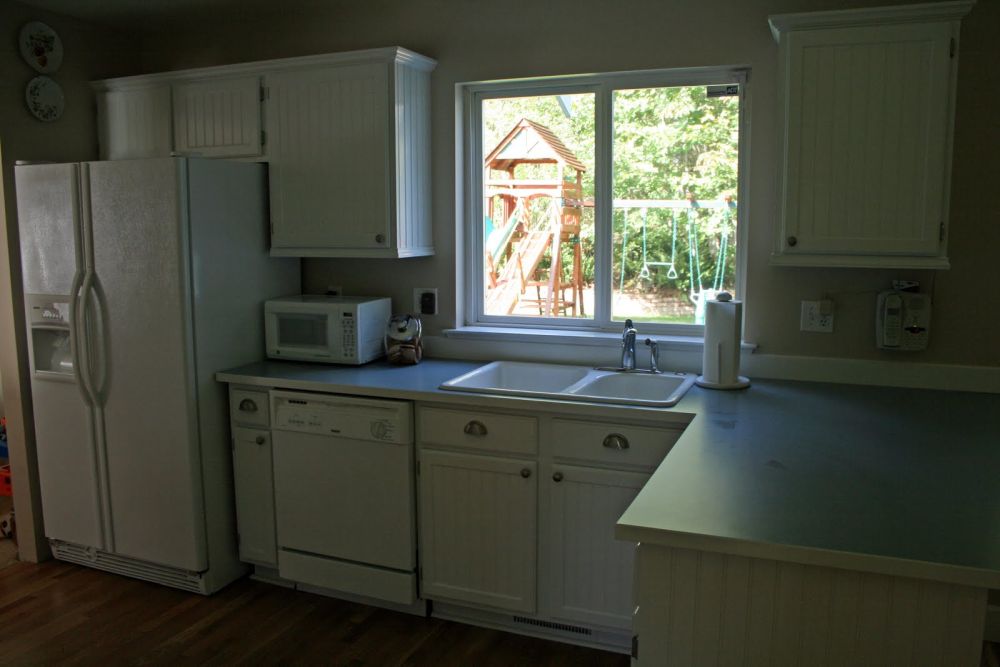
Across the room, matching fronts surrounded the sink window and white appliances. The exposed peninsula end received the same vertical grooves as the pantry side.
Extending the treatment to these outer surfaces kept the detail visible from the room’s entrances. The hardwood floor remained beneath the painted cabinets, preserving a warm finish across the kitchen.
Painted Oak Edges Helped Save the Laminate Counters
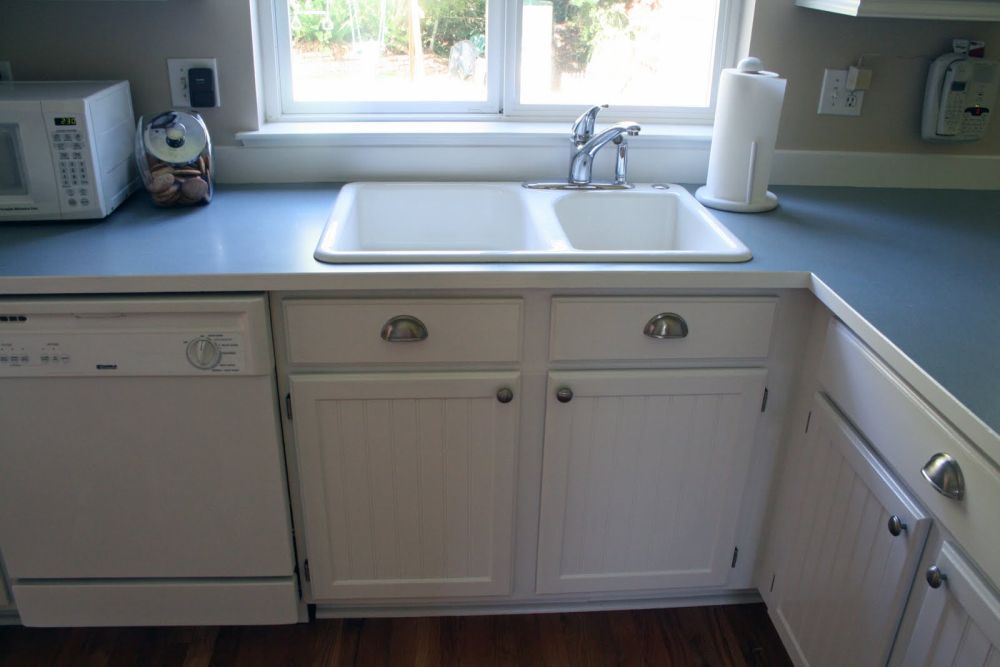
Beneath the sink, beadboard filled the paired door panels while smooth drawer fronts carried the cup pulls. Above them, the existing laminate retained its dark surface.
She taped off the laminate before sanding, priming, and painting its oak edging white. The wood backsplash strips received the same treatment, removing the orange border without replacing the countertops.
White Cabinetry Framed the Existing Range
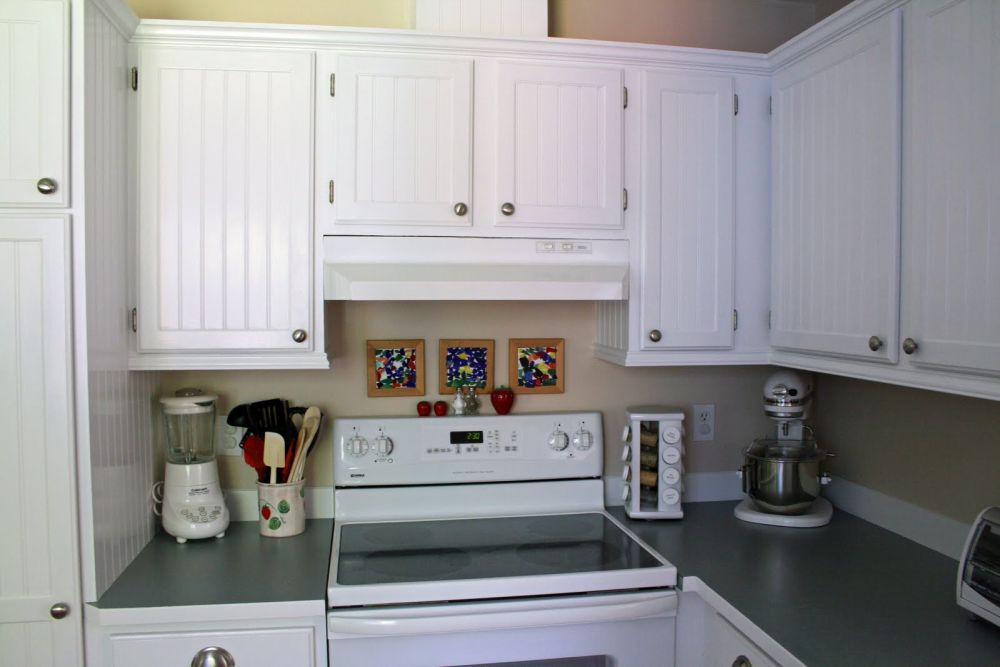
Around the stove, painted doors now sat beside the white hood instead of surrounding it with golden wood. Beadboard also covered the exposed sides beside the cooking area and the boxed section above the upper cabinets.
Small wall artworks and countertop accessories remained in place, making the cabinet changes easy to compare with the original kitchen.
Pantry Details Show Where the New Look Came From
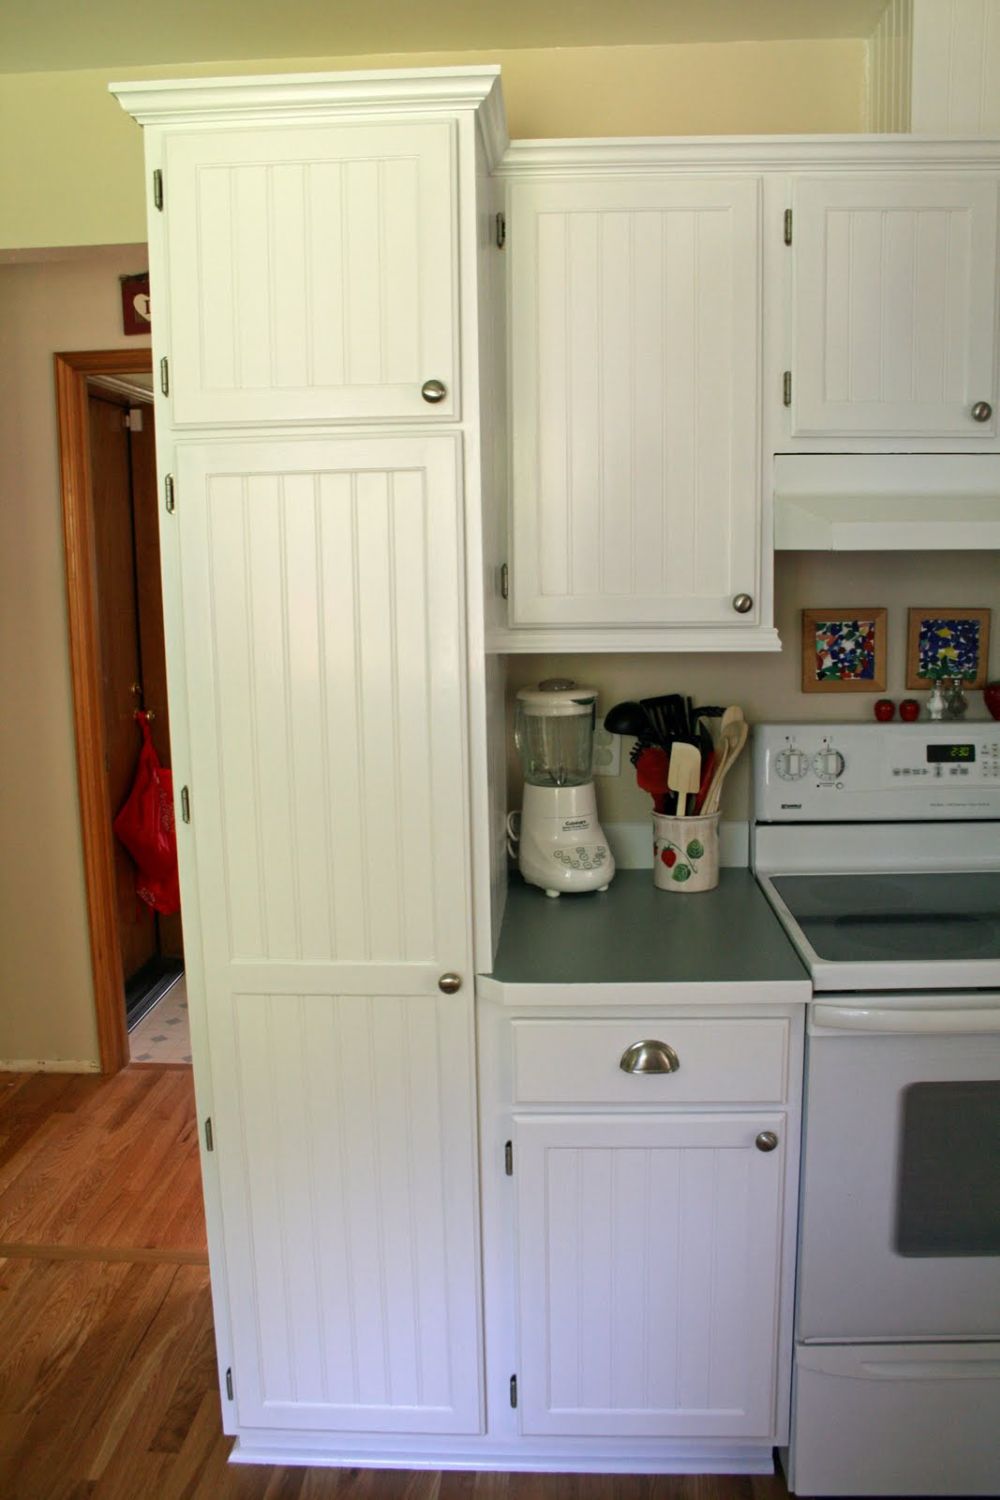
Three stacked pantry doors retained their original proportions, but grooved centers and projecting crown molding gave the tall unit more detail. Along the base, white trim finished the transition to the wood floor.
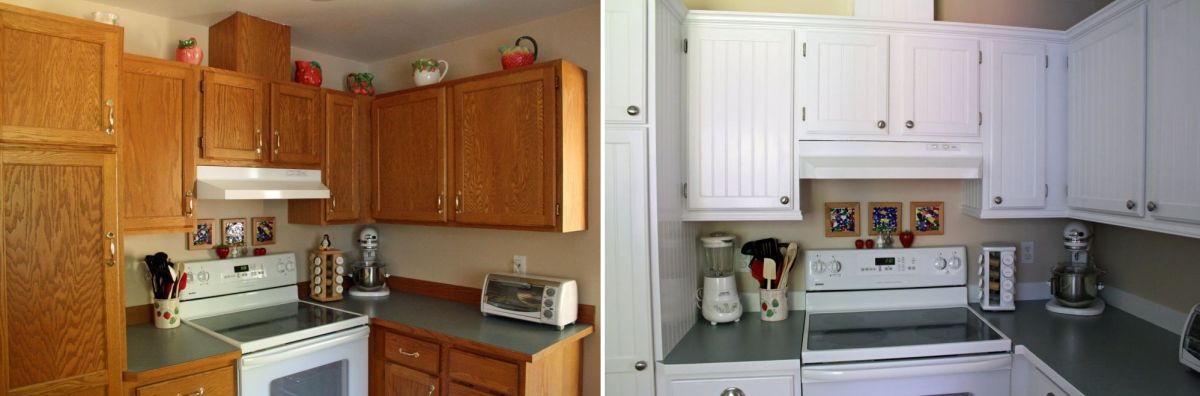
Would you add beadboard to the existing doors, or keep their smooth panels and let white paint carry the makeover?
Image credits go to @frillsfluffandtrucks