

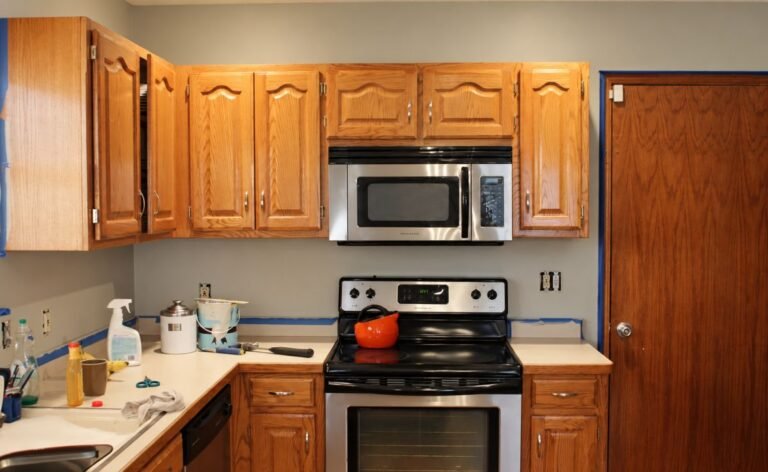


Oak cabinets covered this kitchen when the family moved into the house, with the same warm wood finish running across the upper and lower storage. The cabinet boxes were still in good condition, so the three-week facelift kept the existing footprint instead of rebuilding the kitchen.
Michelle of Sweet Something Designs chose two Martha Stewart paint colors for the cabinets: Tailor’s Chalk for the uppers and Silhouette for the lowers. Before the final coats went on, the doors came off, the cabinets were cleaned, primed, and sanded between coats.
Paint was only part of the change. Wood was added above the upper cabinet boxes, crown molding finished the new tops, and corbels went beneath them. The old laminate counters, sink, and kitchen footprint stayed.
Oak Covered the Upper and Lower Cabinets
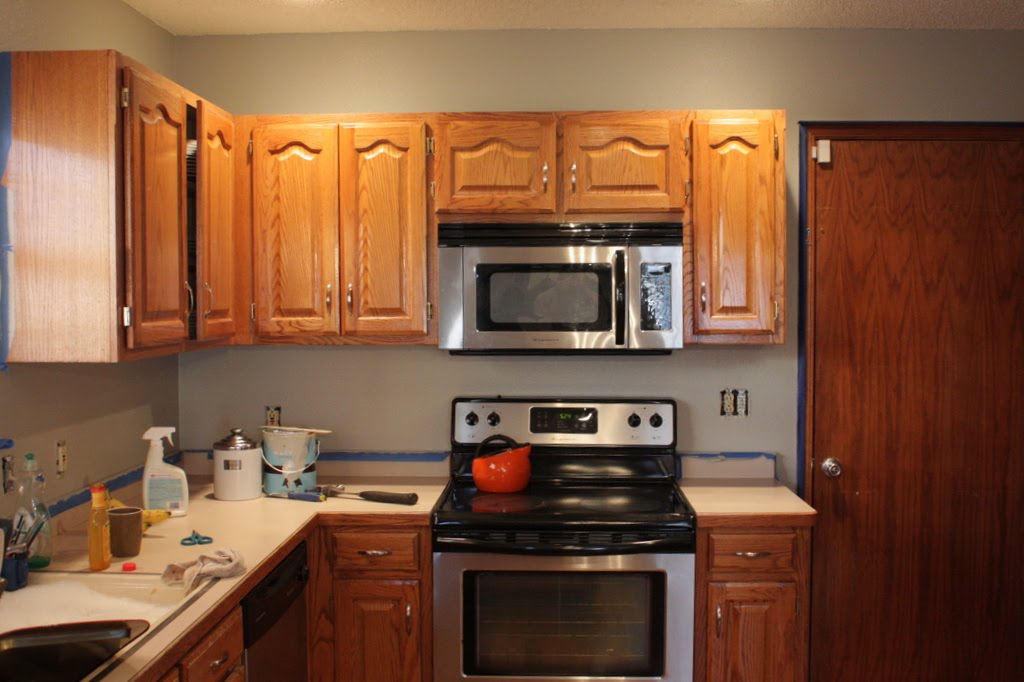
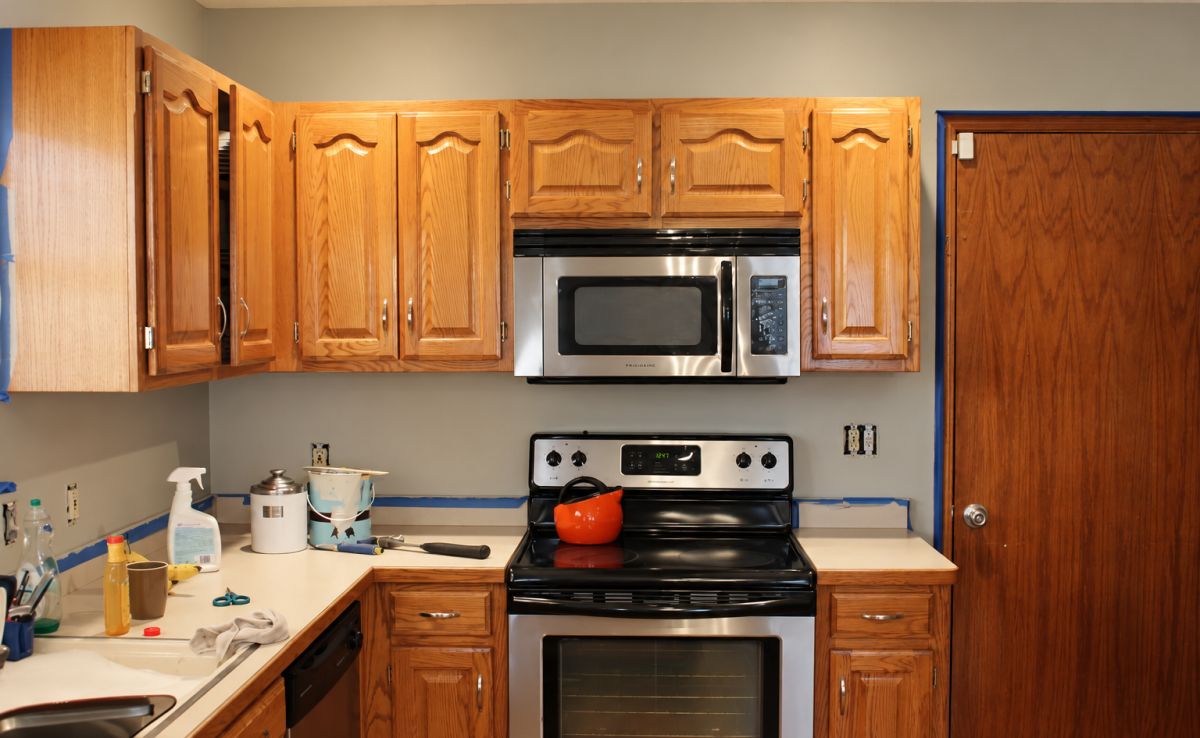
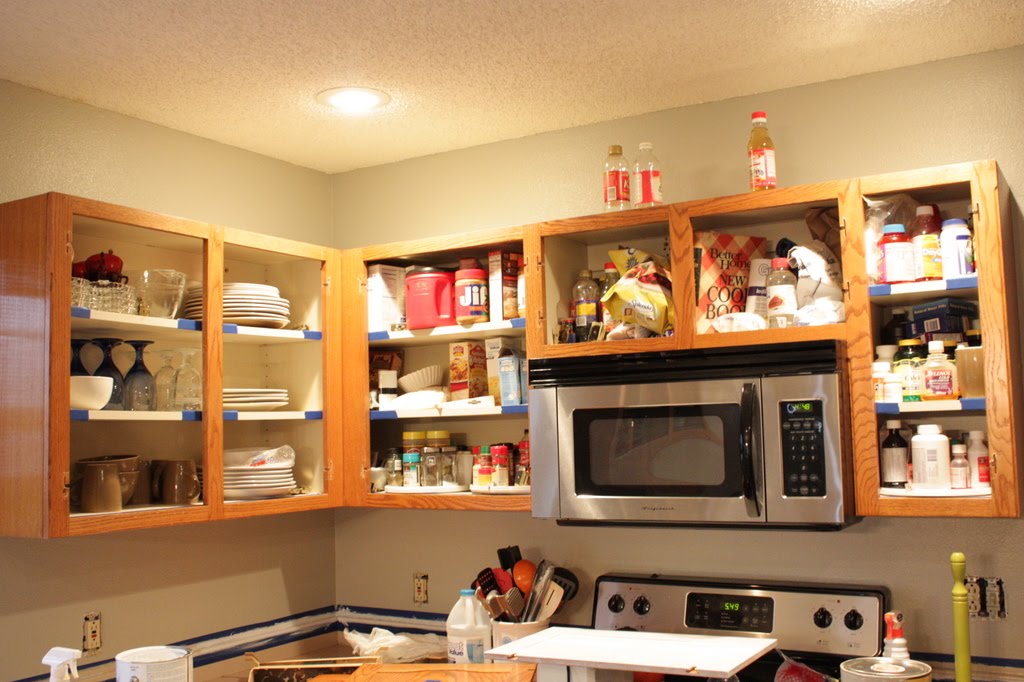
Warm oak surrounded the range and microwave, with matching base cabinets below the counters. Arched raised-panel doors gave the upper cabinets their original profile, while the same wood continued across drawer fronts and lower doors.
The cabinet boxes stopped well below the ceiling, leaving open wall space above them. Since the layout worked and the cabinets remained in good condition, the project focused on changing what was already there rather than removing it.
Doors and Drawers Came Off for Painting
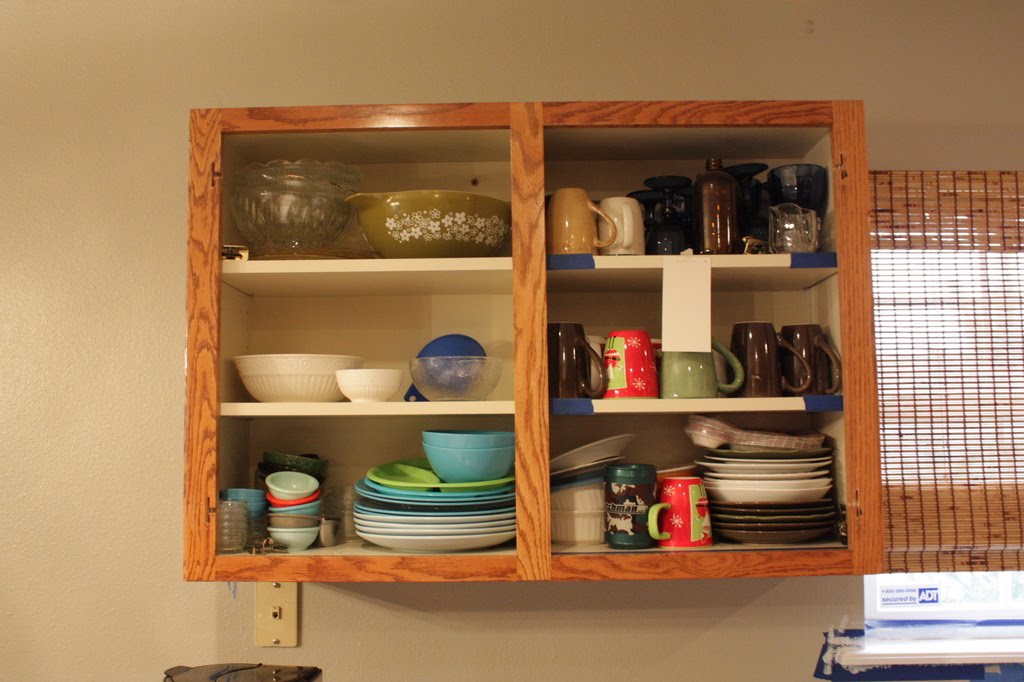
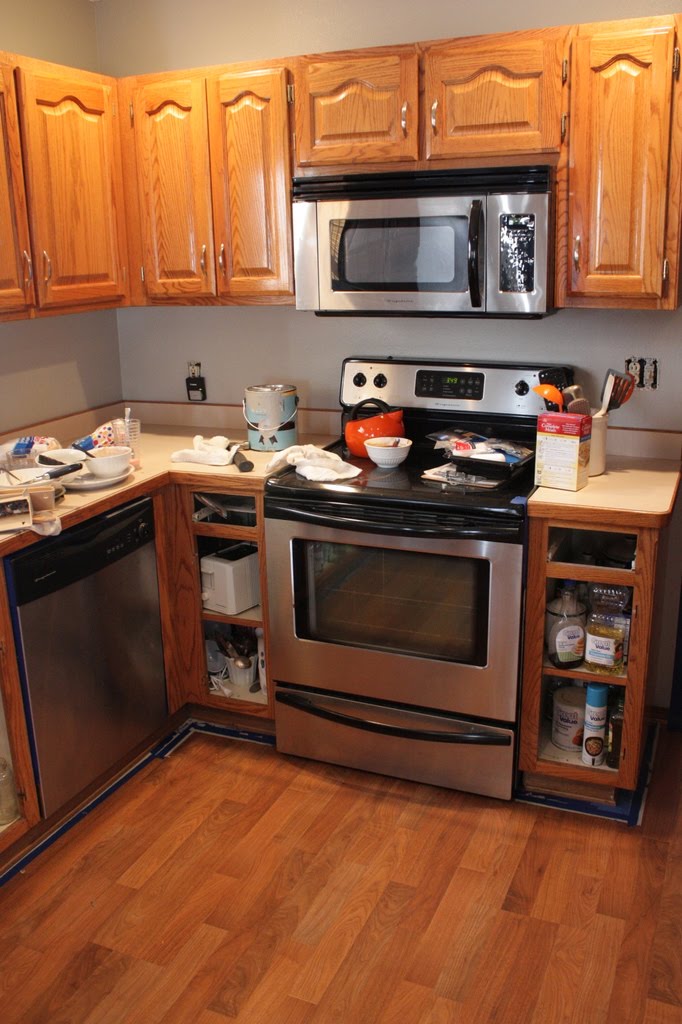
Cabinet doors and drawers were removed before painting, leaving the shelves open while work continued across the frames.
The oak was washed with an ammonia-and-water solution to remove grease and dirt. Instead of sanding the original finish before primer, two coats of Zinsser 1-2-3 went over the cleaned surfaces. Sanding with 120-grit paper between coats helped smooth the finish before more paint went on.
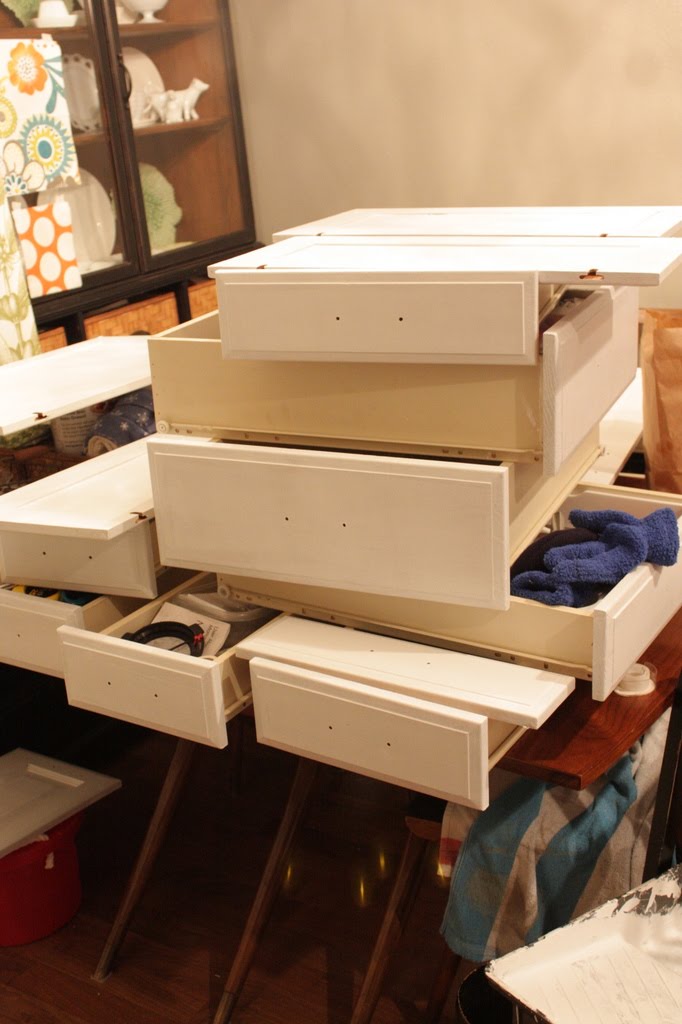
Foam rollers covered most of the flat cabinet surfaces, while a small brush reached the corners.
Extra Wood Added Height Above the Uppers
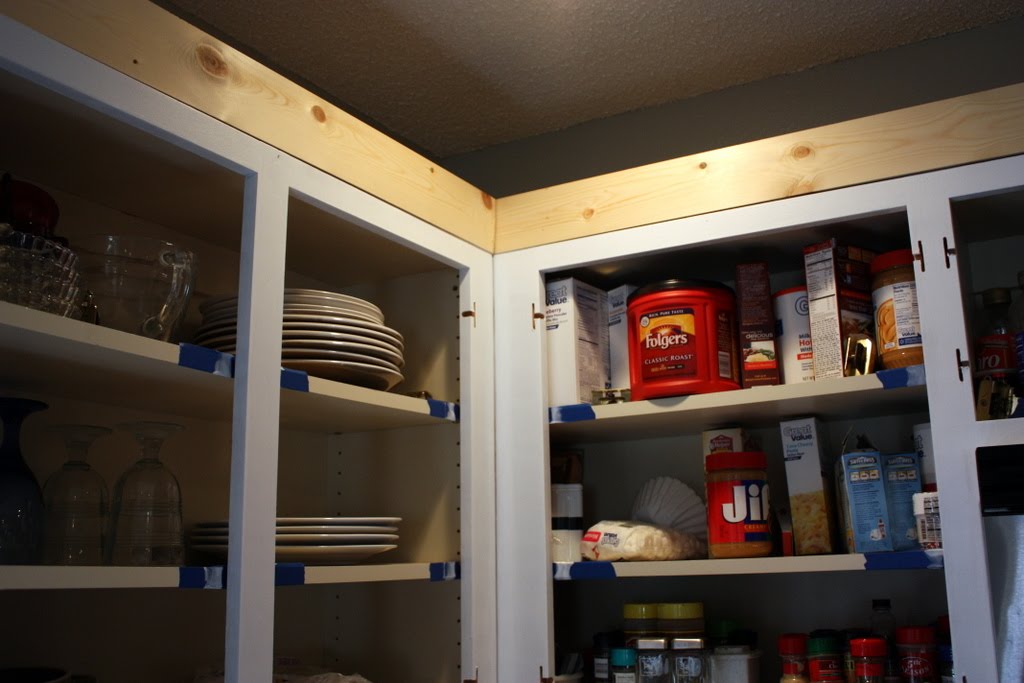
Instead of leaving the original gap above the cabinet boxes, the project extended their profile upward. Inexpensive boards created a new section above the existing frames before crown molding went around the top.
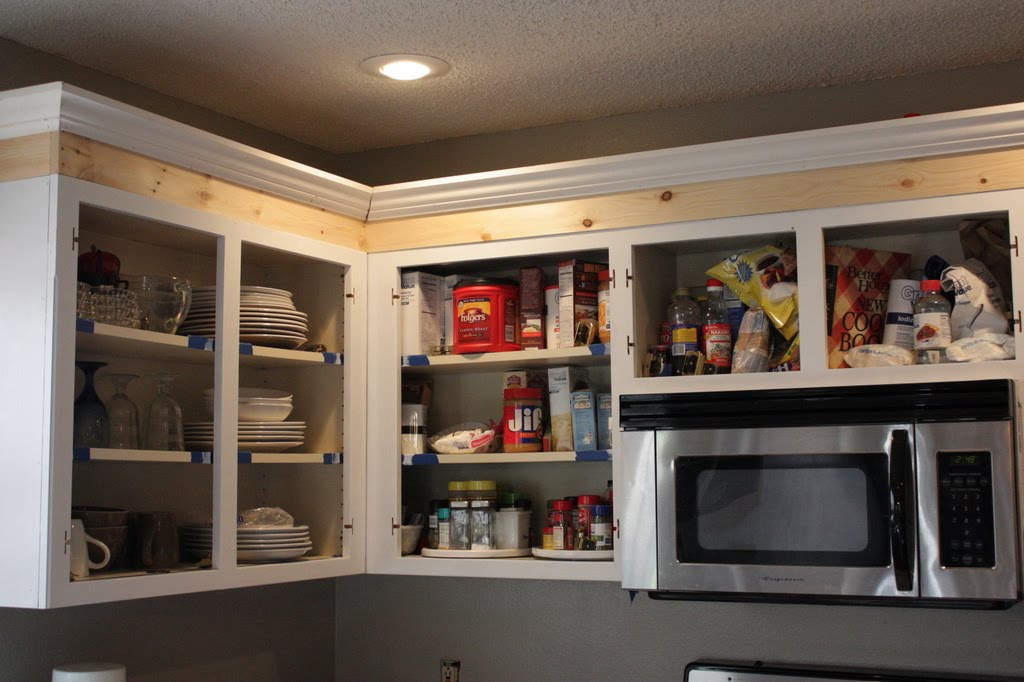
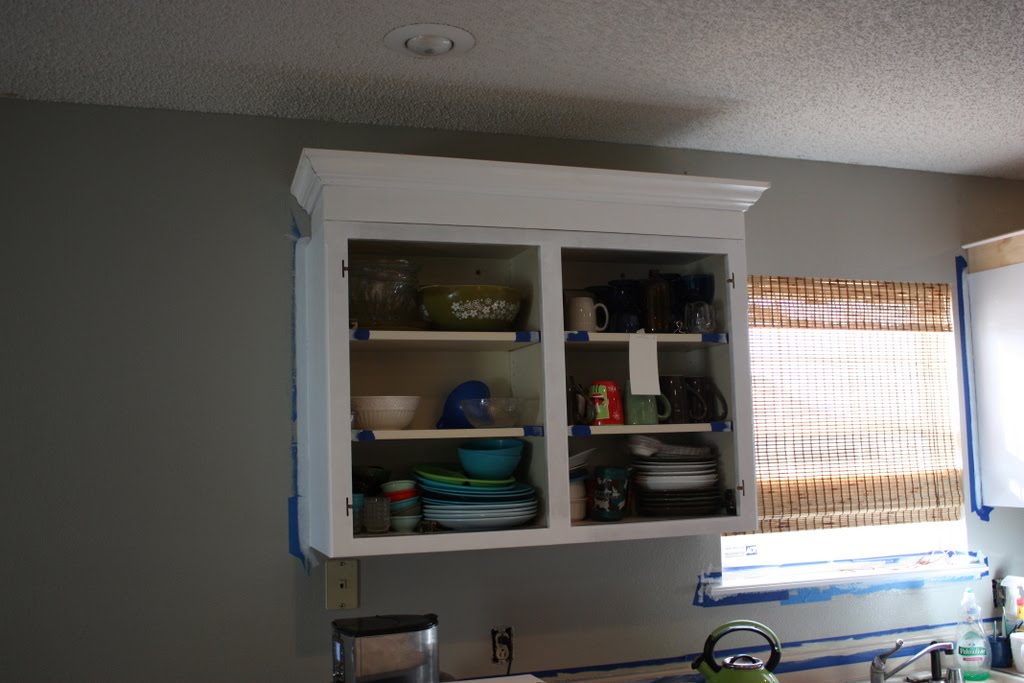
The unfinished wood visible during construction shows that the cabinet boxes themselves were not made taller. The added section changes their outer profile and gives the crown molding somewhere to terminate.
Crown Molding Finished the New Tops
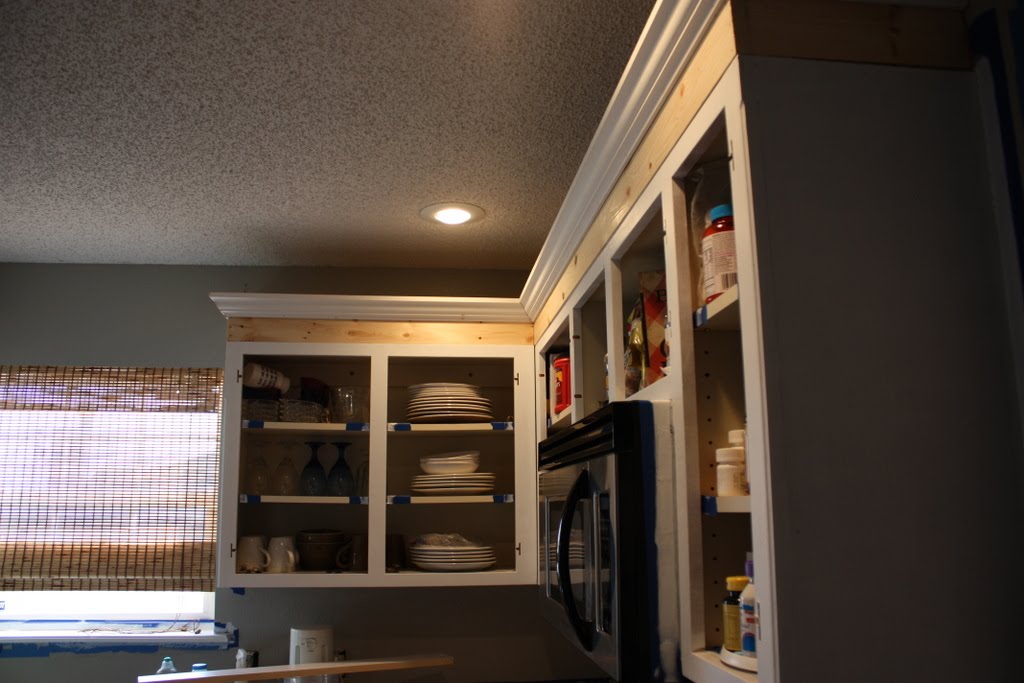
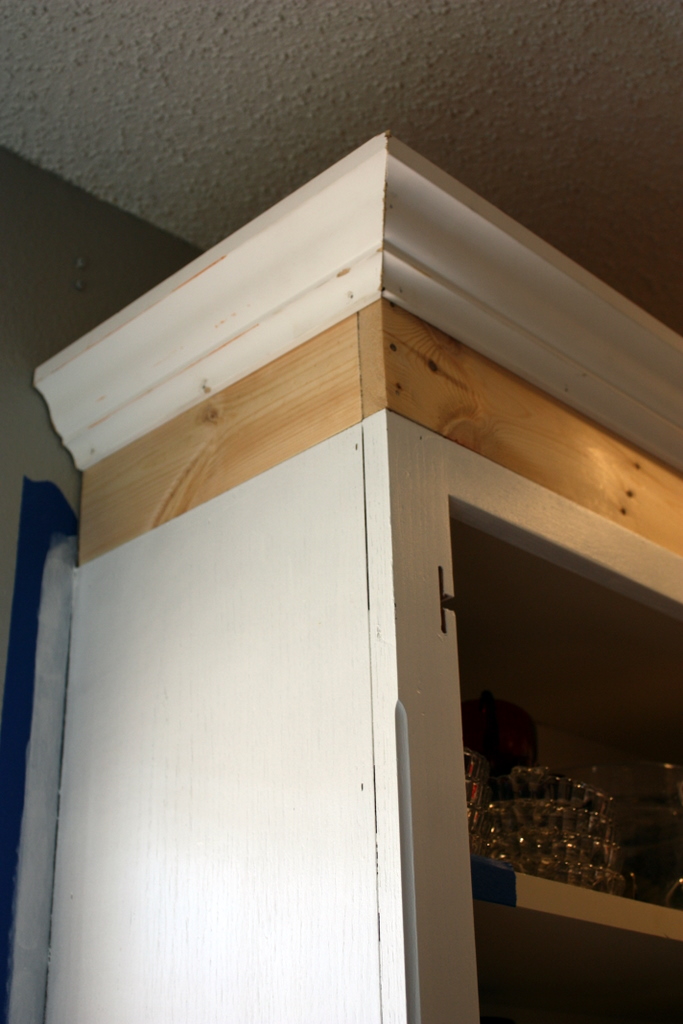
Crown molding wrapped around the added wood and continued through the corners, creating a deeper top above the original cabinets.
Seams, nail holes, and other gaps were filled before paint tied the old cabinet boxes, added boards, and molding together.
Upper and Lower Cabinets Went in Opposite Directions
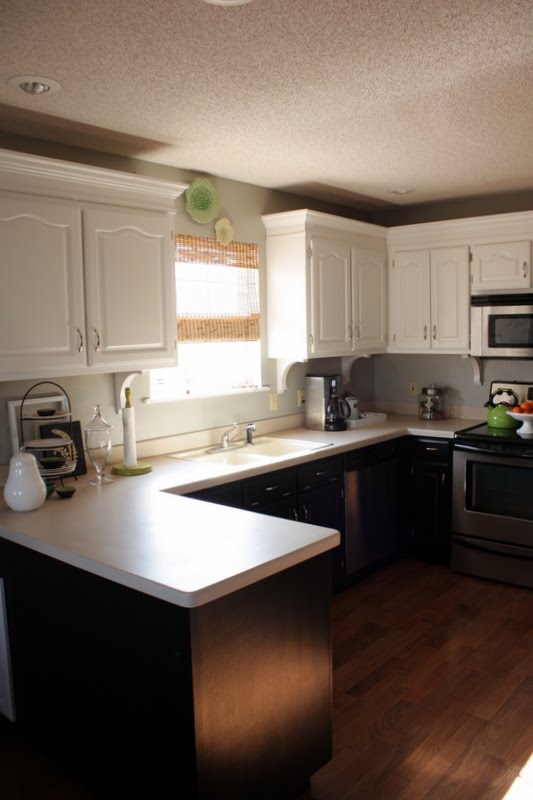
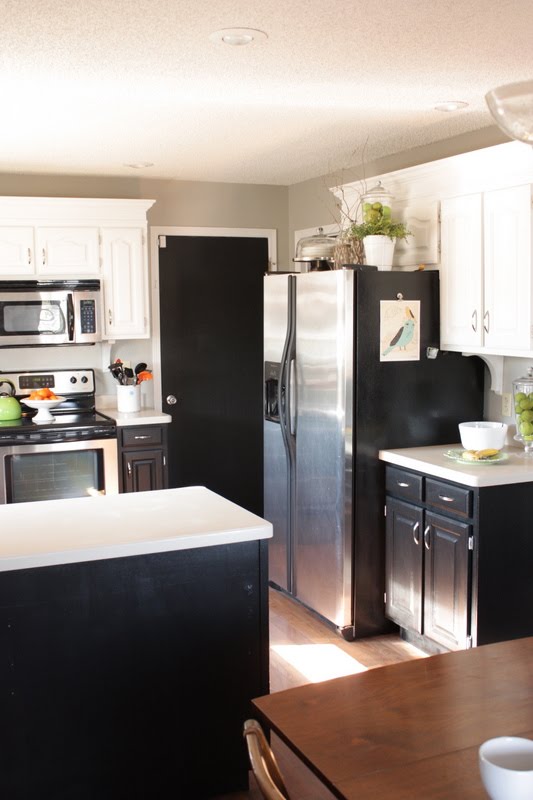
Tailor’s Chalk turned the upper cabinets white, while Silhouette covered the lower cabinets in a dark finish.
The split follows the counter line around the kitchen. White dominates above it, while the dark base cabinets connect with the black door and other dark pieces used in the adjoining space.
Corbels Added Detail Beneath the Uppers
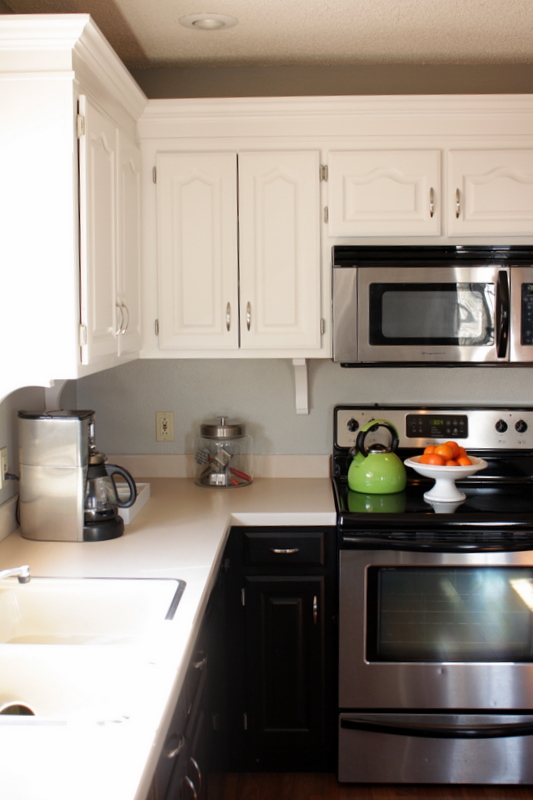
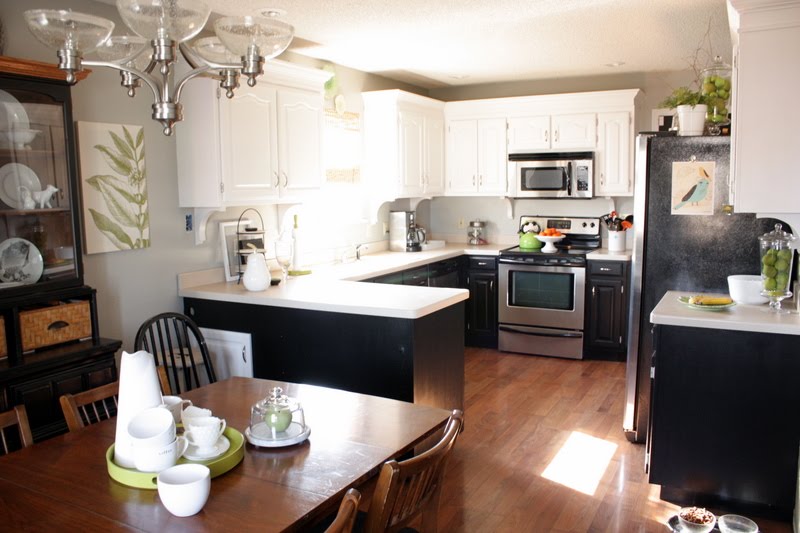
Curved corbels were installed beneath selected upper cabinets after the main painting work. Their profile adds another detail to cabinet boxes that originally ended with straight lower edges.
They were attached beneath the cabinets rather than to the wall so they could come down when a future backsplash was installed.
The Laminate Countertops Were Not Replaced
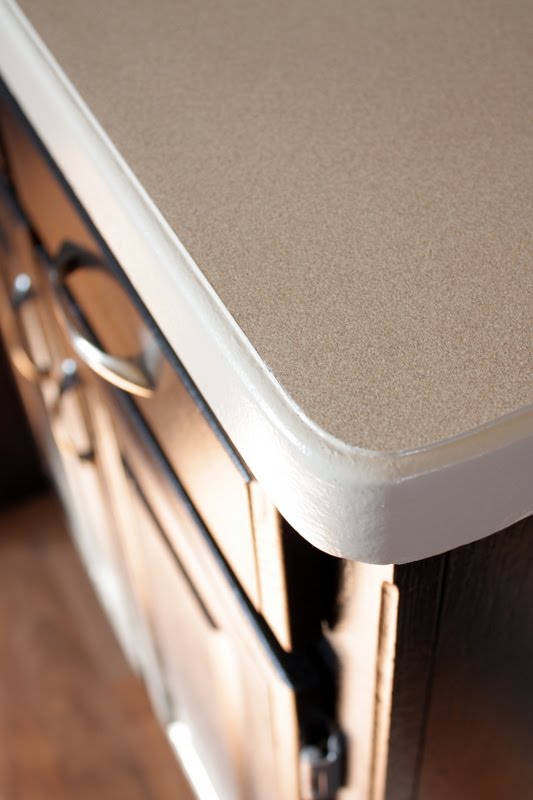
The counters look different in the finished kitchen, but the laminate itself stayed. The dated detail was the oak edging around it.
That wood border was taped off from the laminate and wall, then primed and painted with a color chosen to blend with the existing counter. The brown strip no longer outlines the work surface, making the old laminate read as one continuous pale surface.
Existing Appliances and Sink Stayed
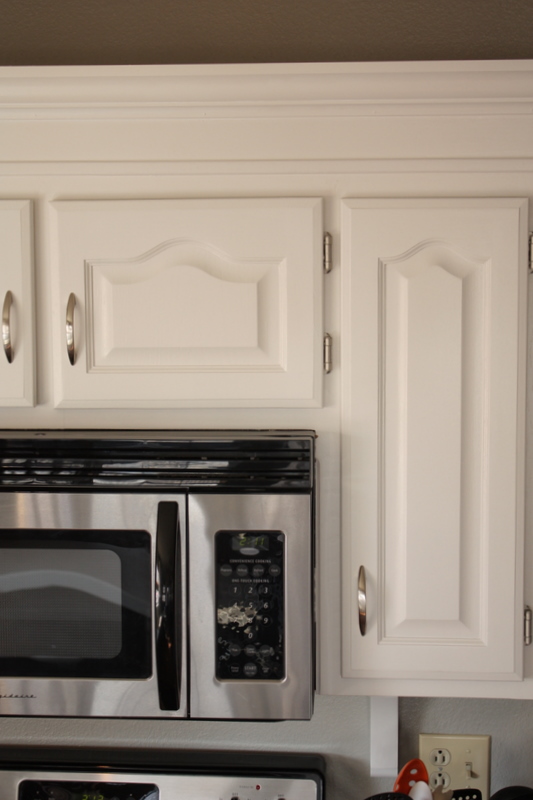
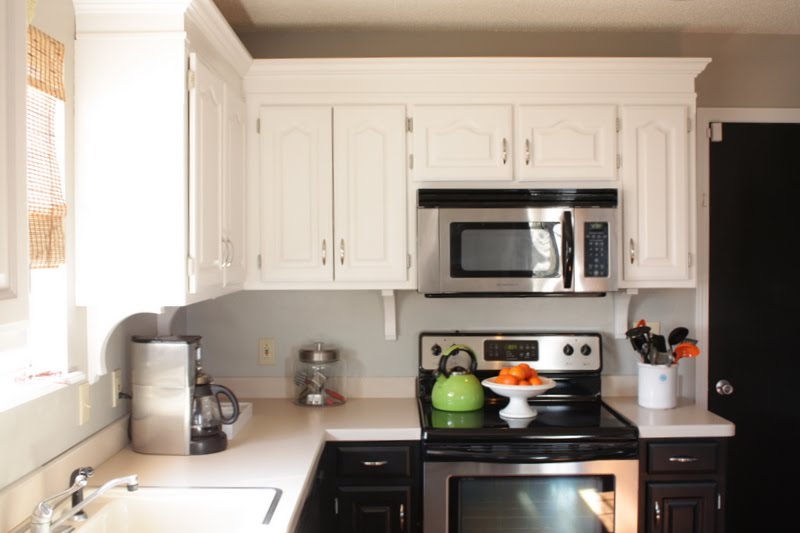
Stainless appliances purchased before the facelift remained, along with the existing sink and counters. The kitchen also kept the same cabinet positions and working footprint.
Most of the finished view comes from changing the surfaces around those fixed elements rather than moving them.
Painted Hinges Saved the Cost of New Ones
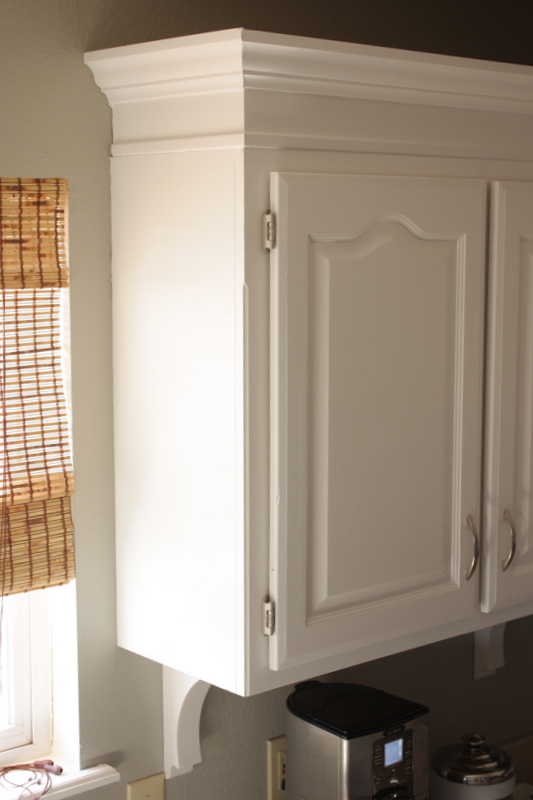
The cabinet hinges were reused instead of being replaced. Metal primer and Krylon Brushed Nickel spray paint changed their old finish to work with the existing pulls.
The source says replacing all of the hinges with nickel versions would have cost more than $130, while the primer and spray paint cost about $6.
Before and After Shows What the Added Height Changed
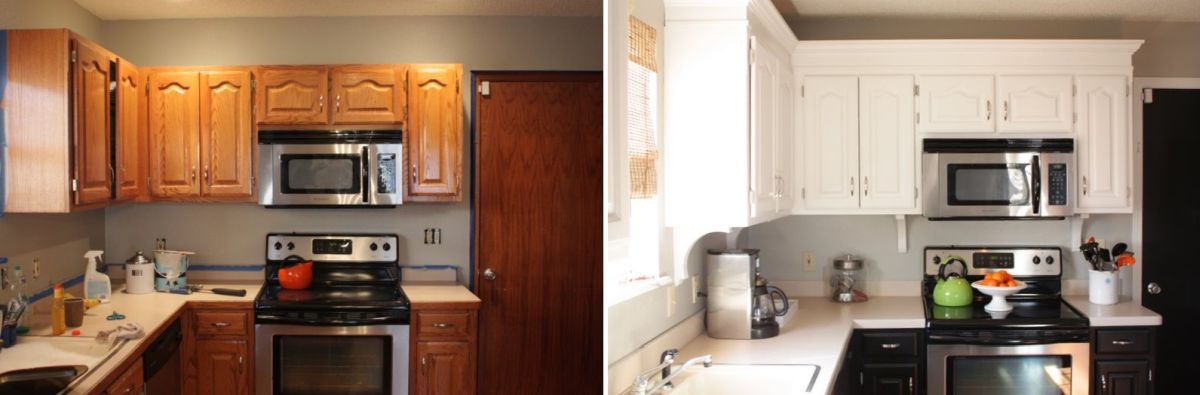
The original upper cabinets ended with flat oak tops and open wall above them. In the finished kitchen, the added wood and crown create a stronger upper edge, while white paint makes the separate pieces read as part of the cabinets.
Dark lower cabinets anchor the counter line, and the pale uppers carry the eye toward the new crown instead of stopping at the old cabinet height.
Would you have added height and crown like this, or used the space for another row of cabinets up to the ceiling?
Image credits: Sweet Something Designs.