

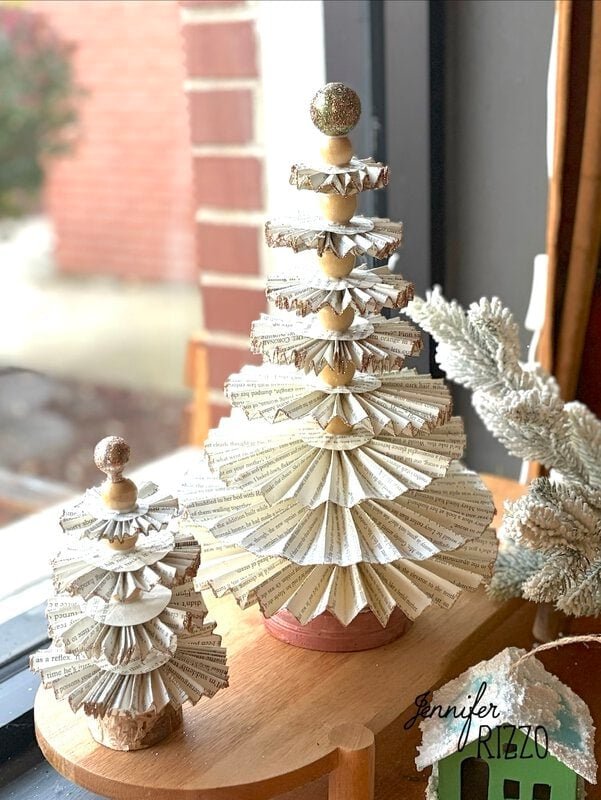

Book pages from non-precious books are such a great crafting item! I always have a ton lying around and I hate to just Book Page Paper Rosette Christmas Tree recycle them. This book page paper rosette Christmas tree is a fun way to use those book pages and create some fun holiday decor! While we glued these together, this could be kept unglued at the top to take a part for year to year storage. We give a little tip on that at the end of the post.
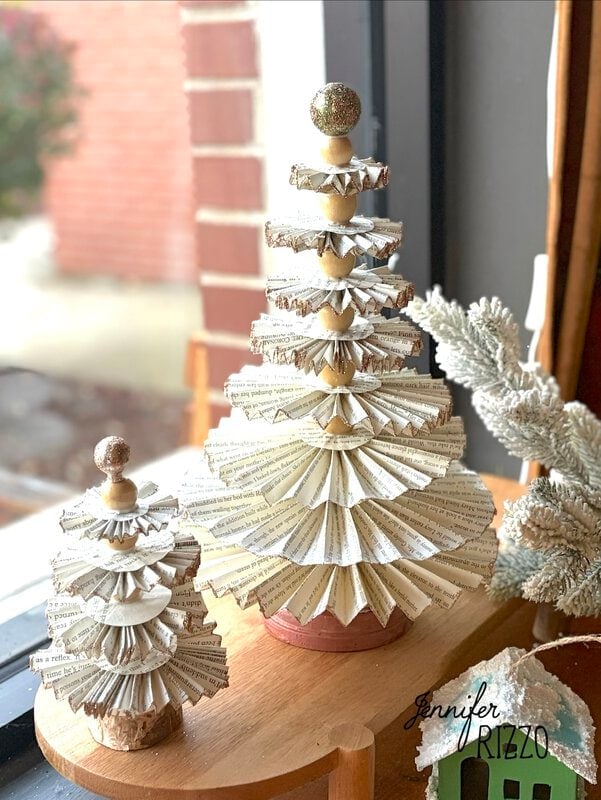
Supplies for This Project
-Old book pages or scrapbook paper
-Dowel rod 6″-12″ inches tall depending in how tall you would like your tree. We used a 1/8″ diameter dowel rod
-Large beads with a large opening that fit over the towel rod . Macrame beads work well for this.
-Craft wood base 3″ across
-glitter
-White craft glue
-Scissors
-Open top ornament or top embellishment
-Optional 2 inch paper punch and small notebook-size paper punch
Create the Base for The Rosette Tree
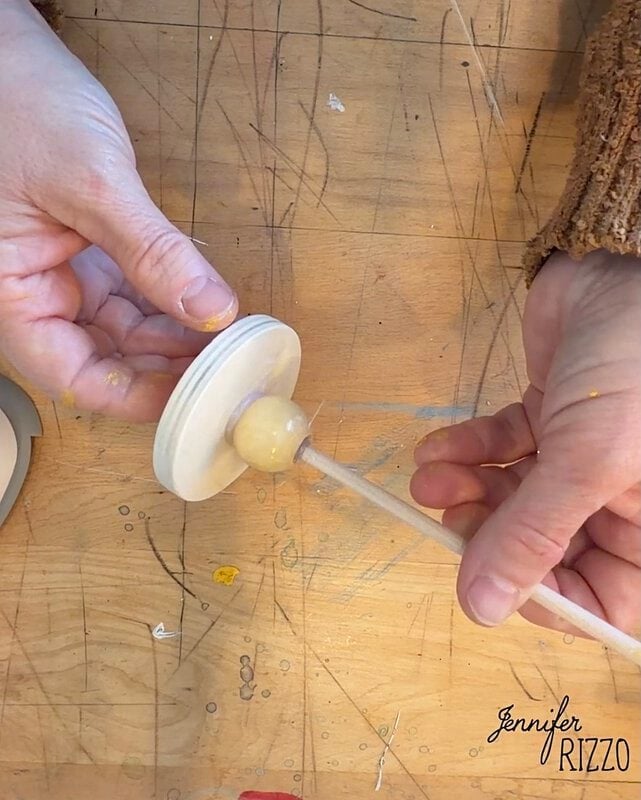
To create the base of the rosette Christmas tree, glue one of the beads to the center with glue. Once the glue is dry, add glue inside of the bead and stick the dowel rod inside. It should stand upright. If it doesn’t stand completely upright, use a piece of craft tape to hold it in place. Let it dry.
Cut Top and Bottom Circles
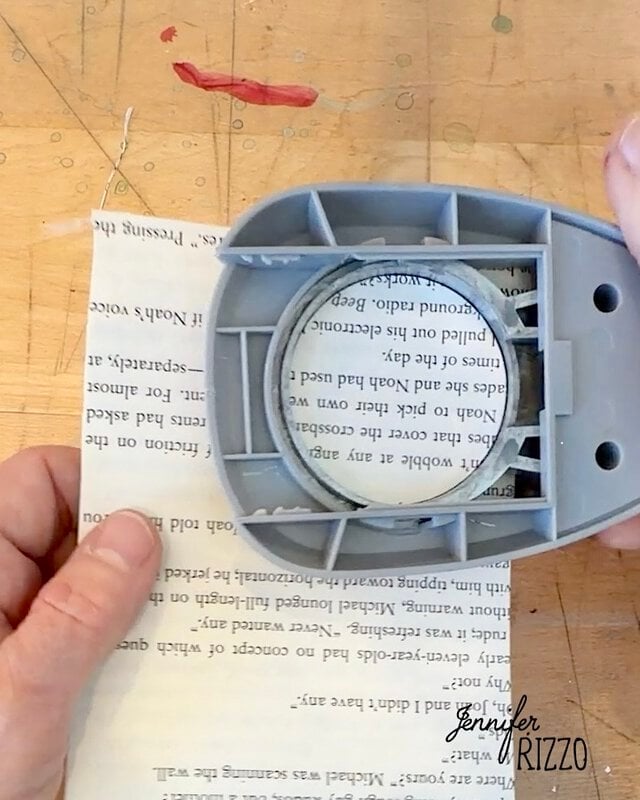
Cut out the circles for the top and bottom of the rosettes start by cutting out the circles 2″ in diameter. The paper punch can be used, or just cut with scissors. These will hold the rosettes together. After cutting out, fold in half, and punch a circle in the center by folding it in half and punching in the middle or snipping a small circle in the center.
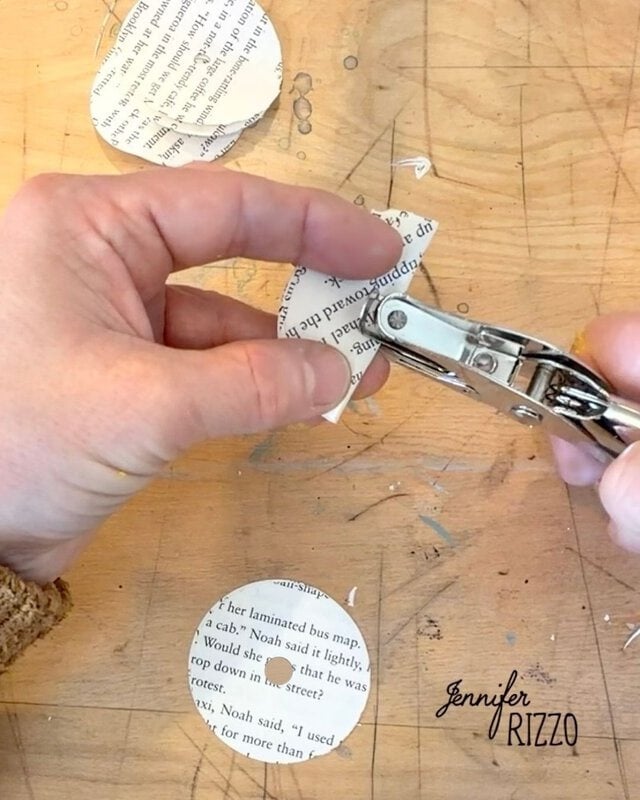
This will be the place they are threaded onto the dowel rod. Once punched and the hole cut, add some tacky glue to the top of these and set them aside so the tacky glue gets tackier as it sits.
Accordion Fold the Book Pages
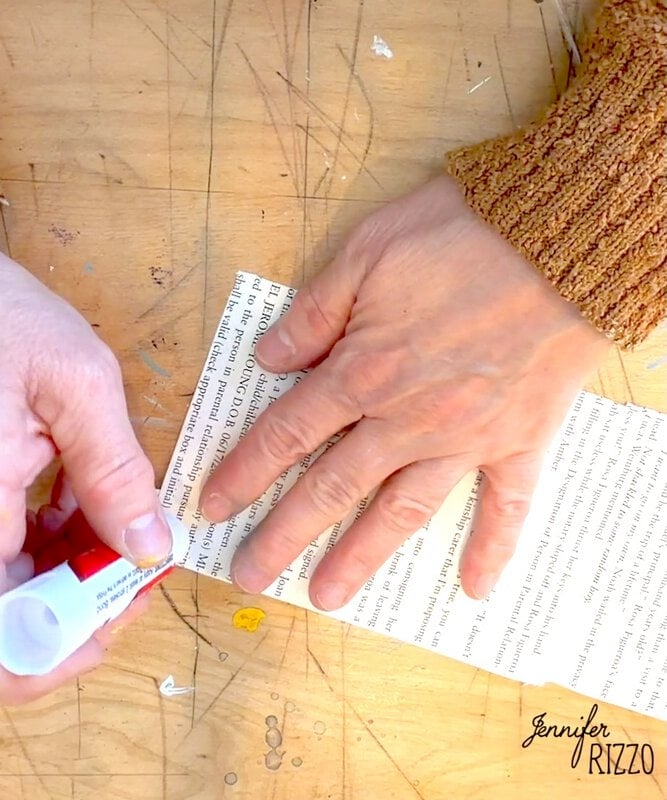
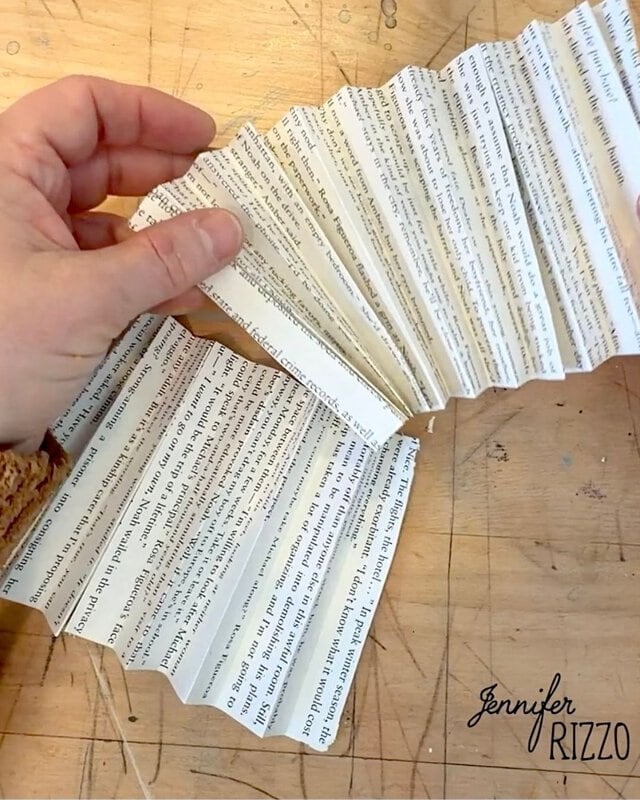
Create the accordion and fold the paper for the rosettes. For the largest rosette take 3 book pages approximately 5 inches across and glue the ends together to make a strip of paper approximately 18 inches long.. Once these are glued together, start a full accordion folding by folding over the bottom edge and then continuing to folding back-and-forth until the paper is completely folded top to bottom. At that point, glue the two ends of the folded paper together, so it creates a circle of accordion folds.
Create the Rosette
Rosettes are fun to make and can be used for so many projects! You can see how we made a Halloween rosette garland here. Before moving onto this part, pull one of the circles with the hols punched in the center that have glue on them , they’ll be needed in a minute. To create the rosette, stand the accordion folded circle upright and push down gently in the center.
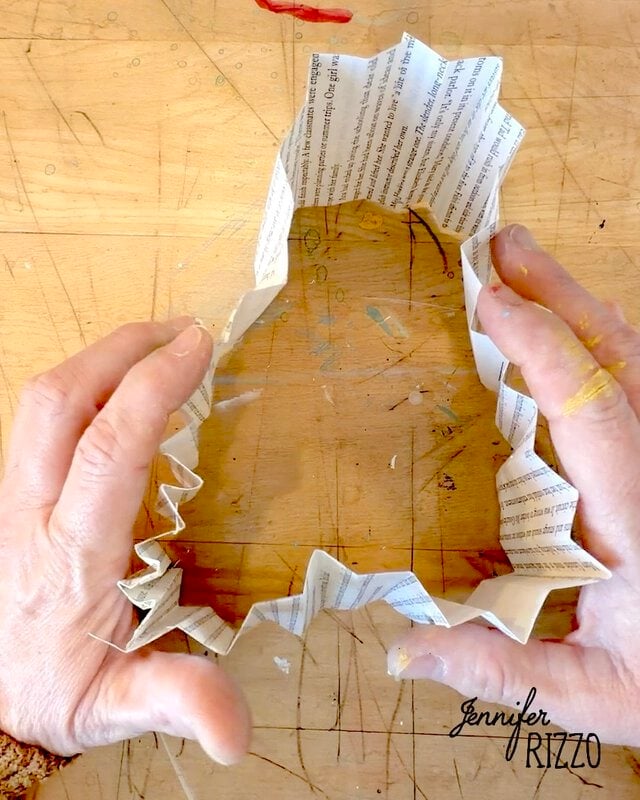
They should bring all of the folds together to create a base for your rosette. You might have to push a few of the folds into place. When all of the folds are pushed together and it is in a circle, there should be a hole in the middle.
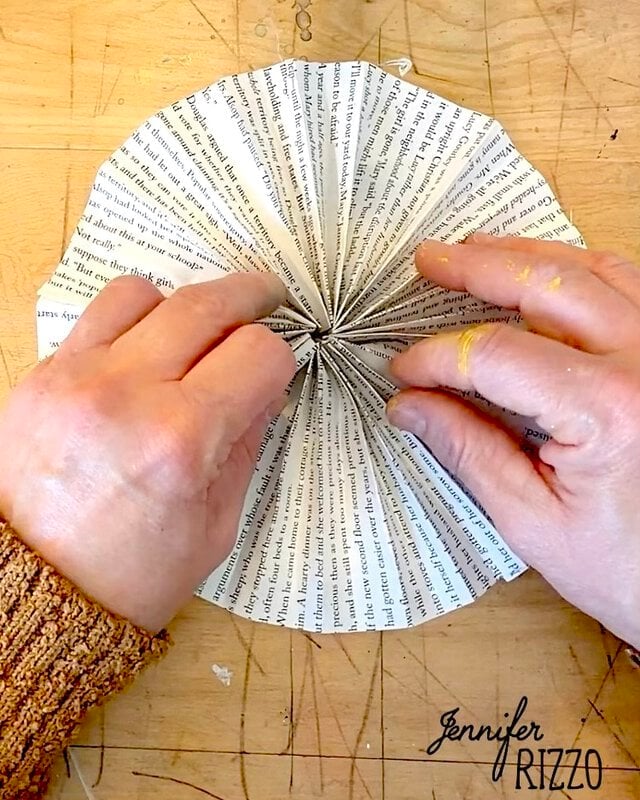
Lift it gently and place it on one of these small circles with the whole punched in the center and line up the holes. Press down on the glue. You may need to hold it a few minutes to get it to stay in place. Add more glue if needed. Grab a second circle with glue and press it on the top, sandwiching the rosette between the two glue circles. This will help it keep it’s shape. Set aside to dry.
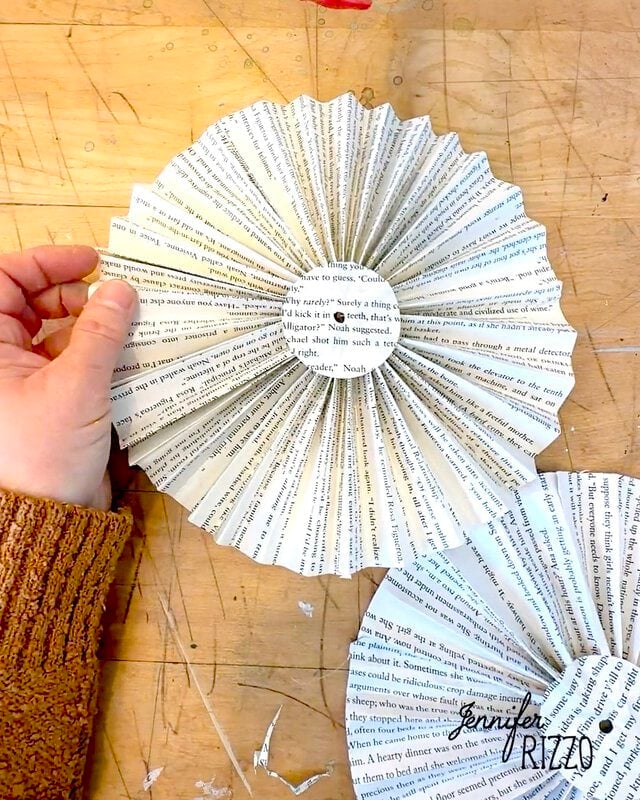
Create More Rosettes of Different Sizes.
To create roses different sizes will depend on the width of your paper. Reduce the width by cutting paper pages down on the side by an 1/8th of an inch each time, but keeping it the same length. The rosettes will be come tighter the smaller they get. if they are too right, the length can be reduced by trimming off some paper. Repeat this until you reach the amount of rosettes you desire for your tree.
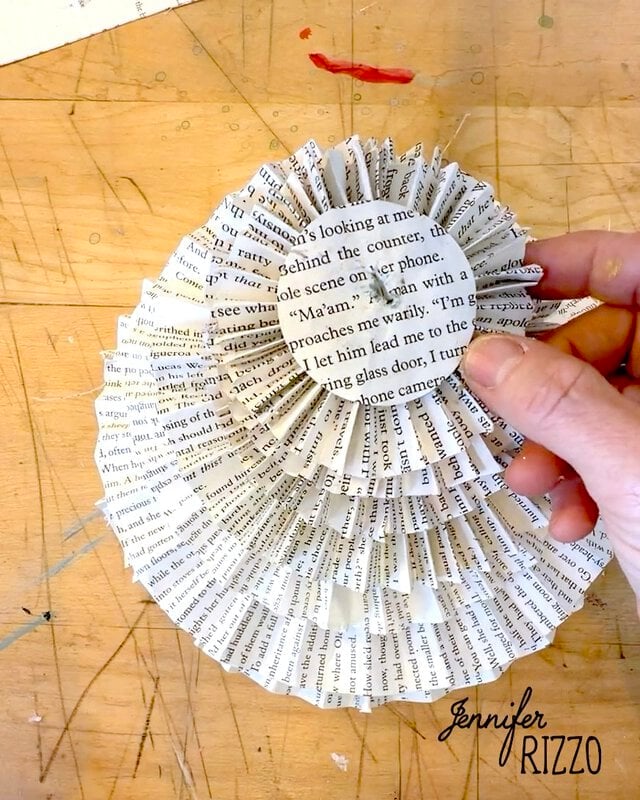
Glitter the Edge of the Rosettes
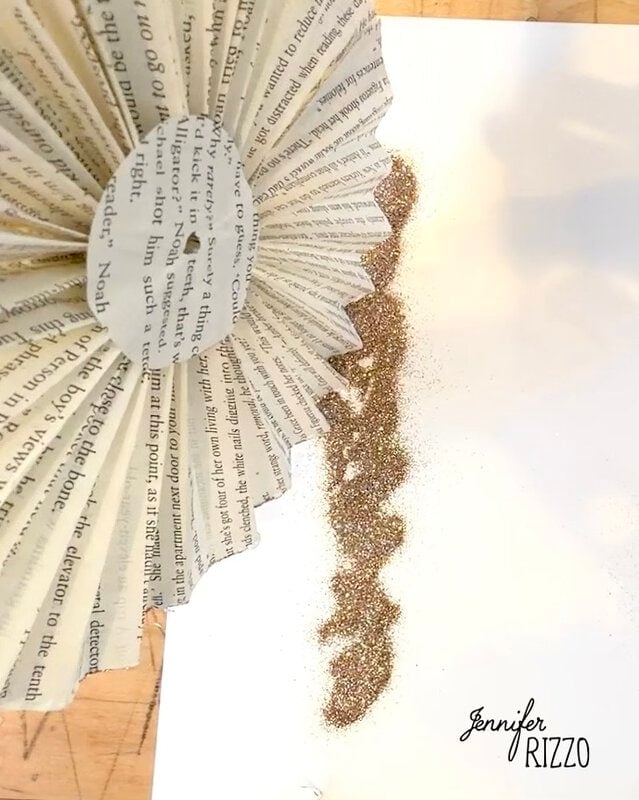
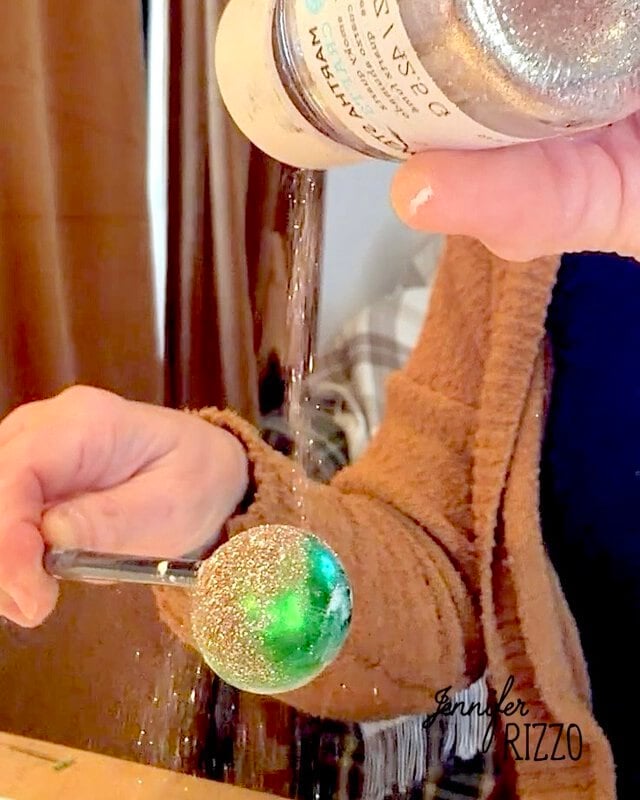
Brush the edges of each rosette with white tacky glue, and then glitter the edge. While you can sprinkle the glitter over the edges over a piece of paper, we found it was easier to sprinkle a little bit of the glitter on a paper and then roll each rosette through the glitter. Let dry.
Assemble the Rosette Tree
Once all of your rosettes are created, add glue to the base of your form and then add glue in the first beads. Once the first bead is glued down, add glue to the top of that and then carefully place the first rosette over the top of the dowel rod and gently move it down until it reaches the top of the bead with glue.
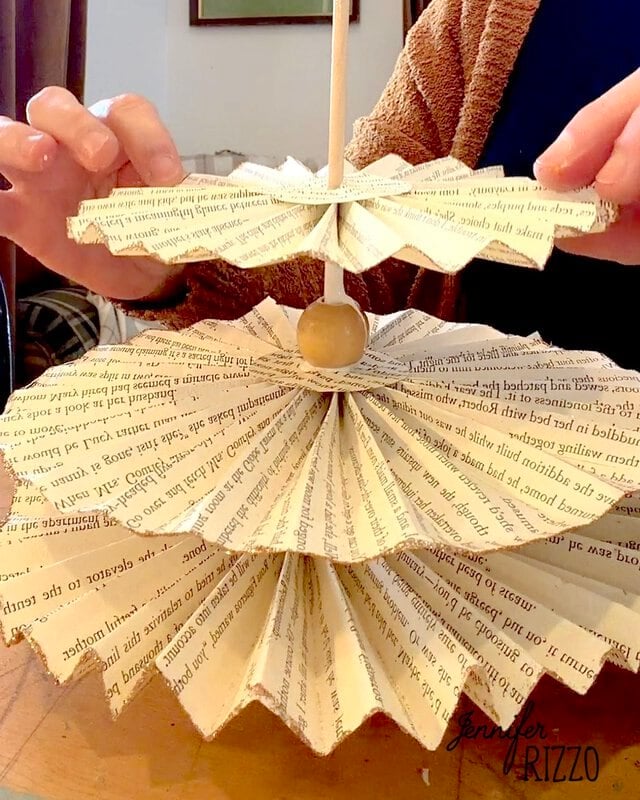
Add the next bead on top and repeat with each layer until you get to the very top of the rosette tree. Always be mindful of where the top of the dowel rod is to avoid poking yourself as you push down each section.
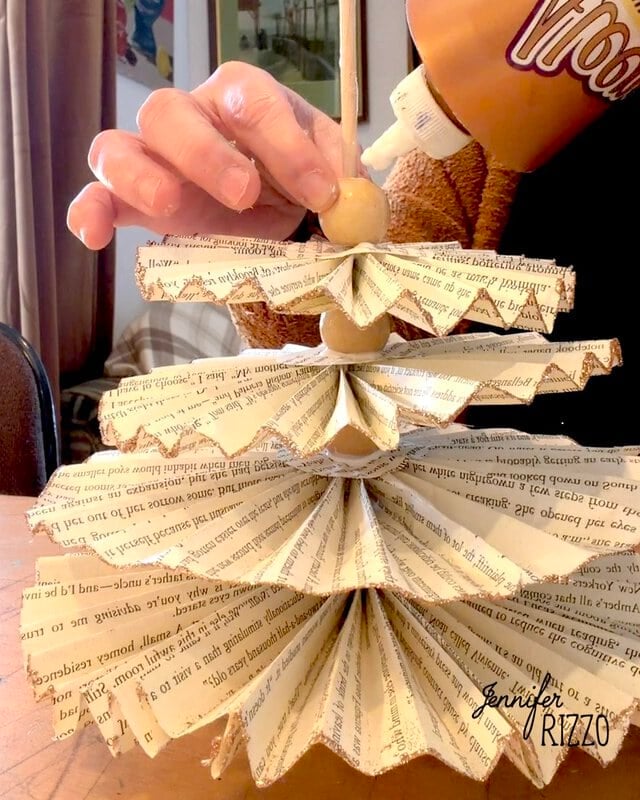
Top off the Tree
Once the very top bead is placed at the top of the down rod add either an open and an ornament a bow or some kind of decoration to finish off the top of the tree. Let the glue completely dry.
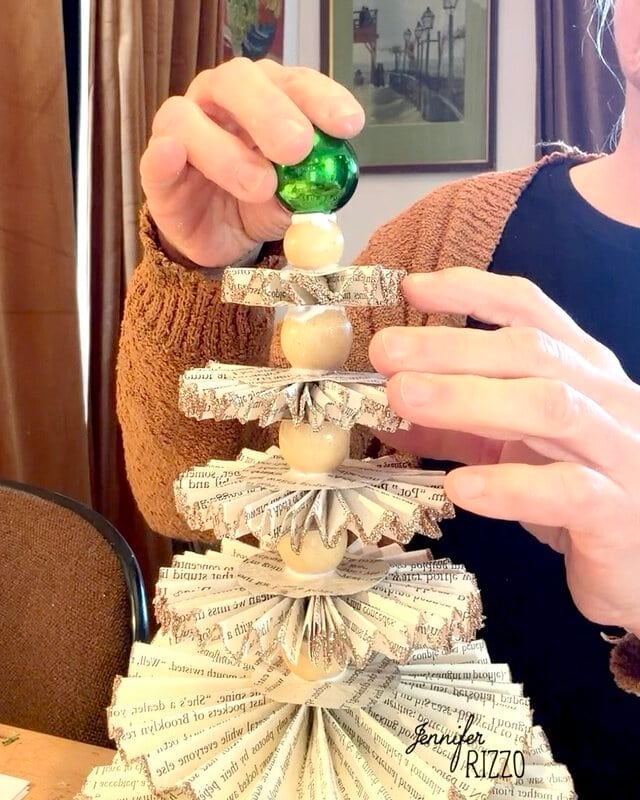
To Make the Tree Collapsible for Storage
Instead of using glue to assemble the tree, put the tree together and once it’s assembled wrap a rubber band multiple times around the top to hold everything in place.
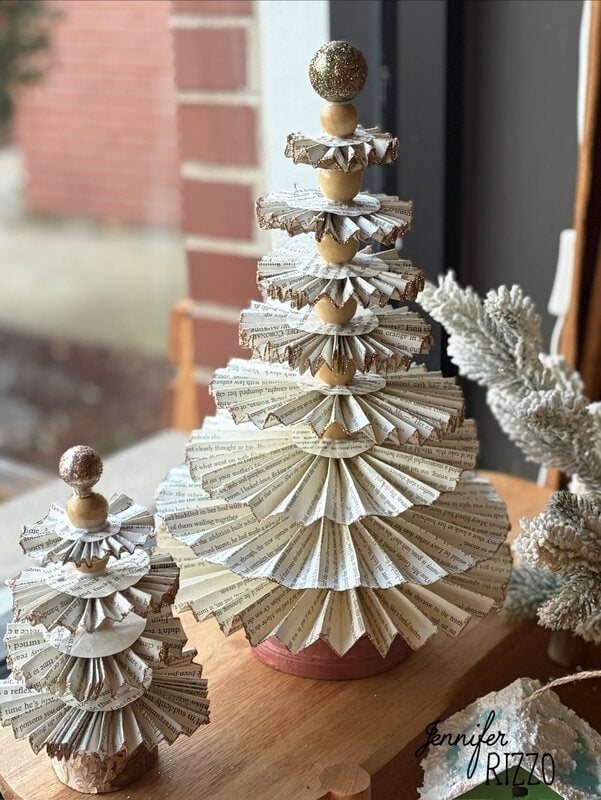
These are so darn cute and fun to make and display! Rosette trees can be made with colorful scrapbook paper for a fun whimsical look as well or as tall or short as desired to create a paper tree forest! Just make sure to keep away from direct flame, heat, small kids and pets as they could be a choking hazard.
