

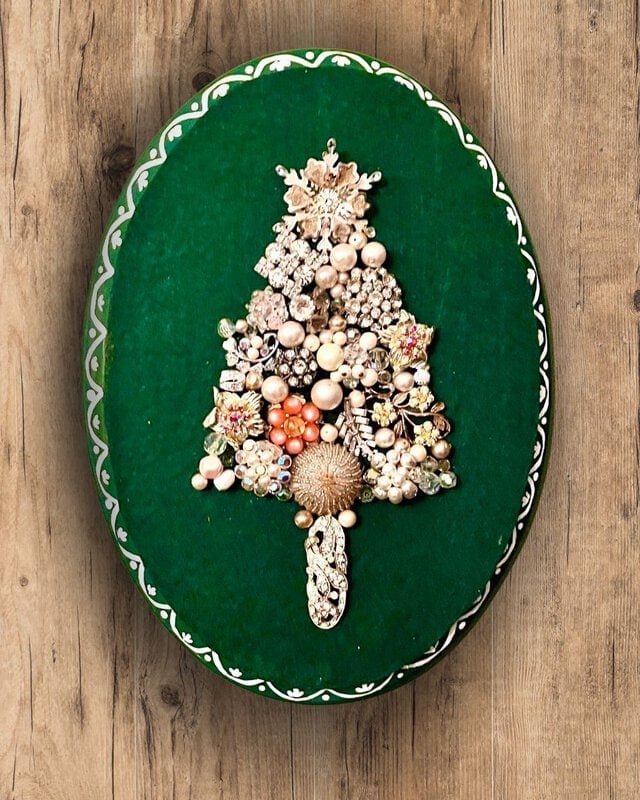

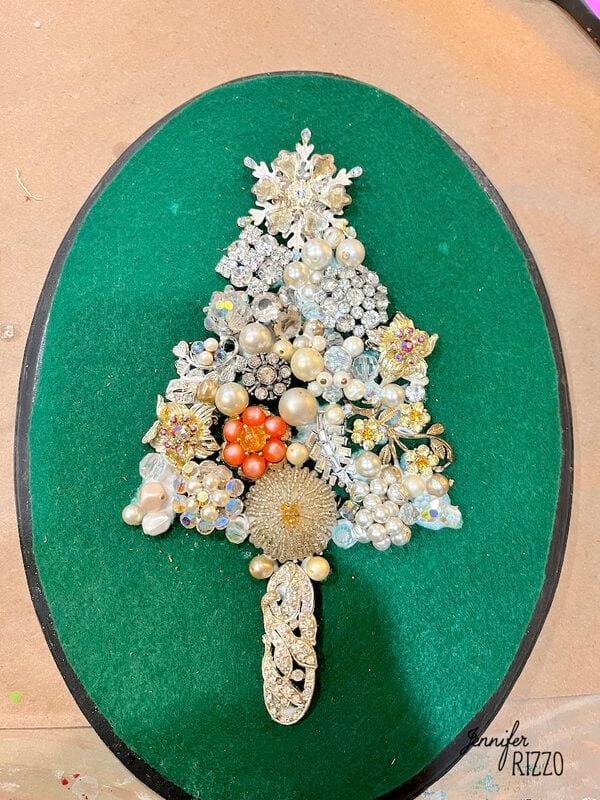
Have you ever had a bunch of broken sparkly costume jewelry like old earrings and brooches sitting in a drawer and not been sure what to do with it? I have so many earrings from my gram and aunt I just can’t part with but they are no longer wearable. This holiday season, take that broken jewelry out of a drawer and create a vintage costume jewelry Christmas tree. This can also be a wonderful momento of someone as well as a gorgeous piece of Christmas decor.
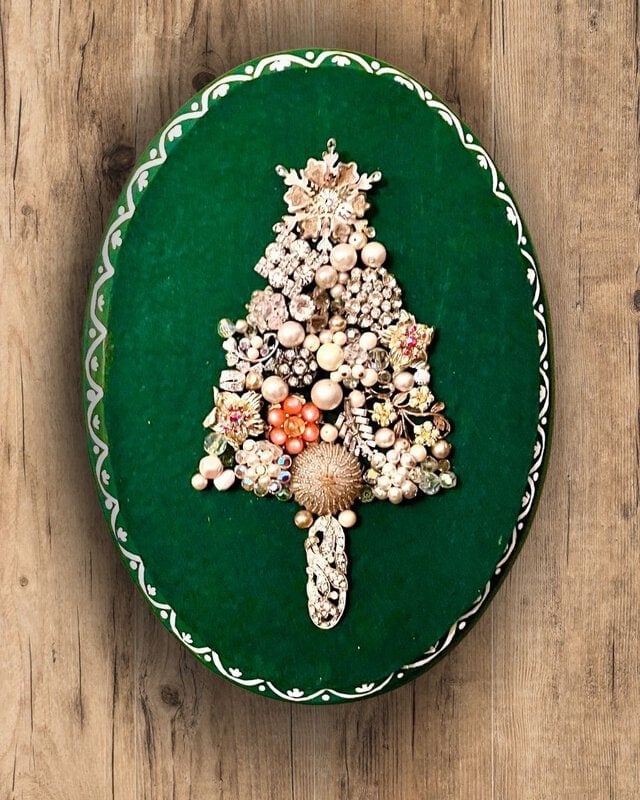
You can create a really gorgeous work of art with old jewelry, beads, pearls and more! Many years ago I didn’t have enough broken pieces to make a vintage jewelry Christmas tree so I used sparkly, faceted gems as you can see in this post to make a bejeweled Christmas tree.
Supplies for a Vintage Brooch and Earring Jewelry Tree
-Vintage broken jewelry such as : brooches, vintage pins, clip on earrings and more.
-Jewelry glue
-Felt/White craft glue
-Wood Round
-Frame (if desired)
-Random beads and pearls for filler (can also be found with broken jewelry or on Amazon)
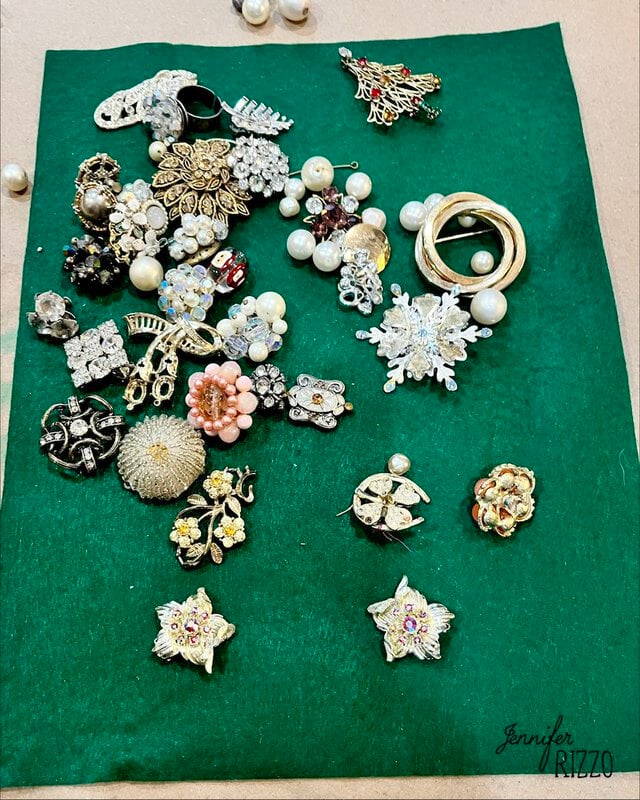
Gather Vintage Costume Jewelry
If you don’t have a hand mew down collection, you can find all kinds of vintage jewelry pieces on places like Etsy, Ebay and even FB Marketplace. Once and a while thrift shops will have jars of vintage jewelry bundled together as well. If using real vintage jewelry make sure it’s not valuable first. Some of it can be worth quite a bit. Regular or Christmas themed jewelry can be used, or mixed together for a unique look.
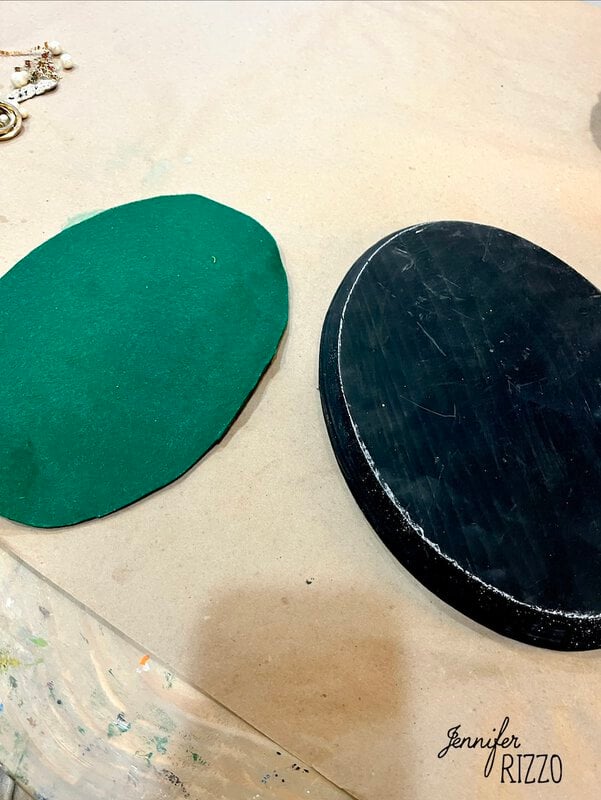
Prep a Backdrop for the Jewelry to be Glued to
Create wither a backdrop to frame with a pretty gold frame, or you can do what I did.
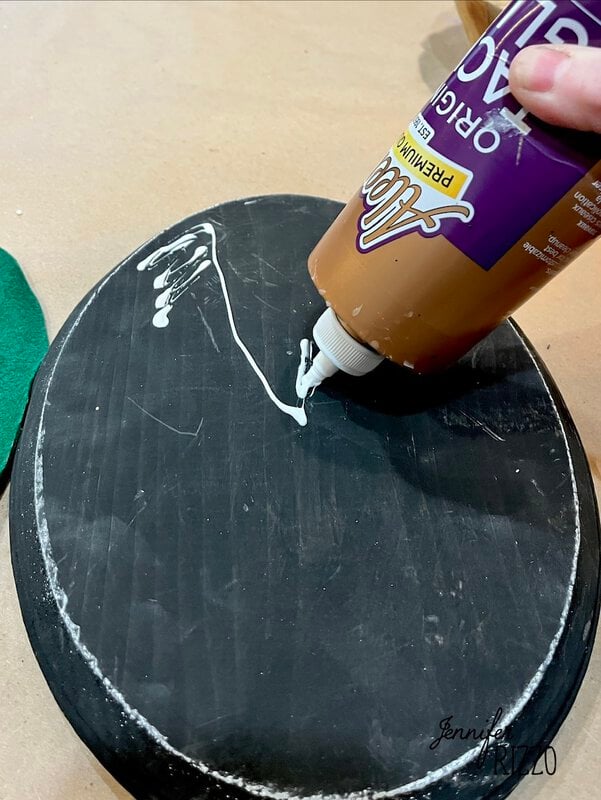
We took a craft wood oval we already had, glued felt (or velvet) to the surface and then painted and decorated the edges. It’s a personal choice to which way you want to look.
Arrange the Jewelry Pieces
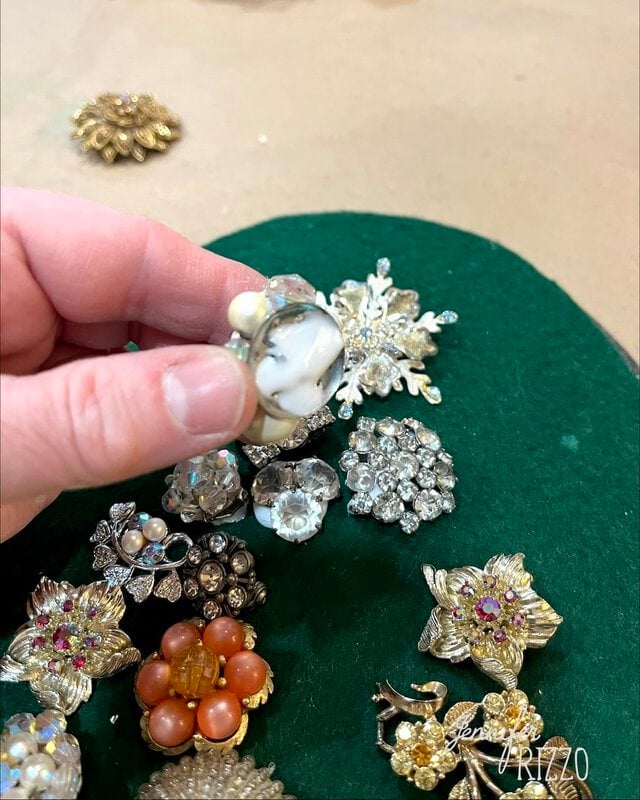
It important to per-arrange the pieces to see how they fit before gluing. It becomes a bit of a jigsaw puzzle to see how they fit to get the shape desired. If it helps, use a pencil to create an outline of a Christmas tree and use that as a guideline. Use caution when handing vintage jewelry as some can have different metals in them. Wear gloves if this is a concern.
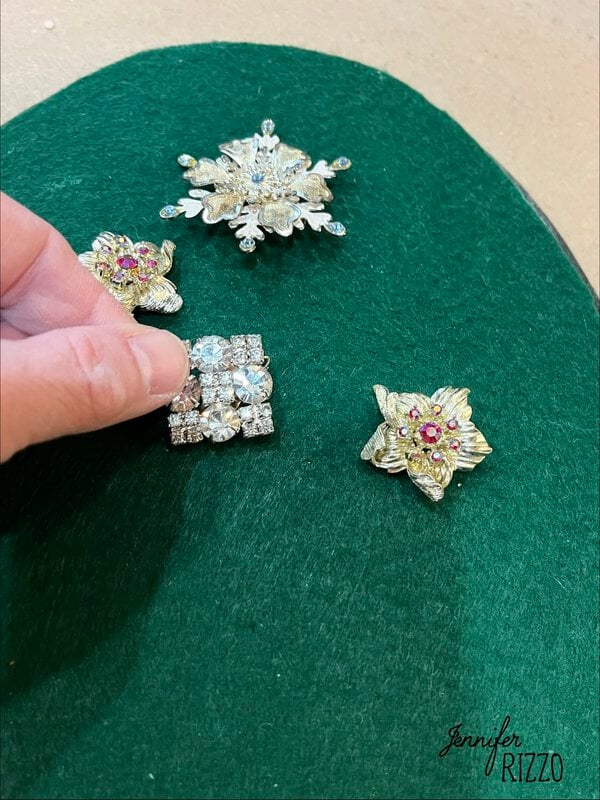
Glue Down Items with White Craft Glue
Start with the larges pieces first and glue those down in place. We used white craft glue because if we ever wanted to remove the vintage jewelry pieces in the future, we can, and easily clean them. Add a good amount of glue so it encases the back of the item. For a more permanent glue, a multipurpose permanent adhesive can be used.
Add Filler Beads and Pearls
Because there are going to be spaces between the earrings, pins and brooches, adding small bits like little beads or pearls can help fill up the space and make the tree look fuller and much more sparkly!
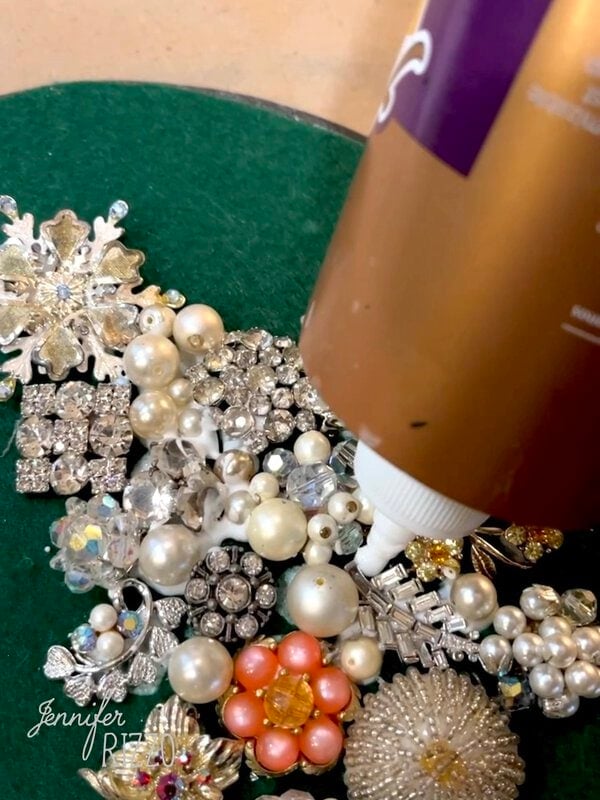
Let the Glue Dry Completely
Let the jewelry tree glue dry completely before hanging or displaying.
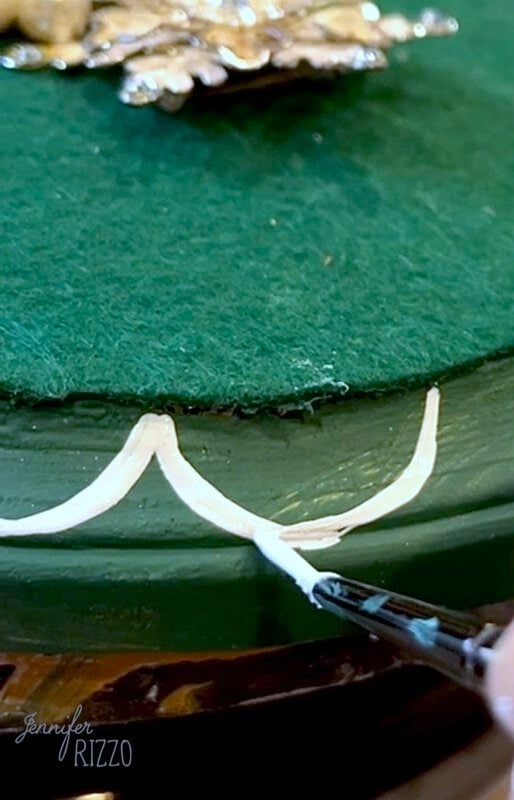
Decorate the Edge if not Framing the Christmas Tree
We decided to paint and decorate the edge of the wood round by painting a pattern on with craft paint to give it a more handmade, folky look.
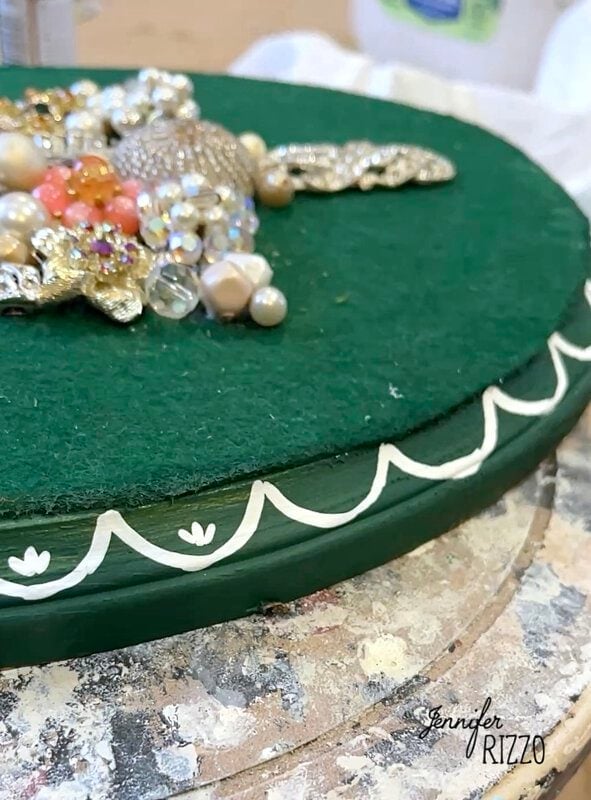
Add a hanger to the back and display or put in a photo stand! Keep out of reach of children or pets.
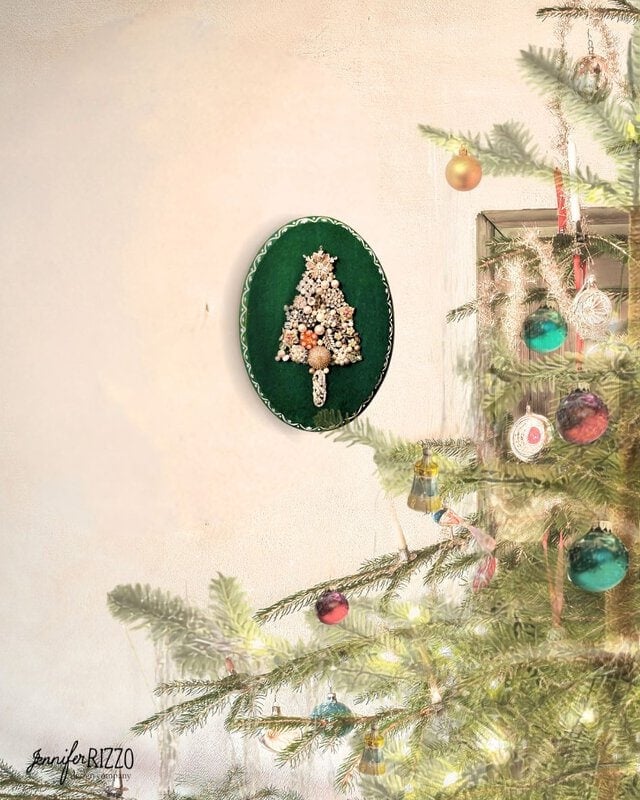
Since it’s not quite Christmas when we made this project (It’s July!), we photoshopped it into a Christmas tree scene to show you what it would look like on the wall.
If you loved this project, see how to make vintage-style diorama ornaments Want to chat about it? Join our community over on the Raptive app!
