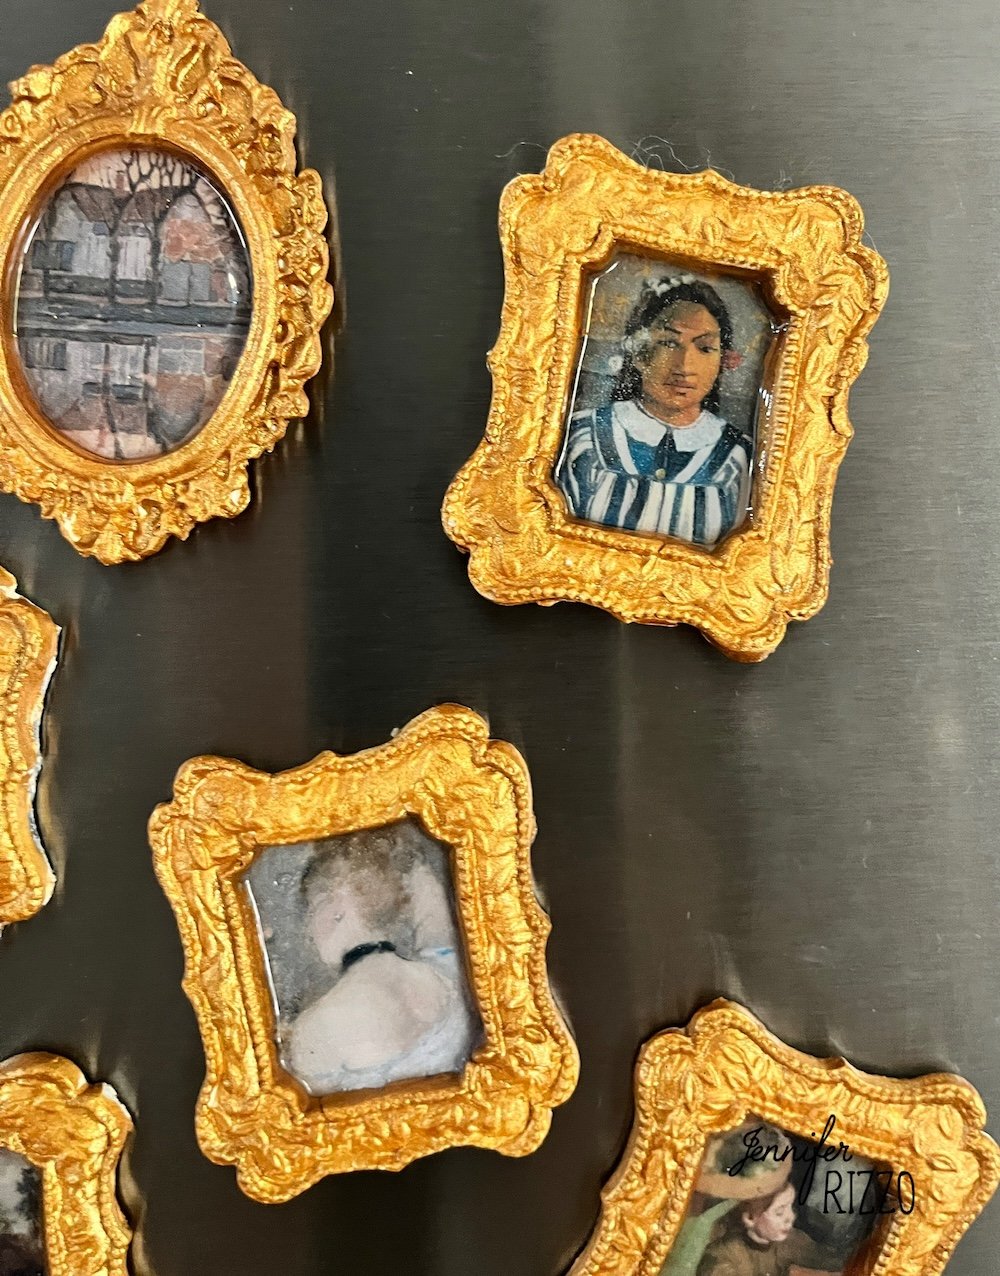
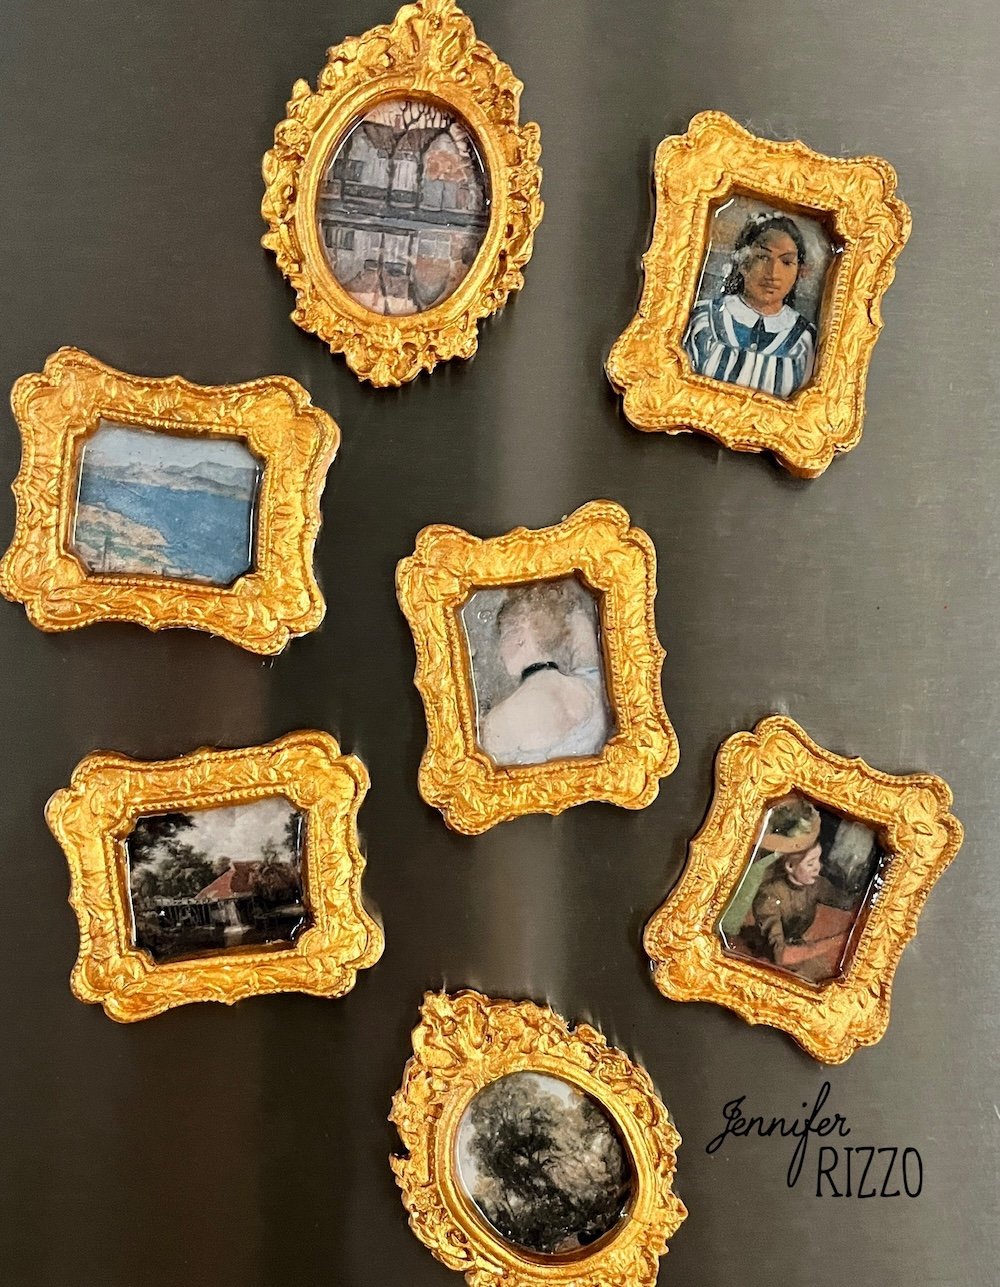
Are you ready for a cute project that nor only dresses up your refrigerator, but also makes a cute handmade gift for giving? These DIY gold picture frame refrigerator magnets are fun to and easy to make can with the molds and copyright free art (or copies of personal pictures!). They also can be personalized with images and sets to make the magnets or can be created and packaged to make a very special gift, or if you’re into miniatures make cute dollhouse sized framed art! This project uses Mod Podge Dimensional Magic which will give a resin-like finish without the fumes or needed a light to cure the coating.
This post contains affiliate links. See our sponsor and affiliate disclosure here.
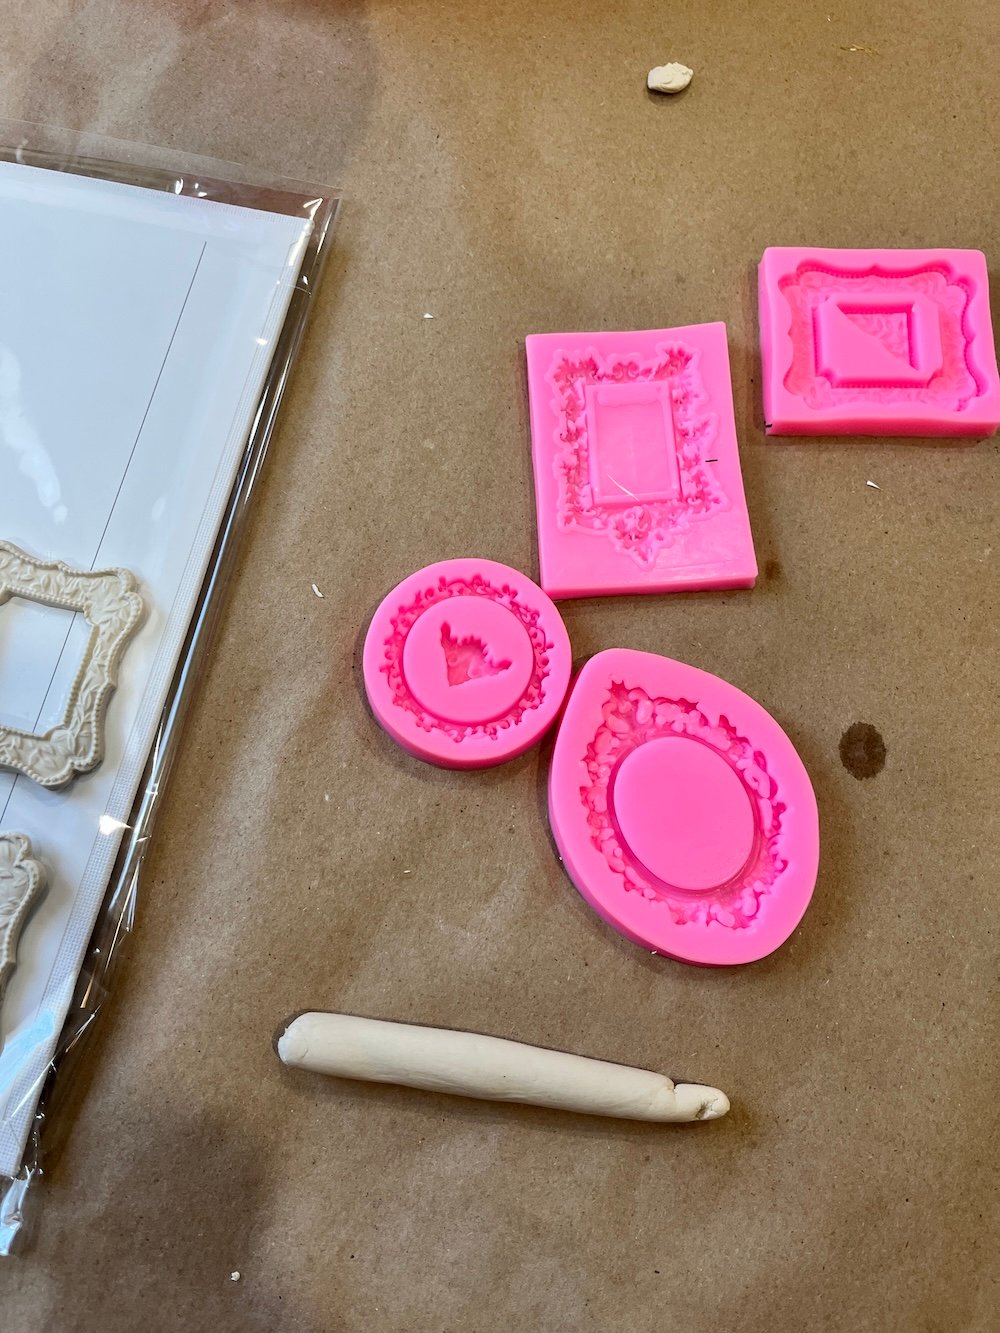
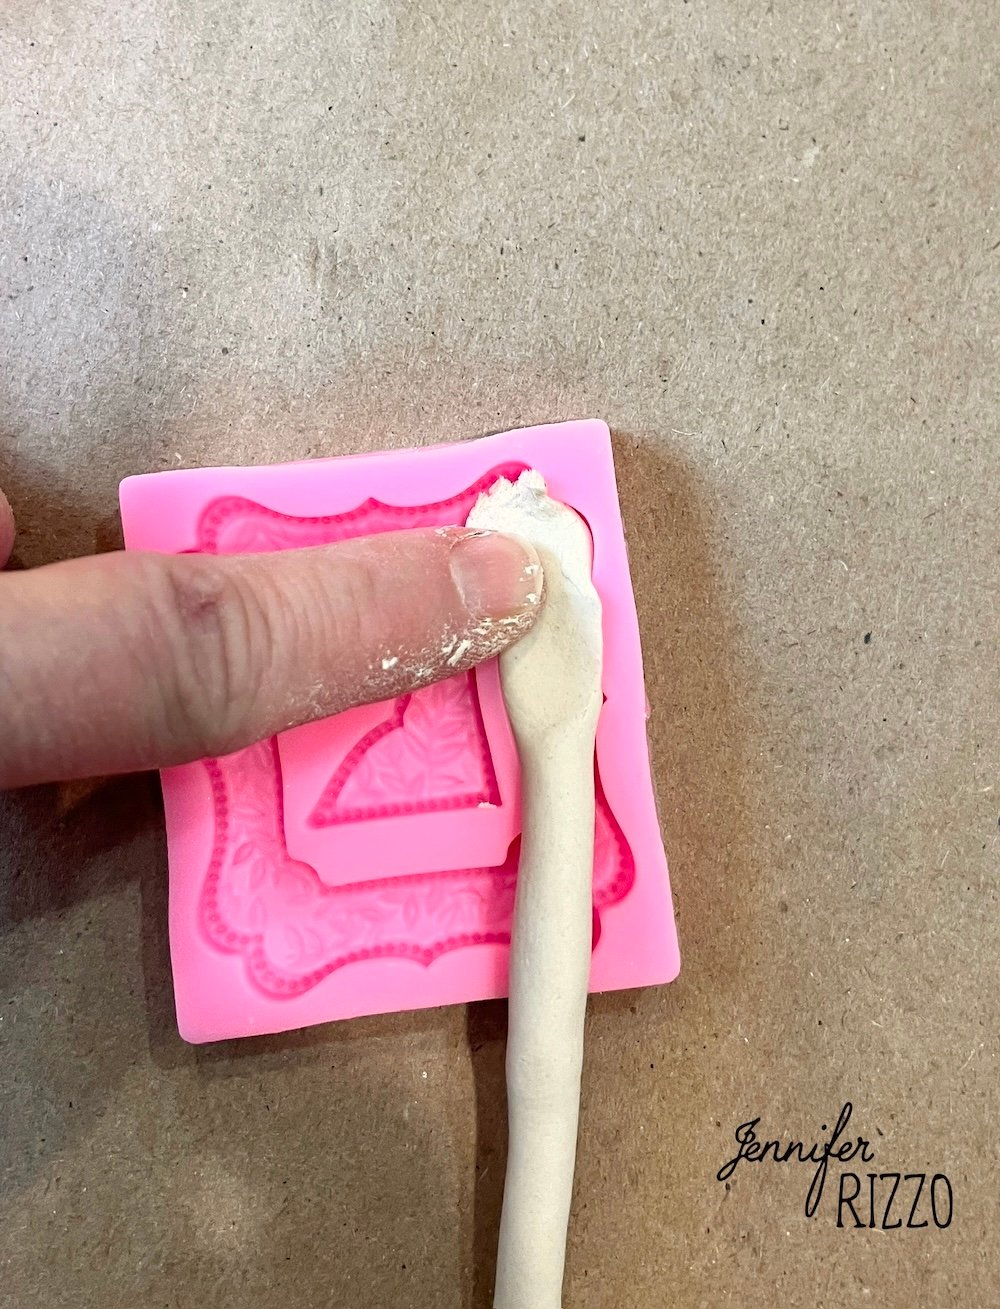
Make the Frames For Your Handmade Fridge Magnets With Air Dry Clay
Take a small piece of clay and roll it into a tube or a snake. Press the tube into the frame mold and remove any excess clay. Use a little bit of water to smooth the top so that it is flush with the top of the frame mold. Keep any excess clay in an air tight container between uses.

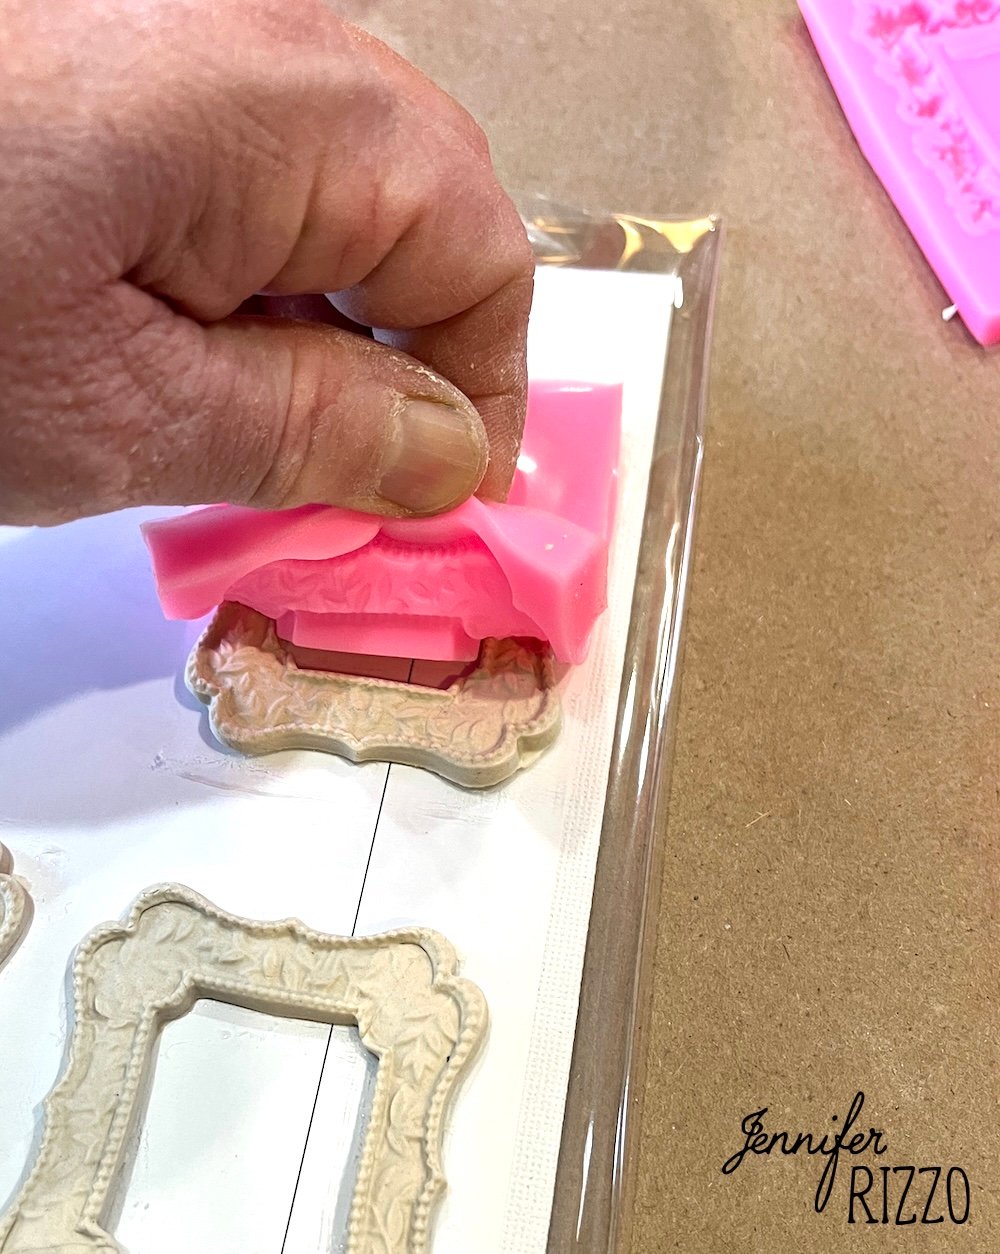
De-mold and Dry the Clay DIY Gold Picture Frame Refrigerator Magnets
Flip the mold over the press onto a surface of the parchment paper. Carefully peel the mold back to reveal the clay frame. Let dry and repeat to make multiple frames.
If you love air dry clay projects, see how to make these clay mushroom ornaments.
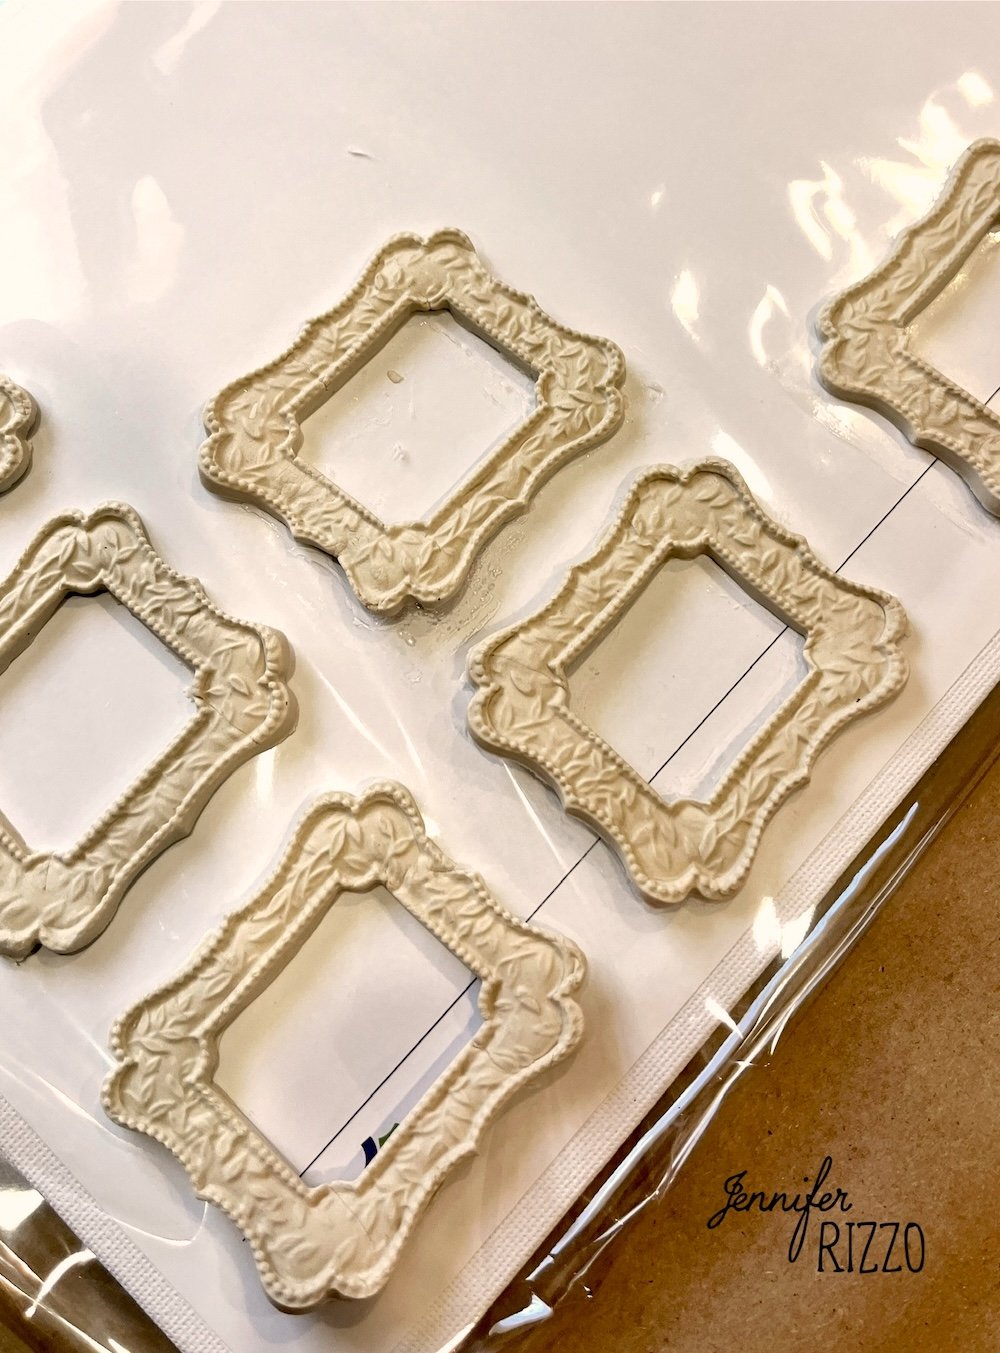
Once all of the clay frames are de-molded, let sit at least 24 hours for the top to dry. Once the top is dry to the touch, carefully remove the frames from the parchment paper and flip them over and let the backs dry another 24 hours before painting.
Paint the Clay Frames of the DIY Fridge Magnets
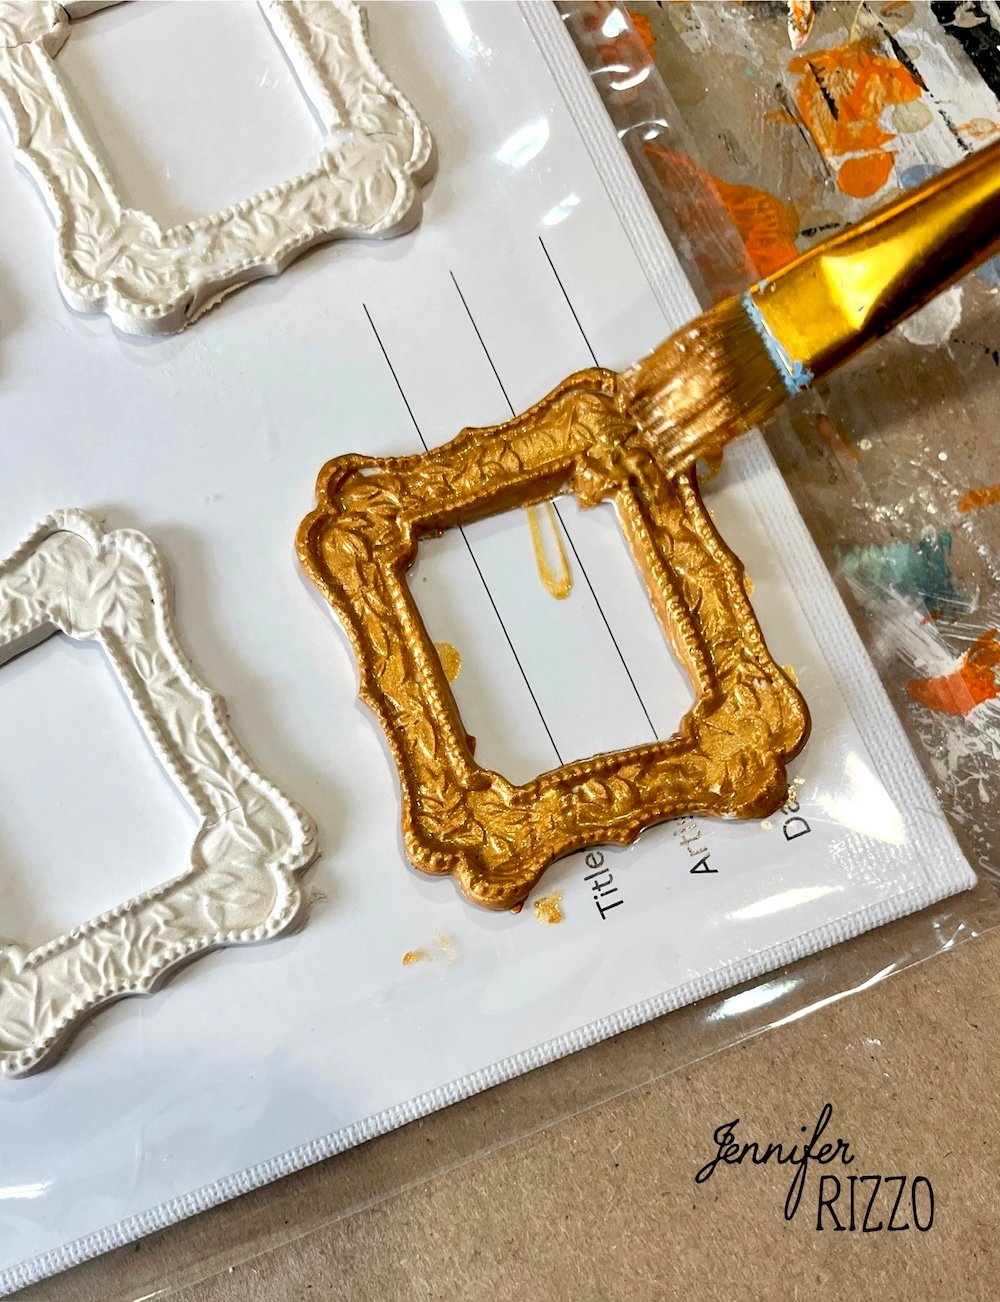
With a soft flat brush, use gold craft paint to paint the front of the picture frame and let dry. This may take up to two coats for complete coverage. We used a warmer more antique gold color, but these can even be painted fun colors for an unconventional twist.

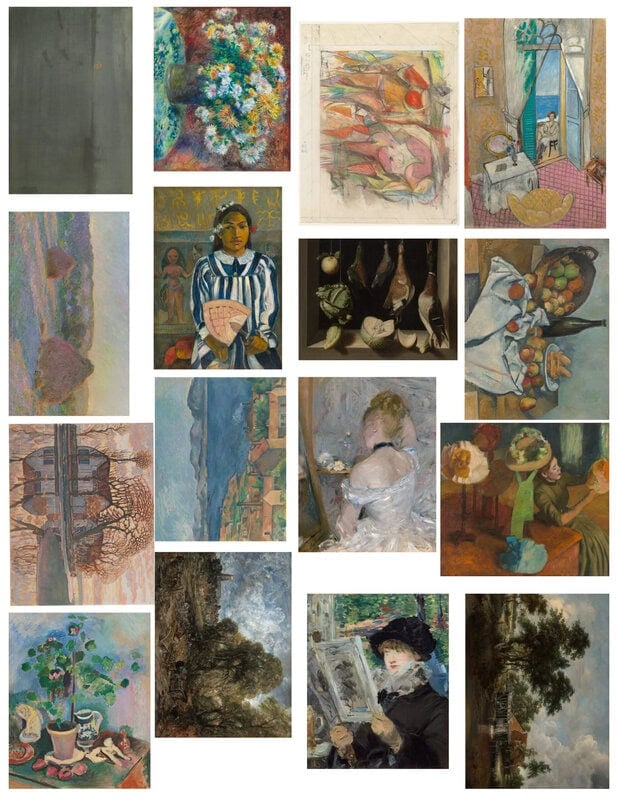
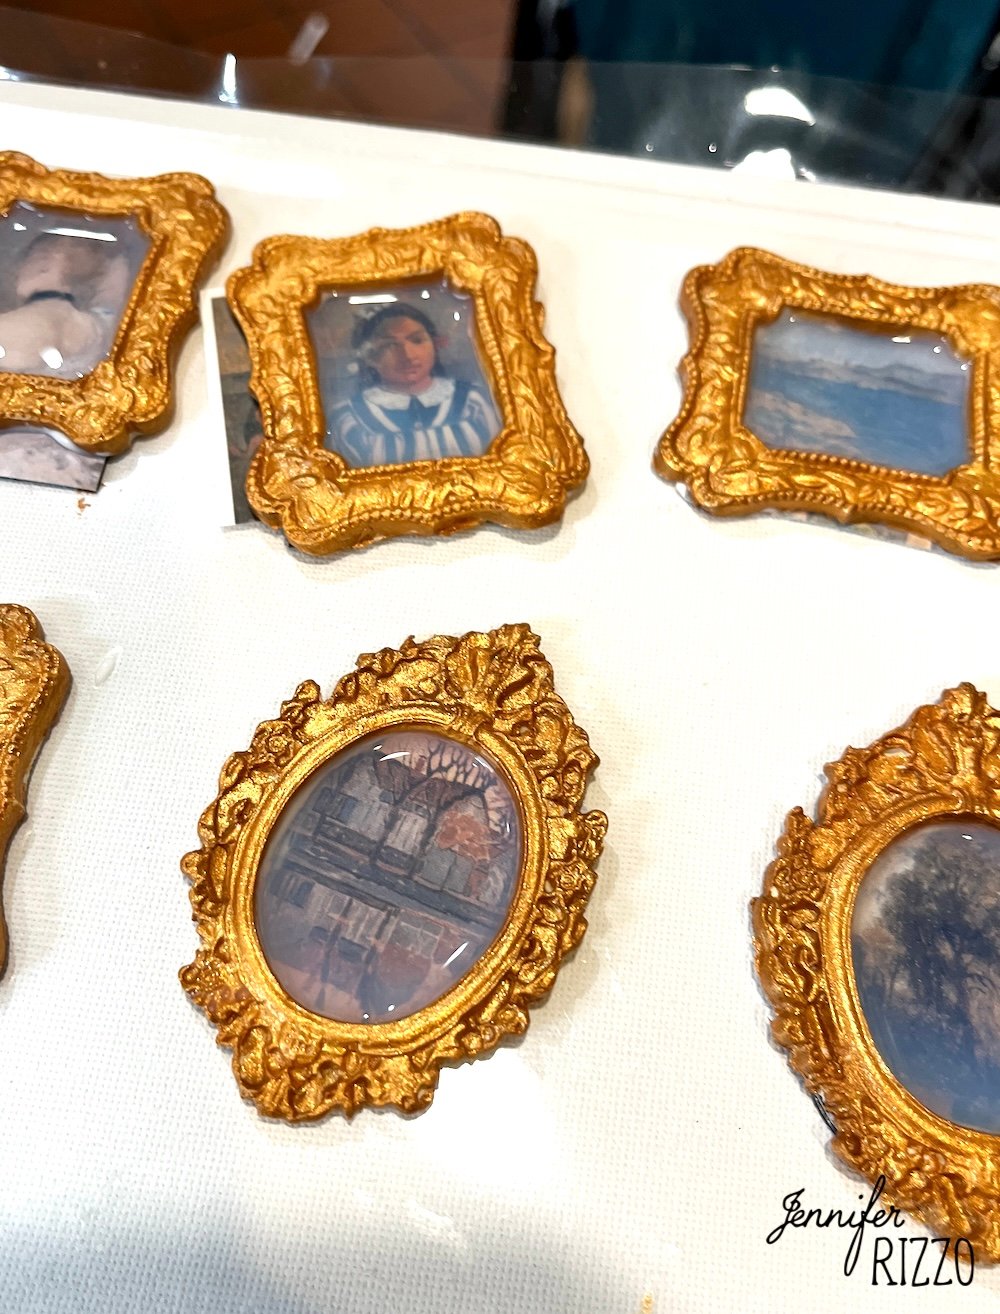
Print and Cut Out the Art
Grab the images from an open source art site, use clip art or copies of personal photos or images. Size the images to be slightly larger than the opening of the clay molds (or use our compilation of images below.). Print on card stock and cut out. Many art museums now have open source artwrok you can access to use for a variety of projects! Just search “Open Source Art”. They all have different collections as well and it’s fun to look through their art collections!

Glue the Image into the Frame
Use white craft glue to glue the image into the frames and let dry before continuing onto the next steps.
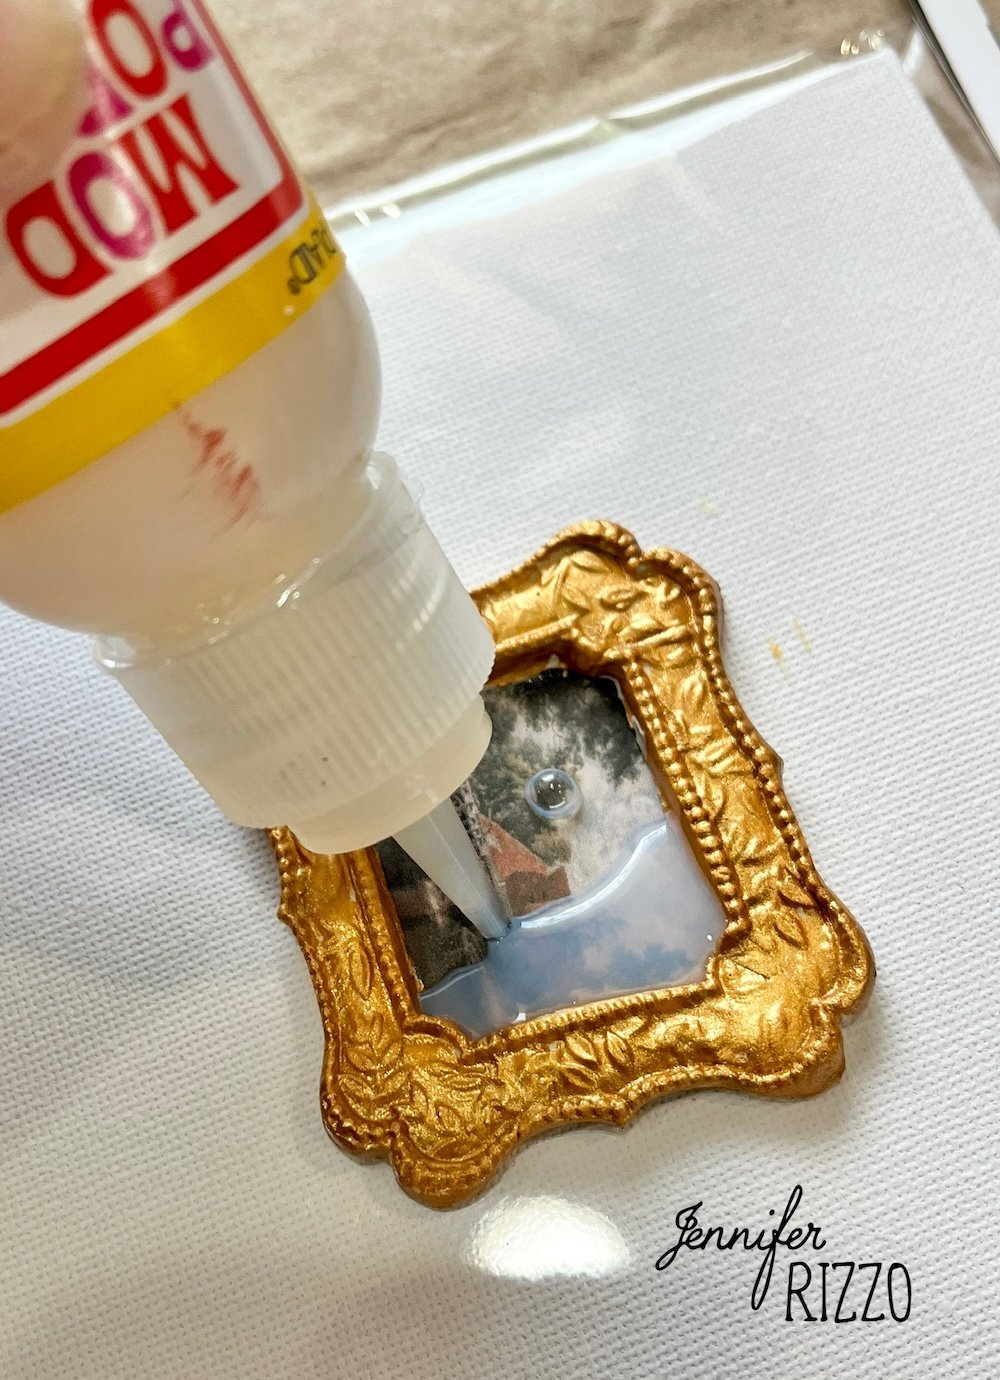
Add the Resin-Like Coating
Once the glue is dry, starting at one end of the inside of the frame, flood the inset area with the Mod Podge Dimensional Magic. This product is great because you get the look of resin with out the smells or having to cure it. A trick to using this product is to follow the directions and slowly let it flow out of the bottle with firm pressure across the area to be filled,keeping the nose of the bottle in the medium, to not create any bubbles. If bubbles do occur use a pin to pop them while the medium is still wet.
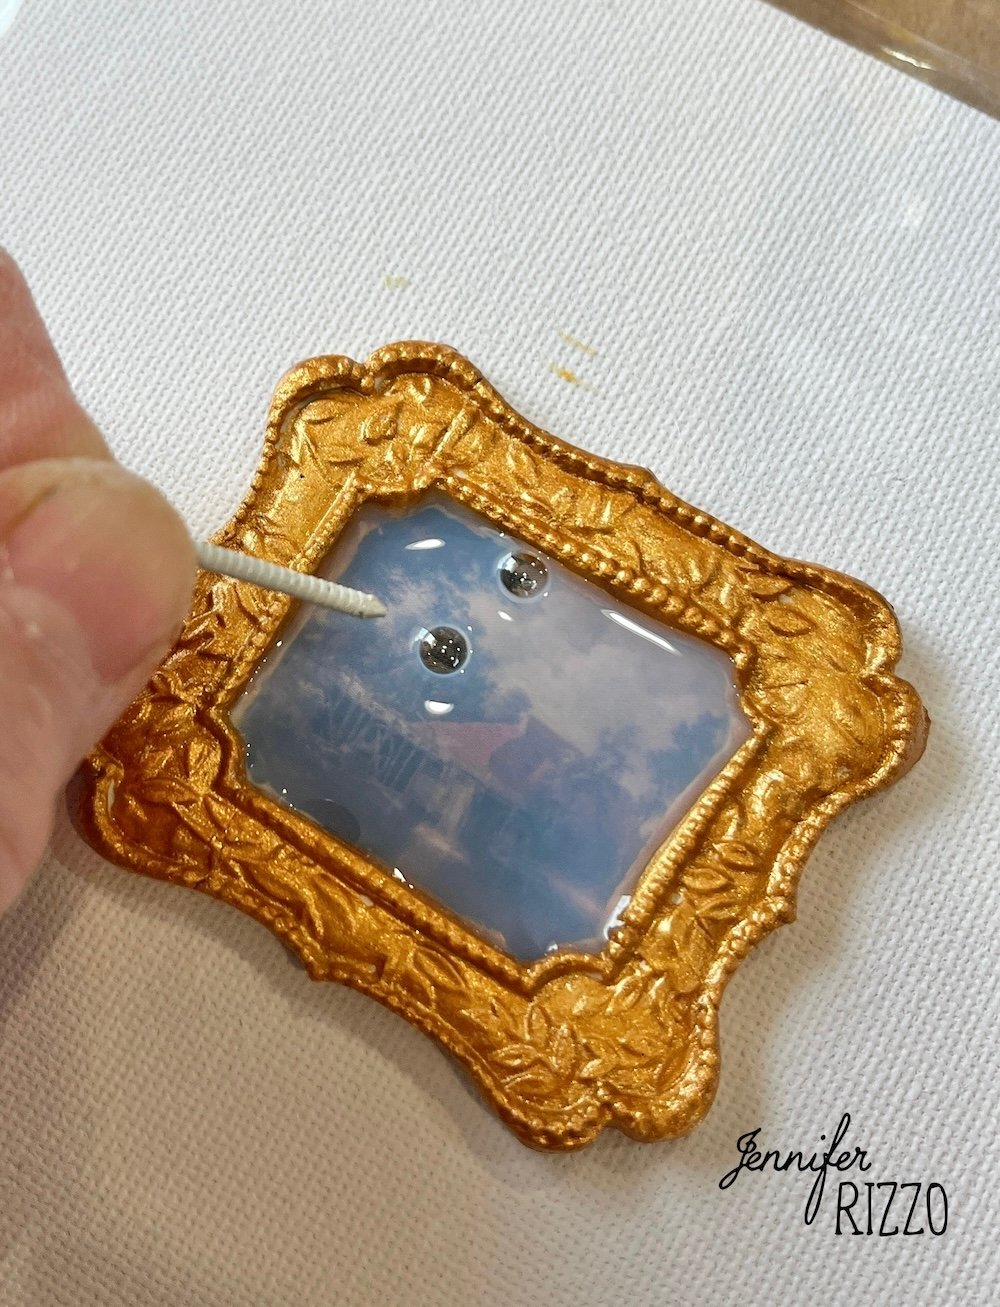
Let the Frame Dry Flat
Once the frames are filled let them dry flat for 24 hours out of direct sunlight until the Dimensional Magic medium is completely dried.
Add the Magnet to the Back
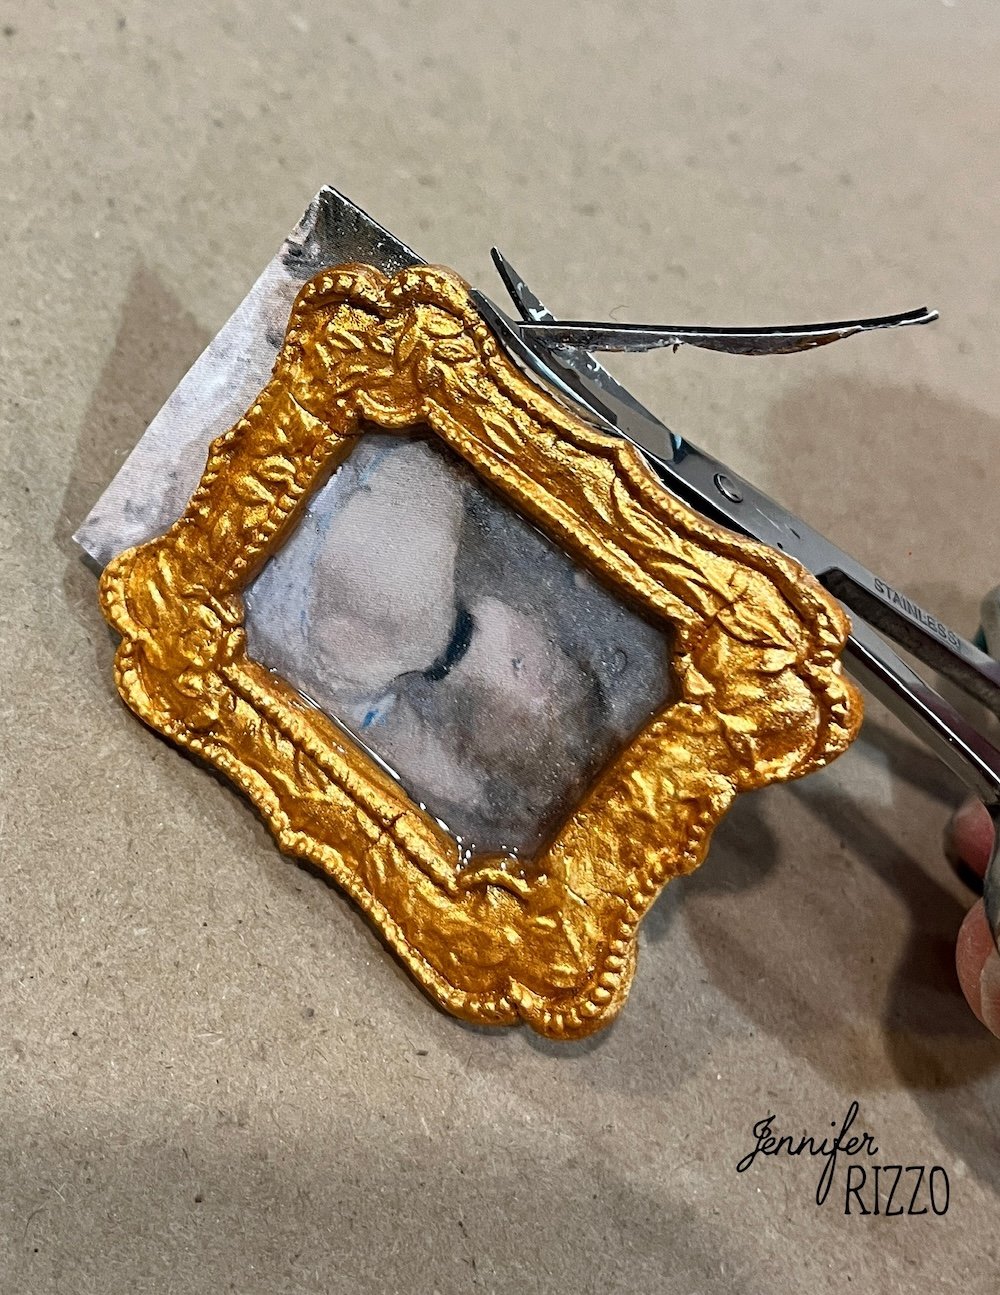
Add a sticky backed magnet to the back of the frame, being careful not to press too hard and crack the frame and trim as needed.

Trim the Magnets
Use a small pair of scissors to trim the excess magnets around the edge of the magnets
Create a Gift Set with the DIY Gold Picture Frame Refrigerator Magnets
Package these up by using a small sticky dot to put them on a pretty piece of scrapbook paper or cardboard and wrap the DIY Gold Picture Frame Refrigerator Magnets a pretty bow with a tag.