
Carving stamps is so much easier than people think! I love being able to make custom decor with a hand-carved stamp and just make custom stamps when I need them. I thought the Italian summer trend was so much fun this year and wanted to create my own sardine stamp for making custom printed towels, stationary, t-shirts and more. It just takes a few simple tools to carve stamps, and even though I decided to draw my own design, it’s easy to use royalty-free clip art or a vintage black and white image as well. There’s a special free sardine printable for you at the end of the post from this custom stamp carving! Just print and enjoy!
Supplies For Rubber Stamp Carving
Pink carving block- 4 x 6 (this is the easiest and softest to carve)
Stamp Carving kit
Pencil, paper or transfer paper
Image in reverse (find some fun ones at The Graphics Fairy)
Ink pad
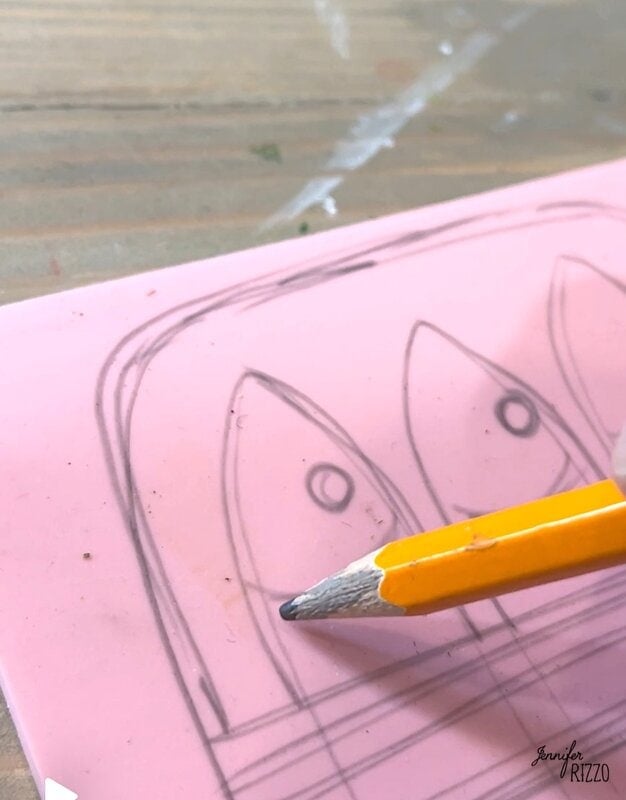
Draw or Transfer Your Image To The Pink Carving Block
Adding an image to the pink carving block can be done several ways. Whether it’s a hand drawn custom image that is being placed on the block, or a transfer of another image, whatever it is it need to be placed on the block in REVERSE. This is really important because I have messed up a few times and have been vert disappointed. It doesn’t matter as much with images, but with text it can ruin a stamp.
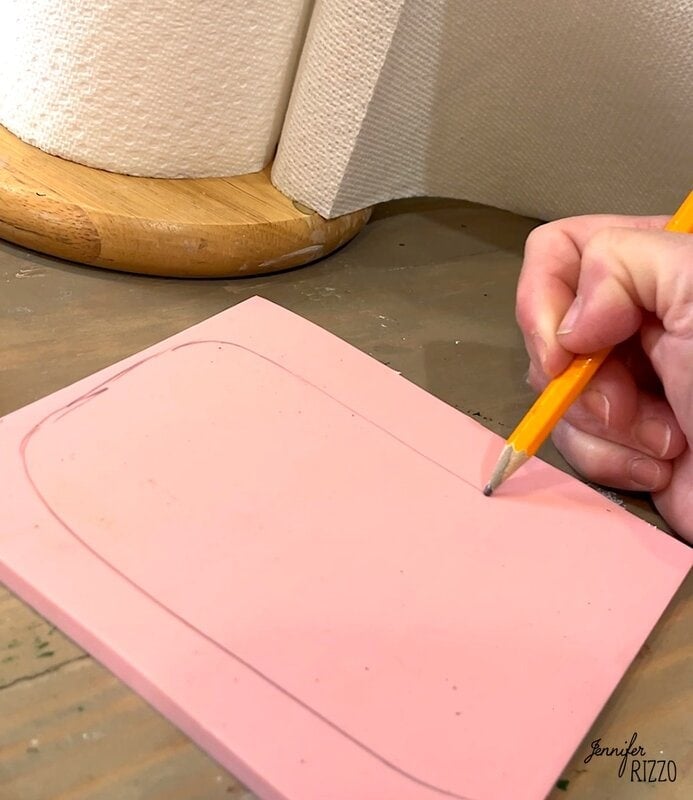
Tips On Transferring The Image Onto The Pink Block
If you are drawing directly on the stamp a regular graphite pencil can be used. If the image is being transferred, draw over the reverse image right side up with pencil, flip the image over and place pencil side down on the carving block and then use a bone folder or back of a metal spoon to rub against the paper and transfer the pencil onto the stamp surface. It just needs a little pressure to transfer the pencil image.
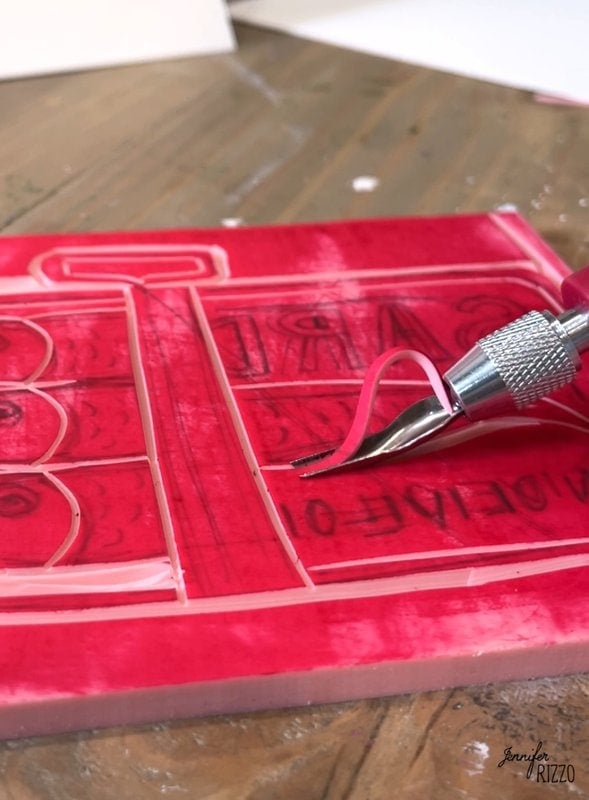
Carve The Stamp
Once the image is transferred the carving can start. It’s important to carving your stamp on a firm, non-slip surface and to always keep hands and fingers behind the carving tool. Use the carving tool to remove the excess pink away from the transferred image. I like to use the thin blade for delicate parts of the design and the bigger blades for removing larger chunks of the stamp material. Using the tool does take some practice and it helps to discard the carved away pink rubber on a regular basis. Also, I have found turning the stamp material instead of a hand with the carving tools can also avoid accidents.

When it comes to stamp carving, slow and steady wins the race, and always keep those fingers and hands out of the way and behind the blade of the carving tool.

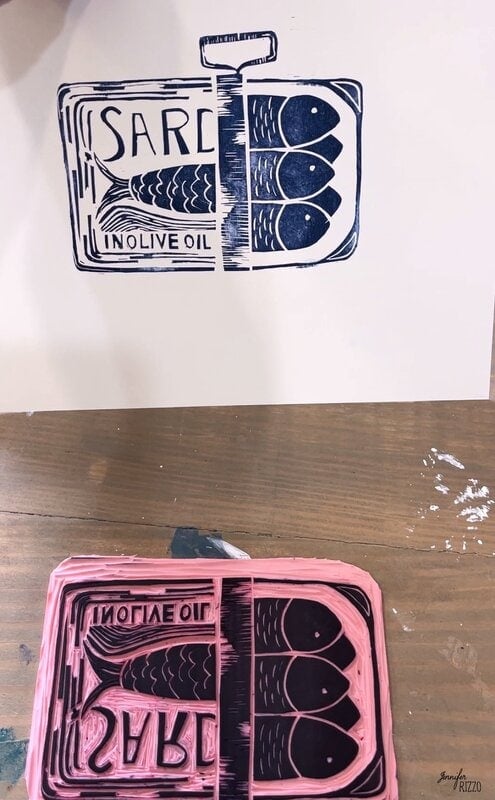
Test The Stamp
When the stamps seems like it’s completely carved, I like to give it a test by stamping it with a permanent ink and stamping it on scrap paper.

That way the stamped image can be refined and any areas that need to be removed can be removed.
Print With A Custom Made Stamp
Once the stamp has been ink tested and refined it’s ready to use! Use regular ink for paper, fabric ink or paint for fabric, and even block printing ink for a more custom art look.
I decided to use fabric ink to make some fun custom sardine towels. I live how they turned out using both a red and blue fabric paint that’s made to be washed.
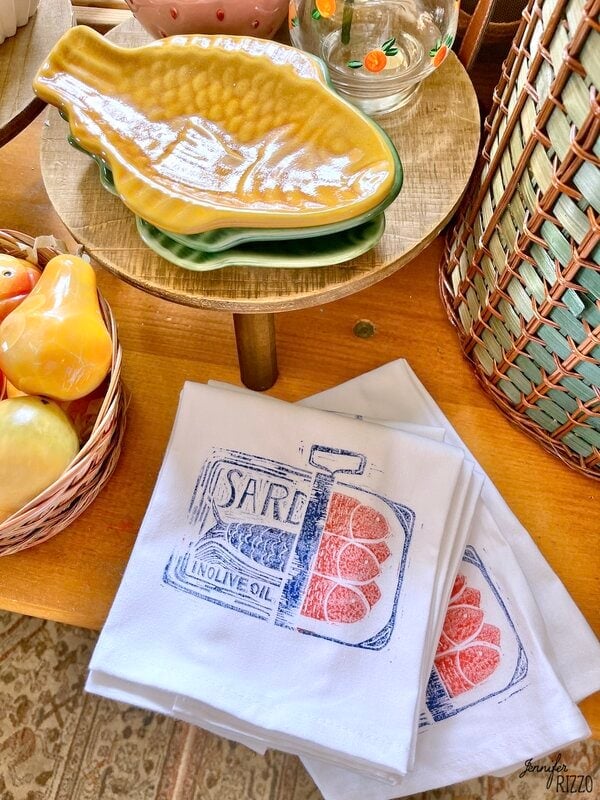
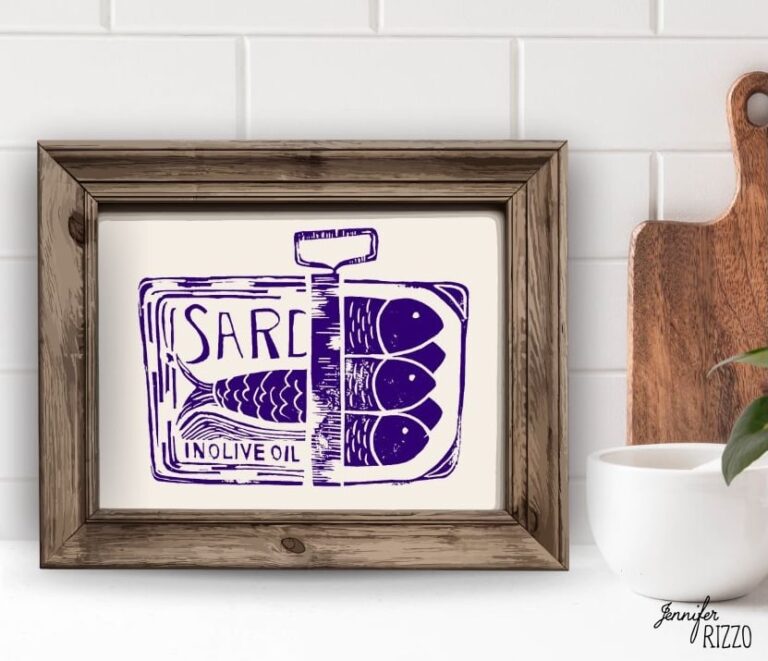
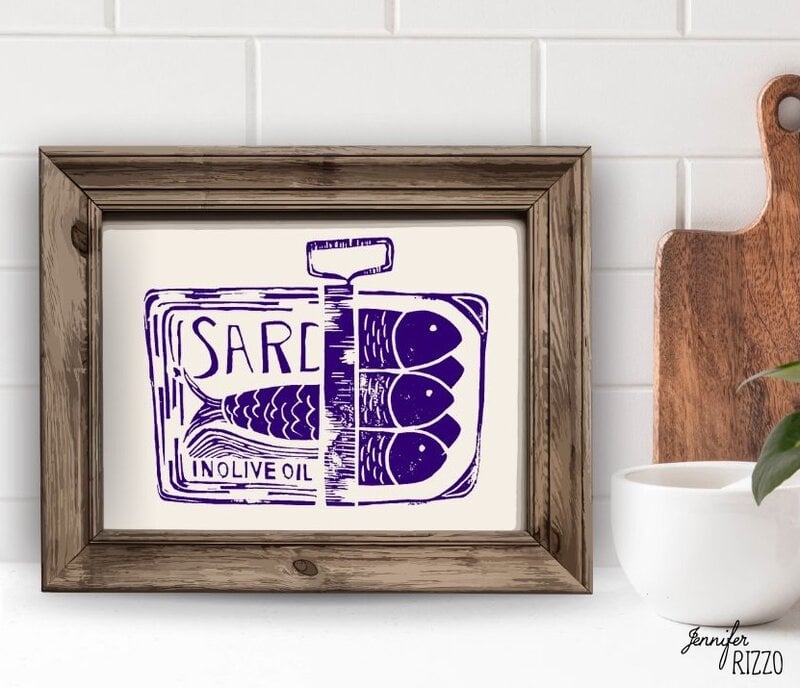
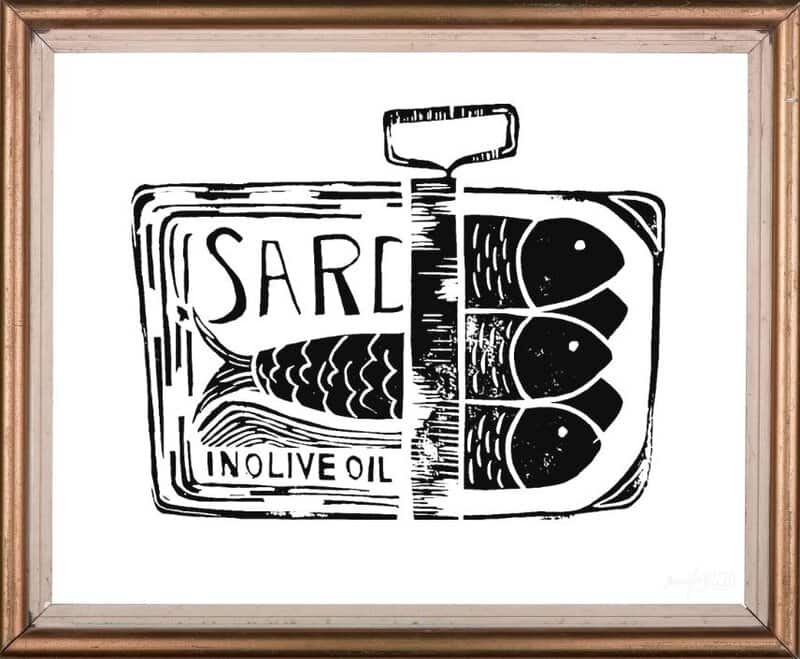
These were really cute to make for the store and customers loved them! I also have a fun, free art print for you of the stamp that you can print and frame. I also made it so it has a frame around it and you can use it in your mixed-media art or just print and hang!
I really enjoyed Making Custom Decor With a Hand-Carved Stamp and I hope you love this free sardine printable! You can also see how I carved an owl stamp here for fall.
