

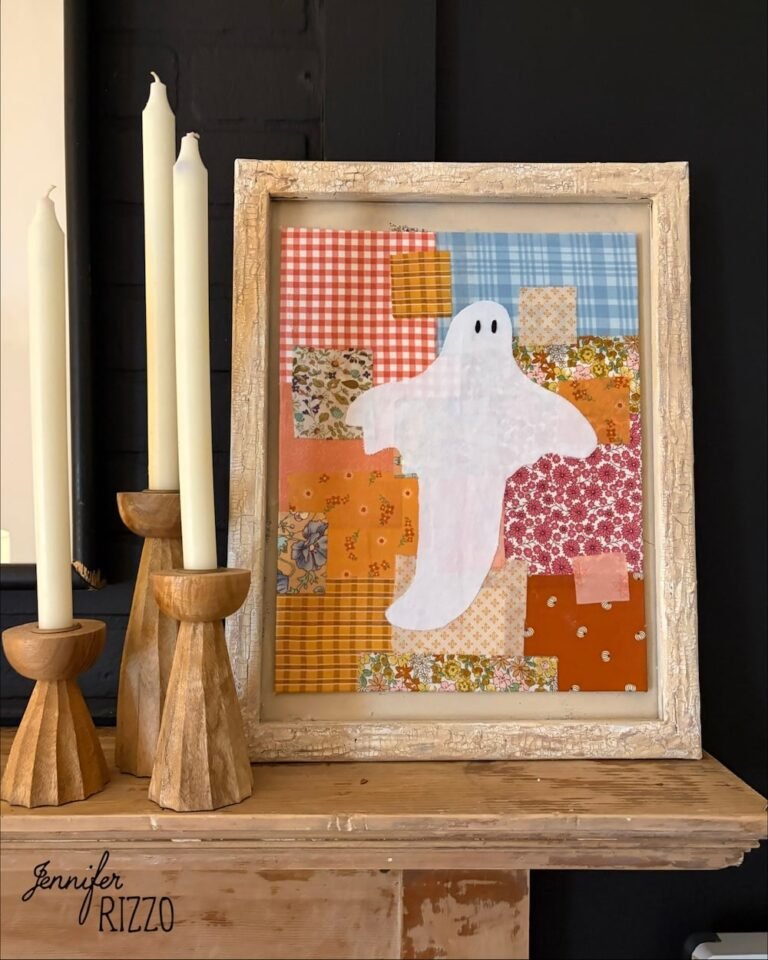

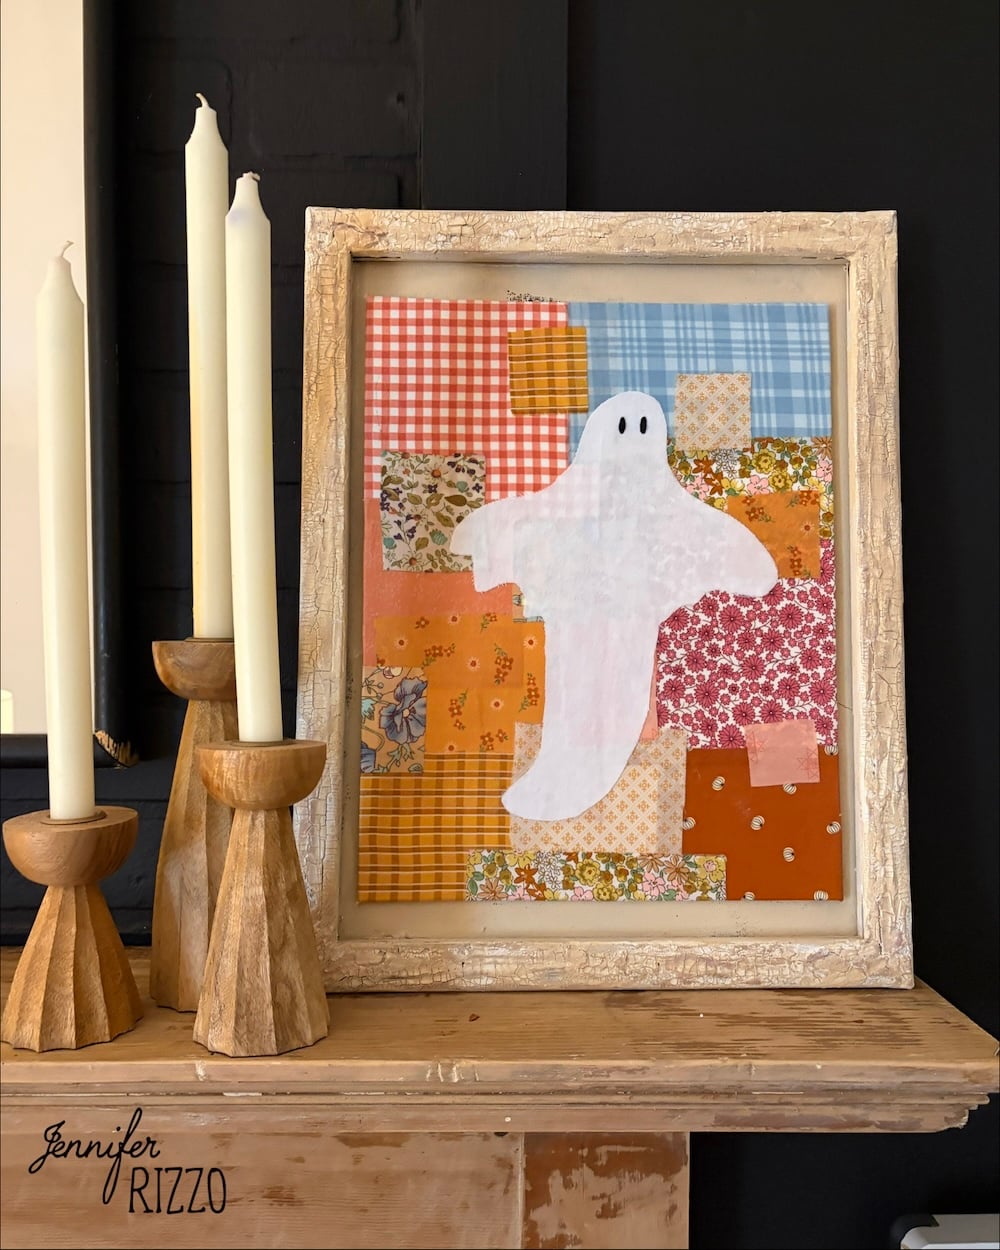
We are back with another no sew project to use up all of your quilting scraps! A really cute decoupaged no sew patchwork ghost quilt art. This takes the classic quilting project with scraps and adds a cute ghost element to create a one of a kind piece of art. The best part is, this fabric project is more of a sweet Halloween decor item and not scary. So if you liked a more pastel or pretty Halloween, this is the project for you! The possibilities are endless depending on your scrap fabric stash, and if you aren’t a fabric person, but a paper person, it’s a great time to pull out all of that old scrapbook paper sitting in a drawer and use that to recreate this project!
Supplies to Create Your New Sew Ghost Quilt Art
-Canvas Board
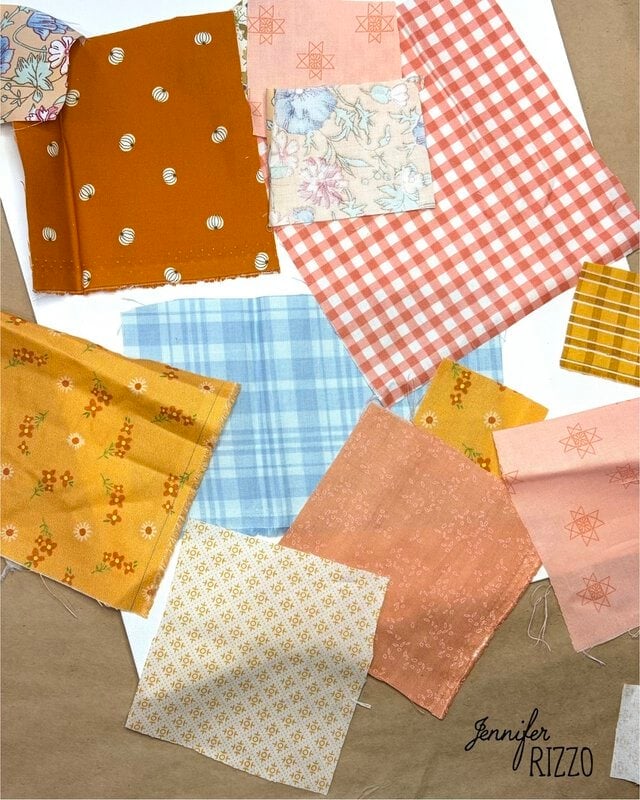
-Scrap quilt fabric or scrap fabric of different square sizes
-Decoupage medium
-Flat Brush
-White cotton fabric or muslin
-Black permanent marker
-White craft glue
-Masking tape
Sort the Fabric Scraps
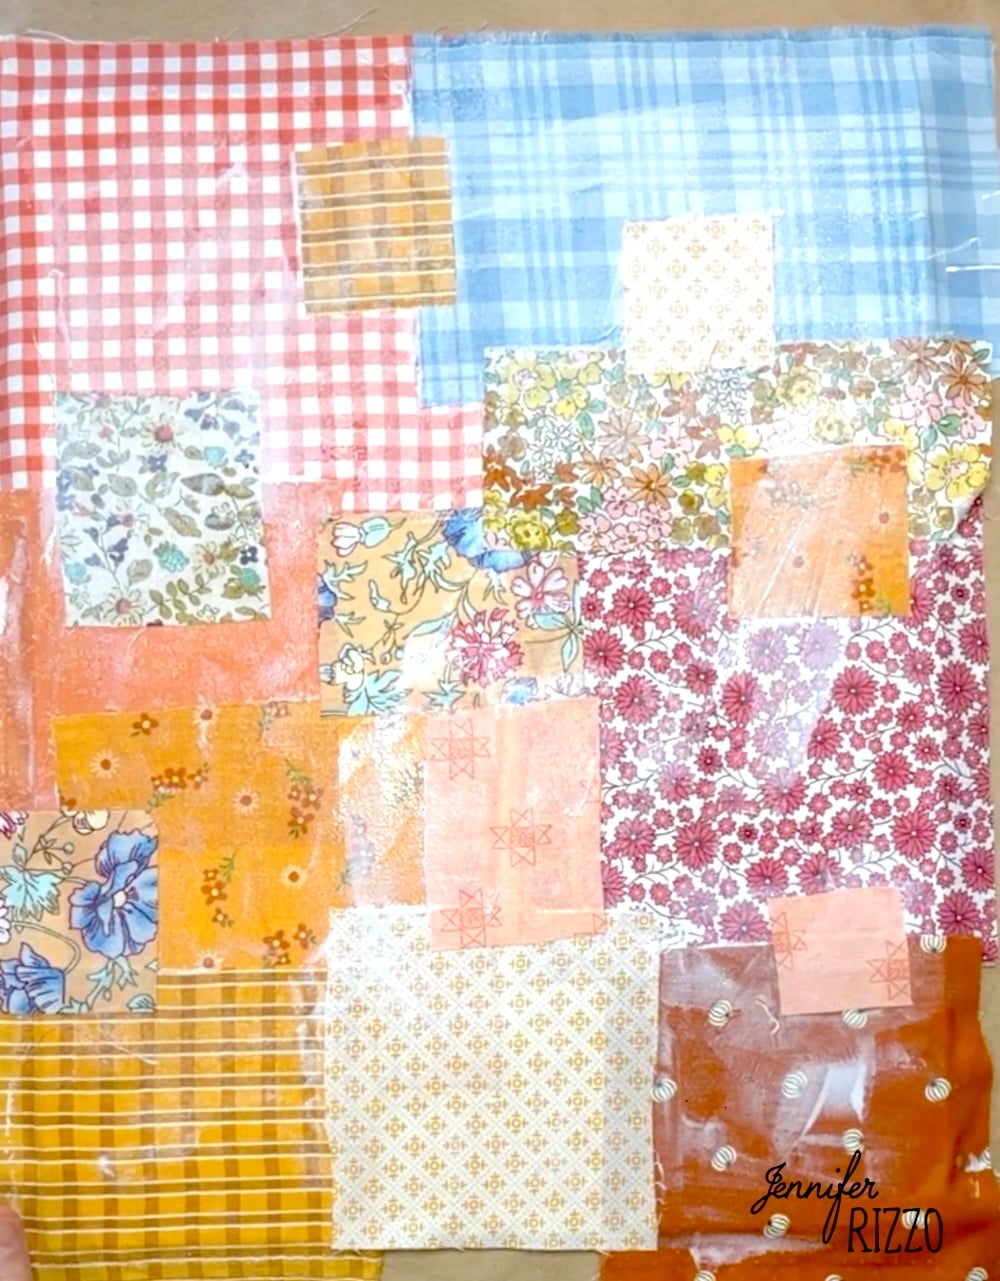
The first order of business is to dig through those fabric scraps and find the perfect scraps for this project. We recommend laying them out and playing with the patchwork pattern before decoupaging them down.
If you love using your fabric scraps for projects, make sure to see how we used Kinusaiga to create unique art.
Decoupage the Fabric Scraps to the Board
Using the brush, spread the decoupage medium on the canvas board and place the first piece of scrap fabric down. We recommend placing the biggest ones on the bottom as the base and then layering fabric on top from there. Make sure when applying the fabric near the edges, it hangs over the edge about 1/4 inch so it can be folded over and finished later. As fabric scraps are added, brush a layer of decoupage medium over the top, each section at a time.
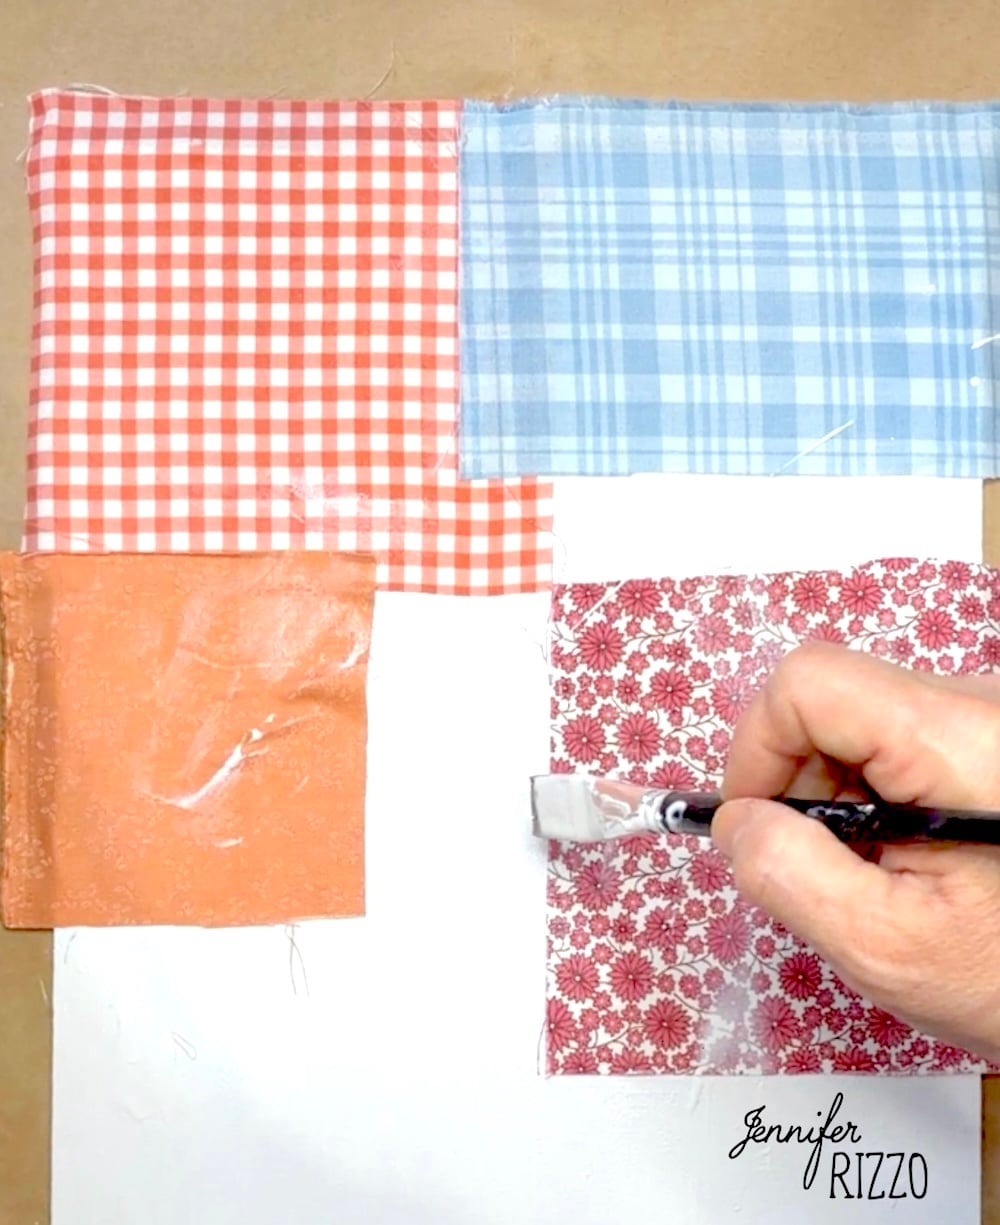
Brush a Coat of Decoupage Medium Over Everything
Once all of the fabric is applied to the canvas board in the patchwork pattern, use the brush to add a coat of decoupage medium over the entire piece of artwork. This will give it an even coat, protect the surface, and make it easier to add the ghost to the top. Let dry completely before moving onto the next step.
Finish the Fabric Edge
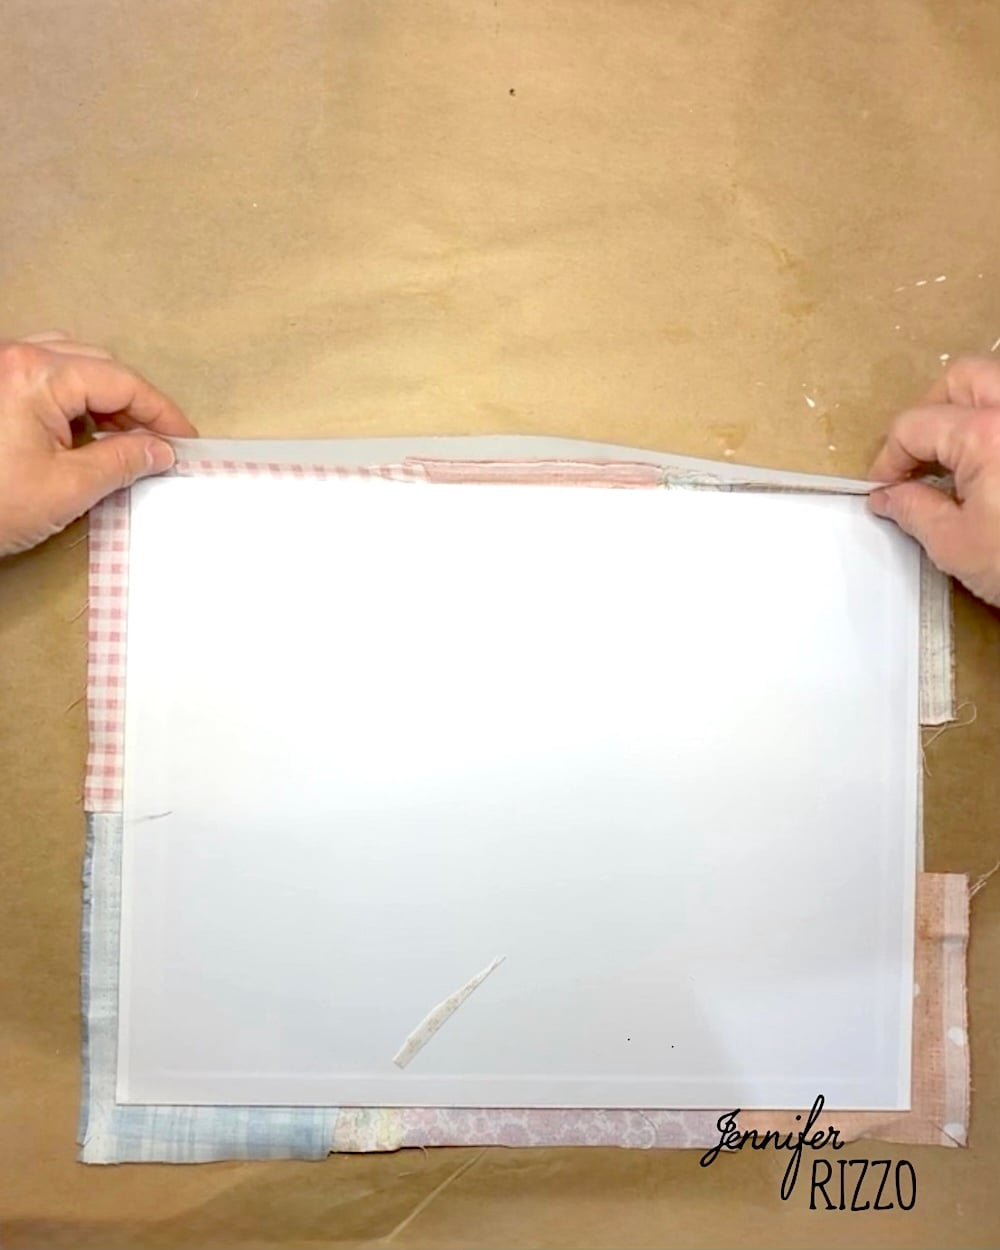
Once the board is completely dry, flip the board over. Apply a line of white craft glue to the outer edge of the canvas board. Under the fabric overhang, place a long piece of masking tape and stick the fabric to the tape. Pull the fabric and tape over the glue and tape it to the board. This will hold the fabric edge in place while the glue dries. While drying, move onto the next step to make your cute ghostie!
Draw and Cut Out The Ghost
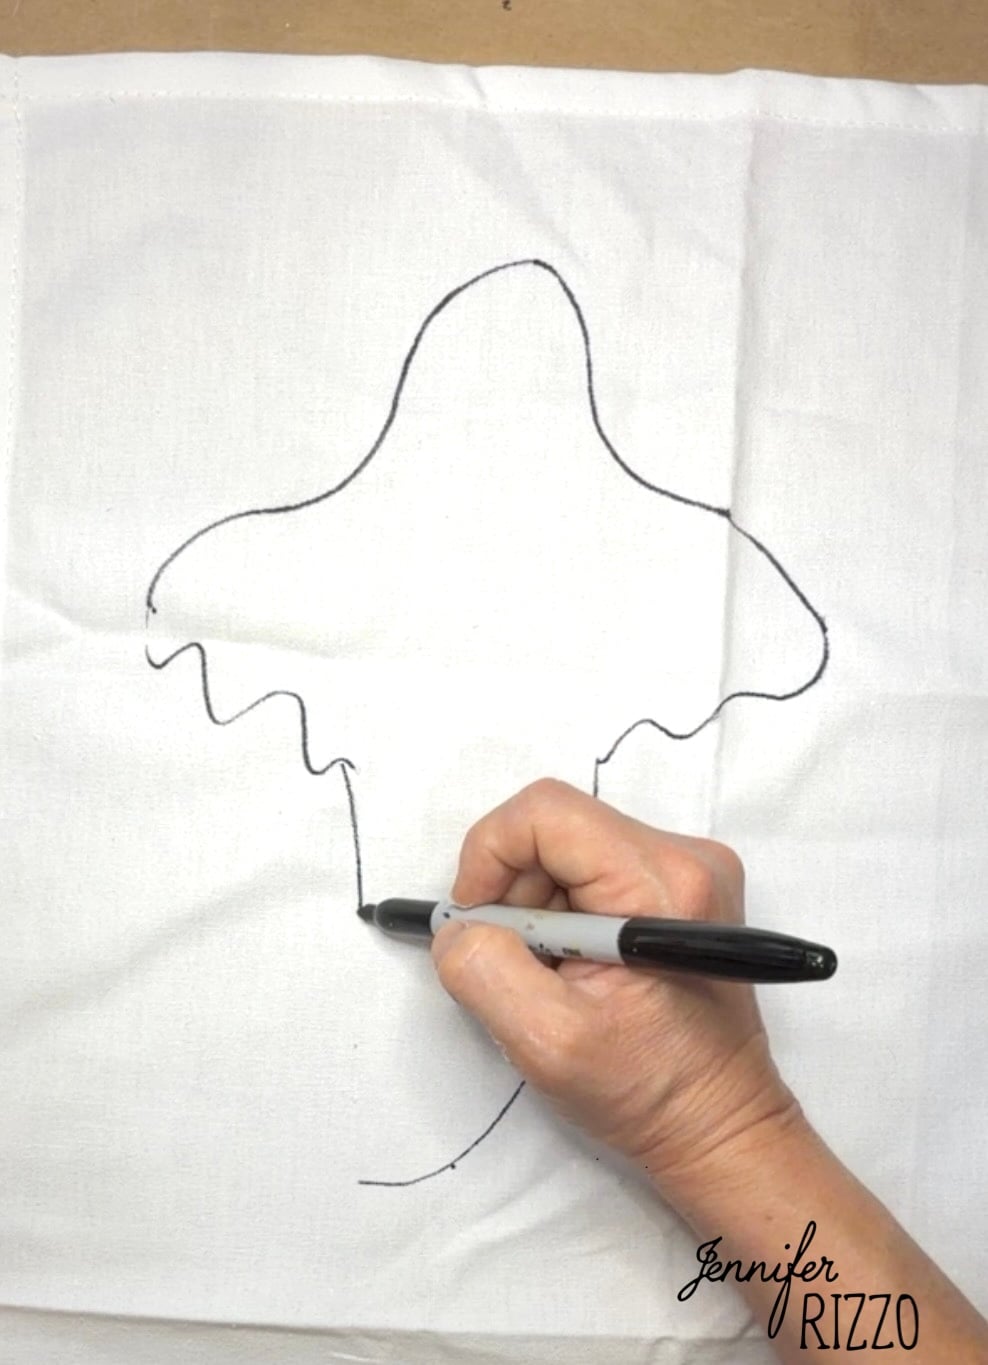
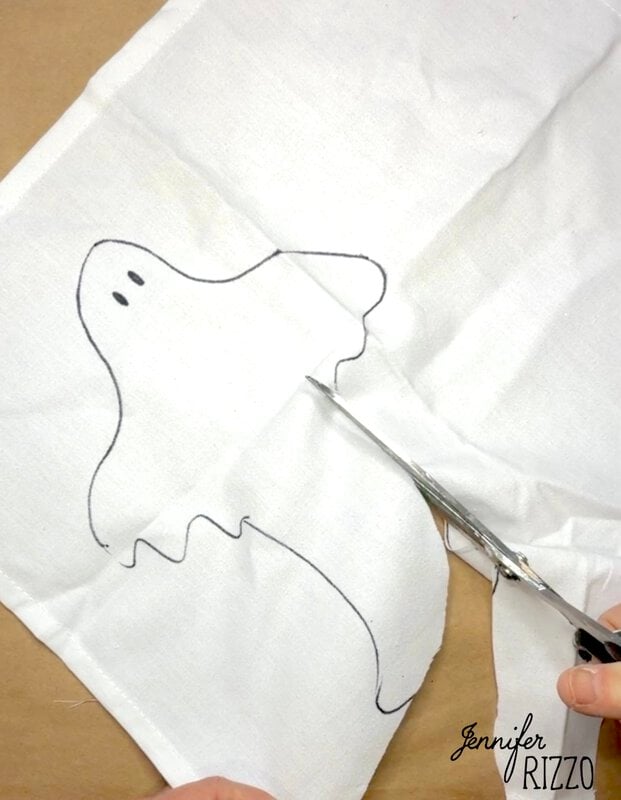
Using the permanent marker draw a ghost. We have a printable ghost template at the end of the pot your can trace, but You can see some other ghost templates in this post about how to draw a ghost. Once the ghost is drawn, add the eyes by drawing on two small ovals and then cut the ghost shape out, cutting just to the inner edge of the black line.
Decoupage the Ghost to the Quilted Board
Add a layer of decoupage medium to the board and apply the ghost.
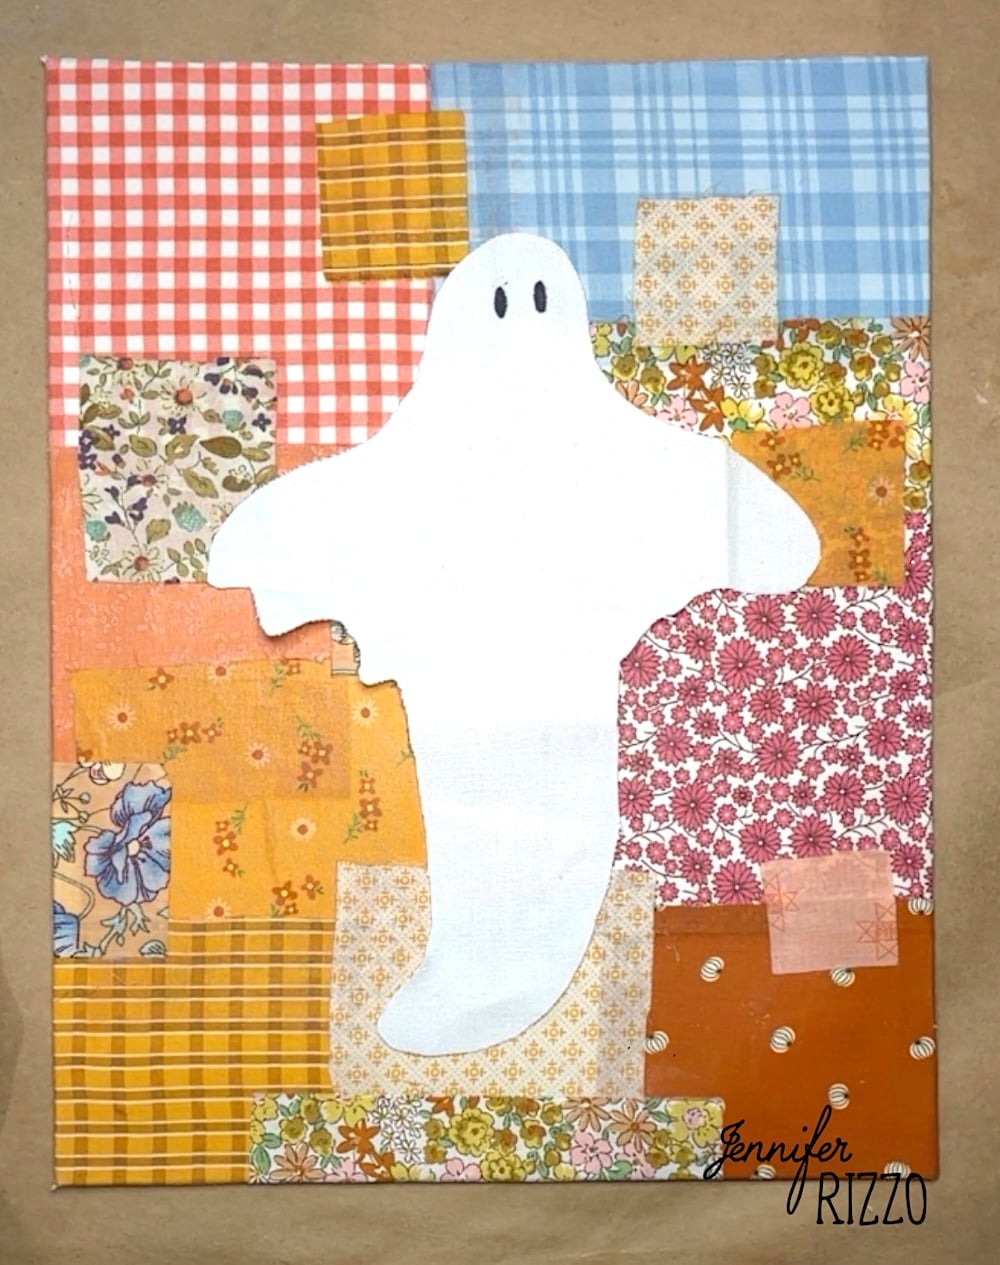
Once it’s adhered, brush a layer of decoupage medium over the top and let dry. Once it’s dry, your No Sew Patchwork Ghost Quilt Art is ready for framing! We have a fun way to show you how to frame your art for a primitive and creative project!

Don’t stop at just creating a ghost! This would be so cute also with a witch silhouette or even a pumpkin! Let us know if you make this project over at our Raptive Community! and make sure to check out our art tutorials and creative projects over on Youtube!


