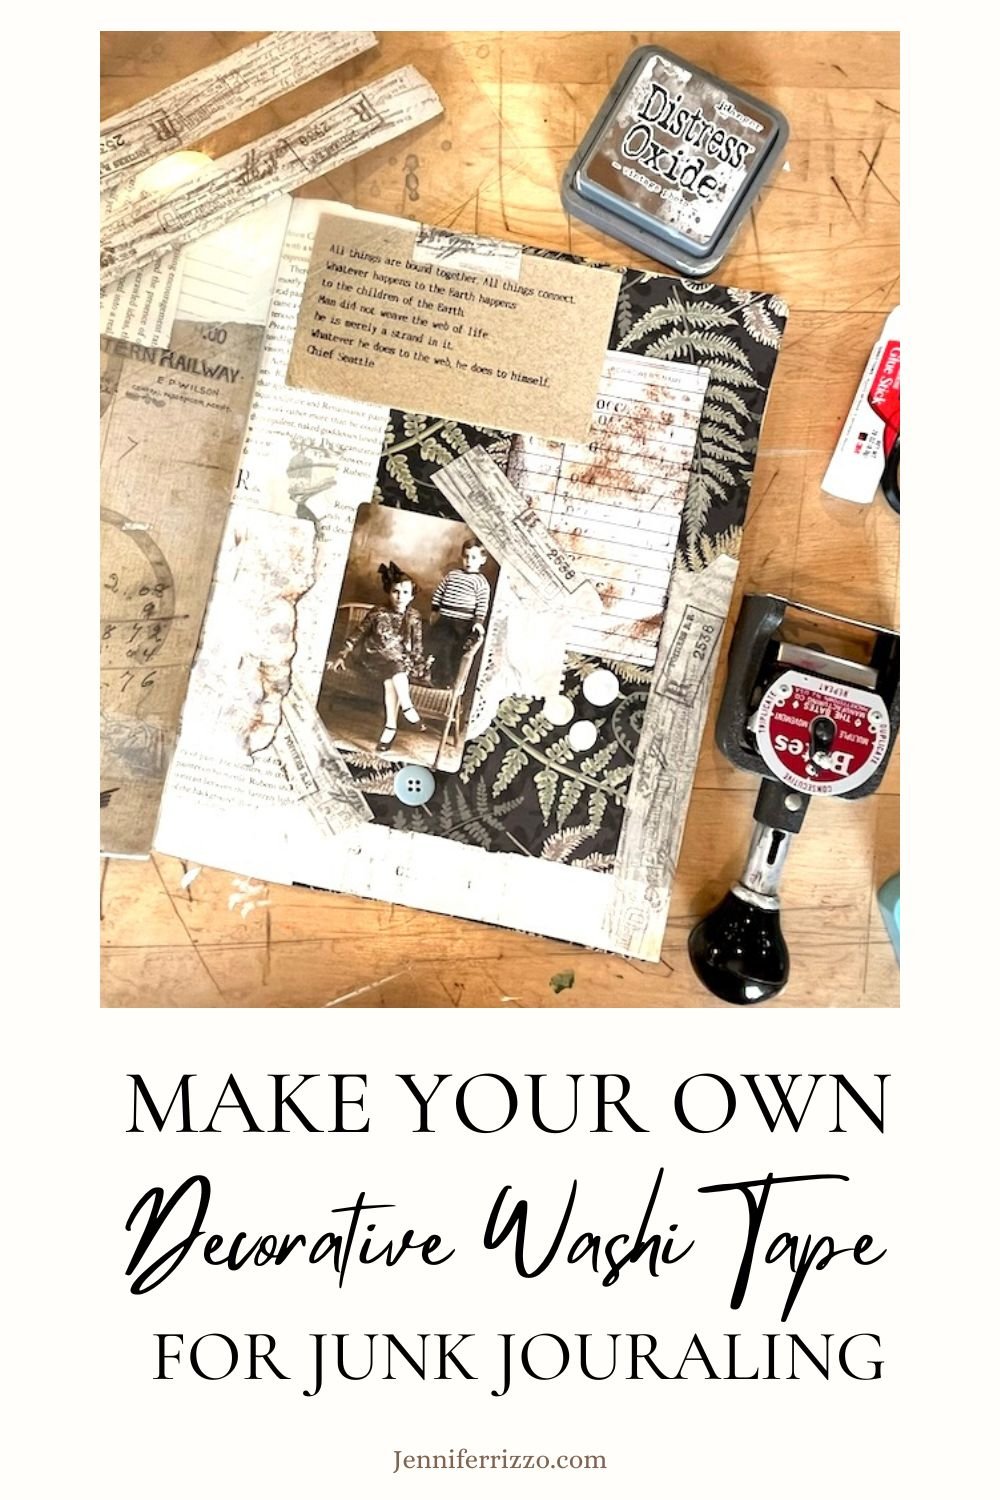
I love washi tape. It has a great light weight feel to it, but it also has a prettiness. Washi tape is a form of natural plant paper from, Japan. These Japanese masking tapes are beautiful, fun, colorful and creative. What I love about it is there are so many ways to use it, and you can explore your creativity with it from everything from junk journaling to paper crafts and scrapbooking, to home decor and wrapping gifts. While there are a lot of choices, sometimes you just can’t find the color or design that you would like in craft stores. One of the amazing things about it, is that it has enough adhesive to stick well to surface, but also removes fairly easily. It’s actually really easy to make and design your own washi tape. You just need a few simple supplies and lots of time to get creative, because once you start, it is hard to stop!I wanted to share with you a great way to make your own DIY washi tape!
This post contains affiliate links. See our sponsor and affiliate disclosure here
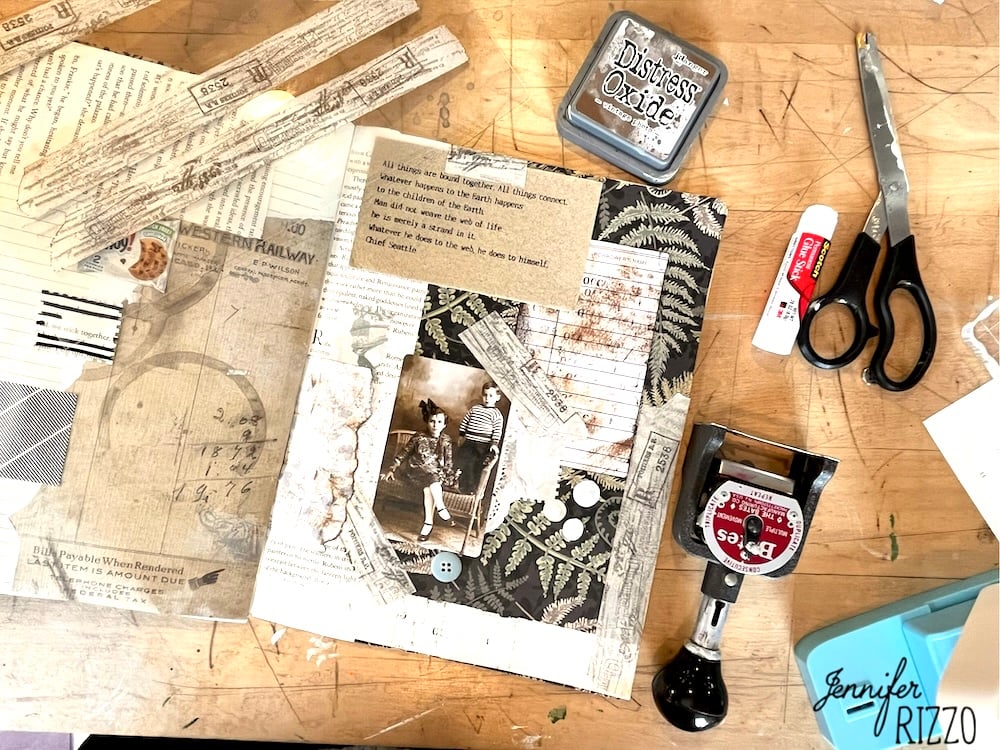
Supplies to Make Your Own Custom Washi Tape:
-If you can’t find plain Japanese paper tape, you can also use low tack artist tape or drafting tape which is thinner and more flexible, and has less adhesive than masking tape. If you want to create larger stickers, you can also use a thicker width masking tape. Or use sticker paper for larger versions.
-Acrylic paint colors of choice
-A piece of stiff plastic sheeting or parchment or wax paper in a pinch
-Rubber stamps in different designs, smaller ones can be better for detail. Small alphabet stamps if you want to create custom brand labels
-StazOn permanent ink pads in various colors
-Permanent markers
-Paint brushes
-Scissors
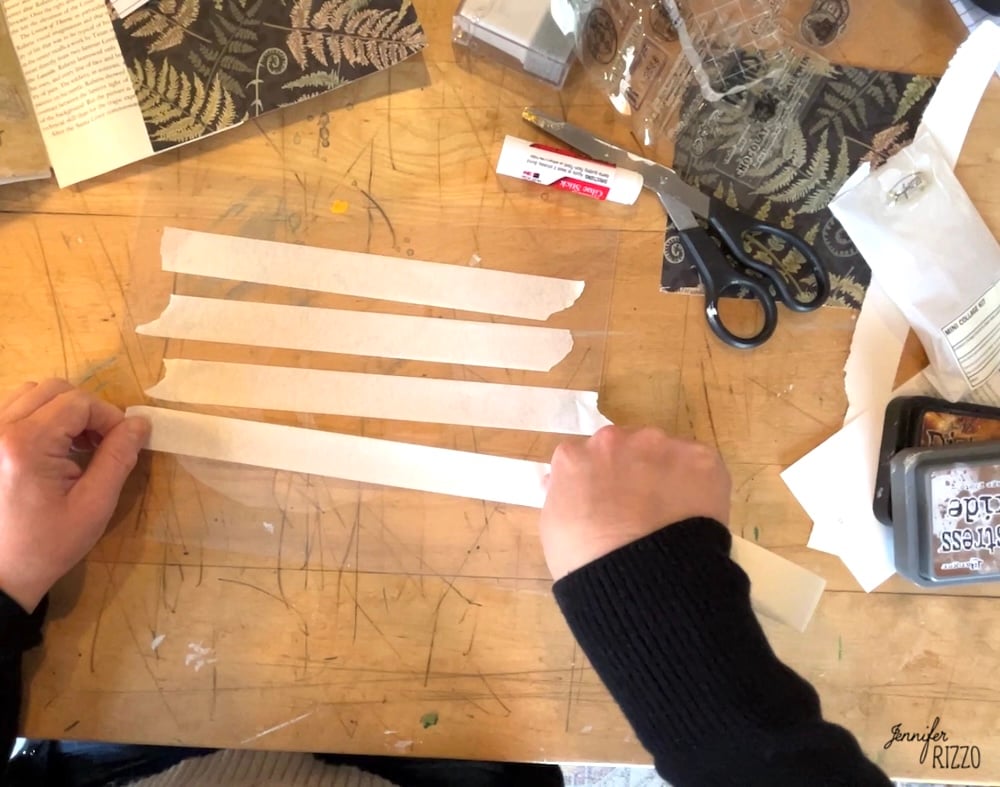
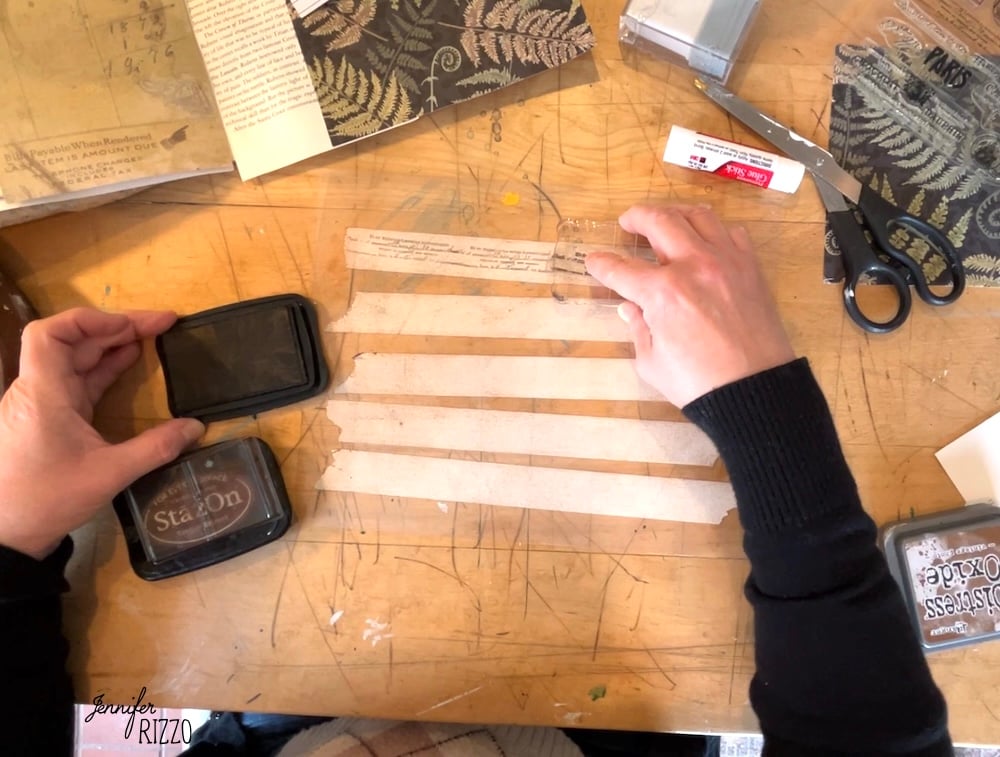
Apply Strips of Tape to Plastic Sheeting

First, prepare your work surface by placing your tape across your plastic sheet in strips the same size pieces, or different sizes if you are creating a label or sticker. press onto your flexible plastic sheeting. When adding your tape be careful not to stretch it too much or it will distort the image when you remove your design later. Make sure you check out this post if you want tips on getting started in Junk Journaling.
Tip: One trick if you end up using regular masking tape to make your washi tape: Press your strip of masking tape to a piece of low lint fabric or even on your jeans first and remove before adding to your plastic sheeting. This will take the adhesive factor down a lot and make the tape little more removable and not too overly sticky.
Paint Tape if an Under Color is Desired

Use a soft brush to paint on your tape with acrylic craft paint. Have fun with painting multiple colors, or add a unique touch by painting onto the tape and then using a paper towel to lift some of the paint for a dappled or distressed finish to add textures.

Remove any excess paint with a cotton ball or paper towel and let dry. If you don’t let the paint dry, your stamps will pick up the paint. If you leave too much paint on the tape, when it is stretched it could crack. Think of it more as dyeing the tape as opposed to painting on it.
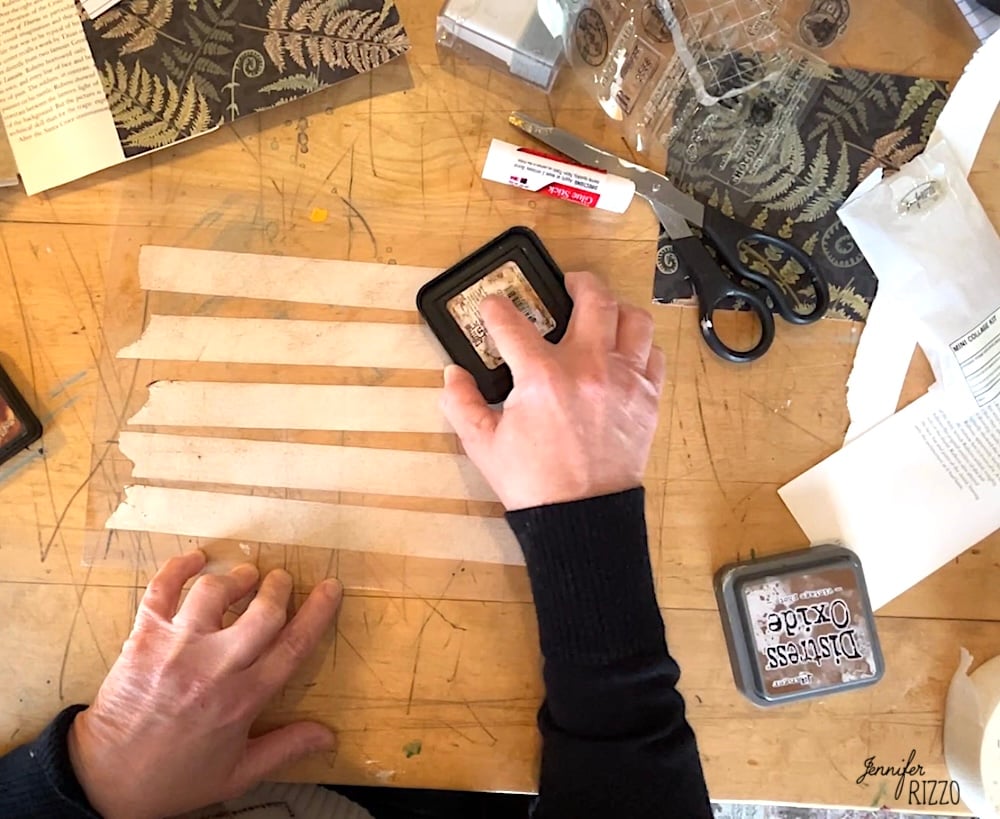
Add Age and Patina with a Stamp Pad
If you want to keep the natural tape color, use a stamp pad to lightly rub and drag across the surface and add some tint to the tape.
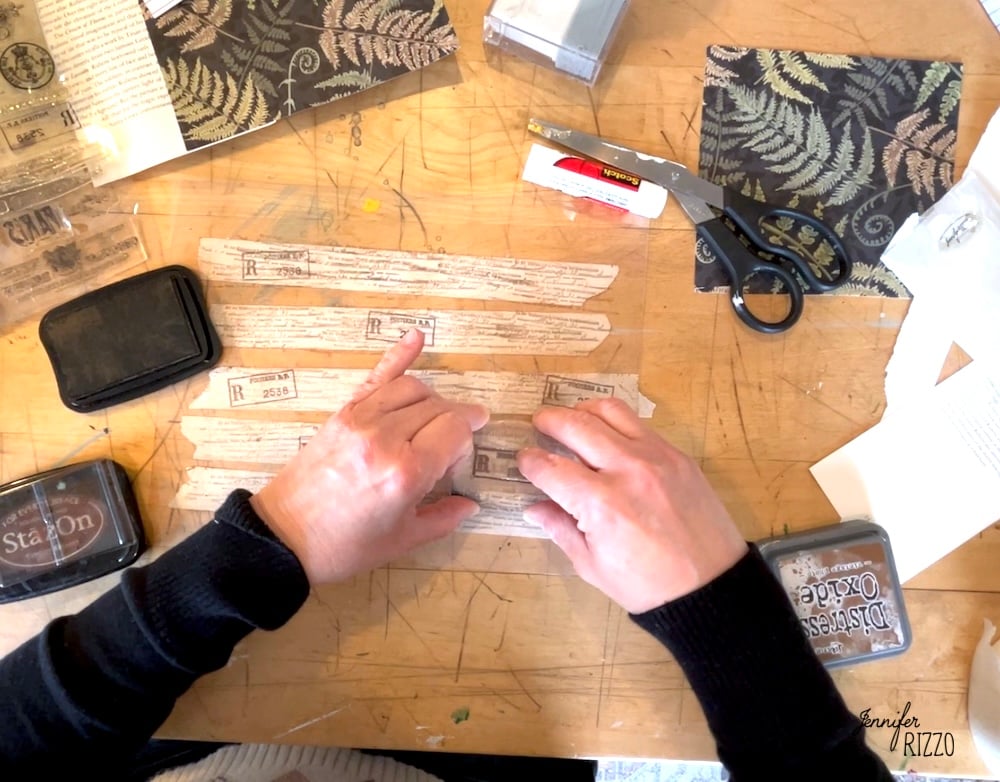
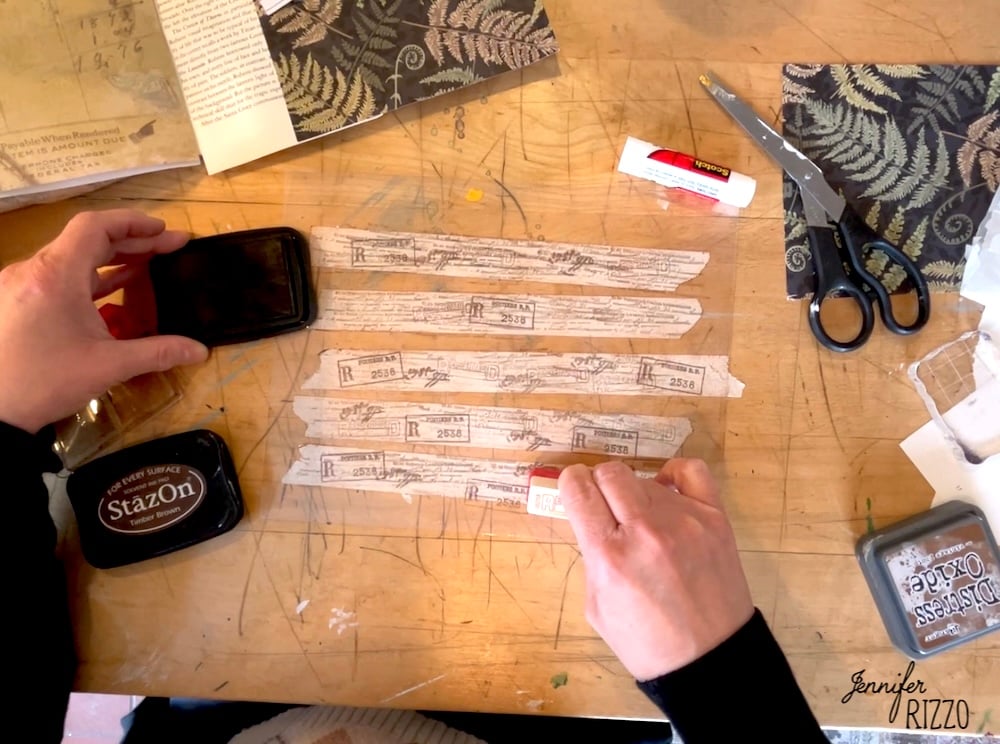
Start Stamping for Washi-Tape Printing

Then use your StazOn and stamps or markers to add design elements and a repeating pattern. You can use markers to write in script or add dots and dashes to your DIY washi tape.
I layered different stamps to create a more collaged and aged effect on the tape. Different colors can be added as well.
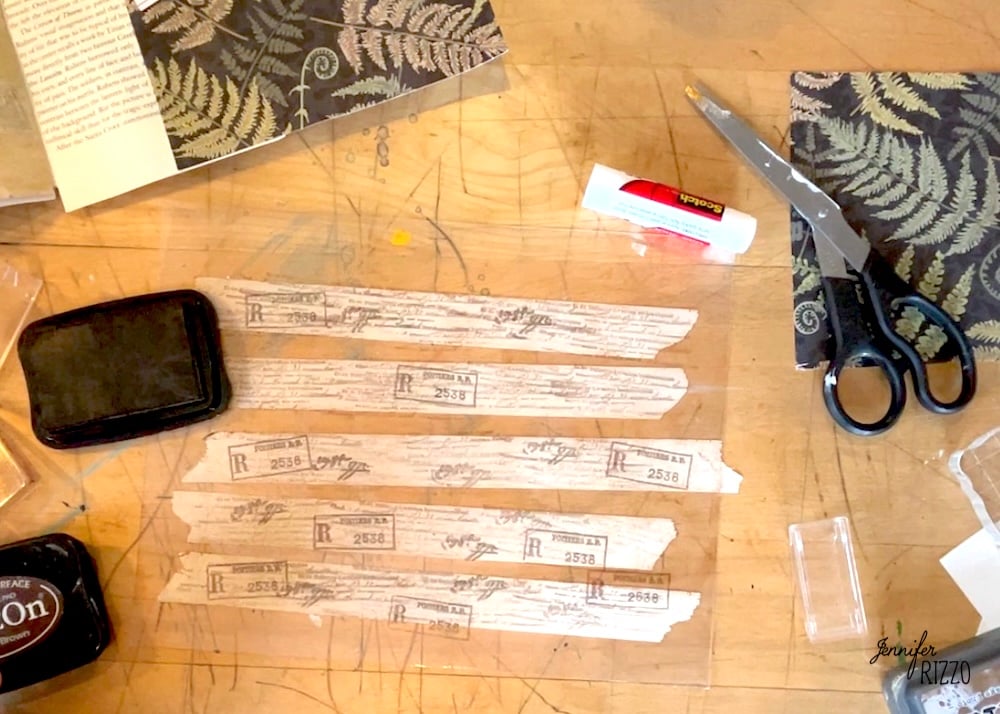
Keep on Plastic Until Ready to Use
Once your tape is done, just leave it on your plastic sheeting until you’re ready to use and stack them for easy storage.

Tear and Apply Tape
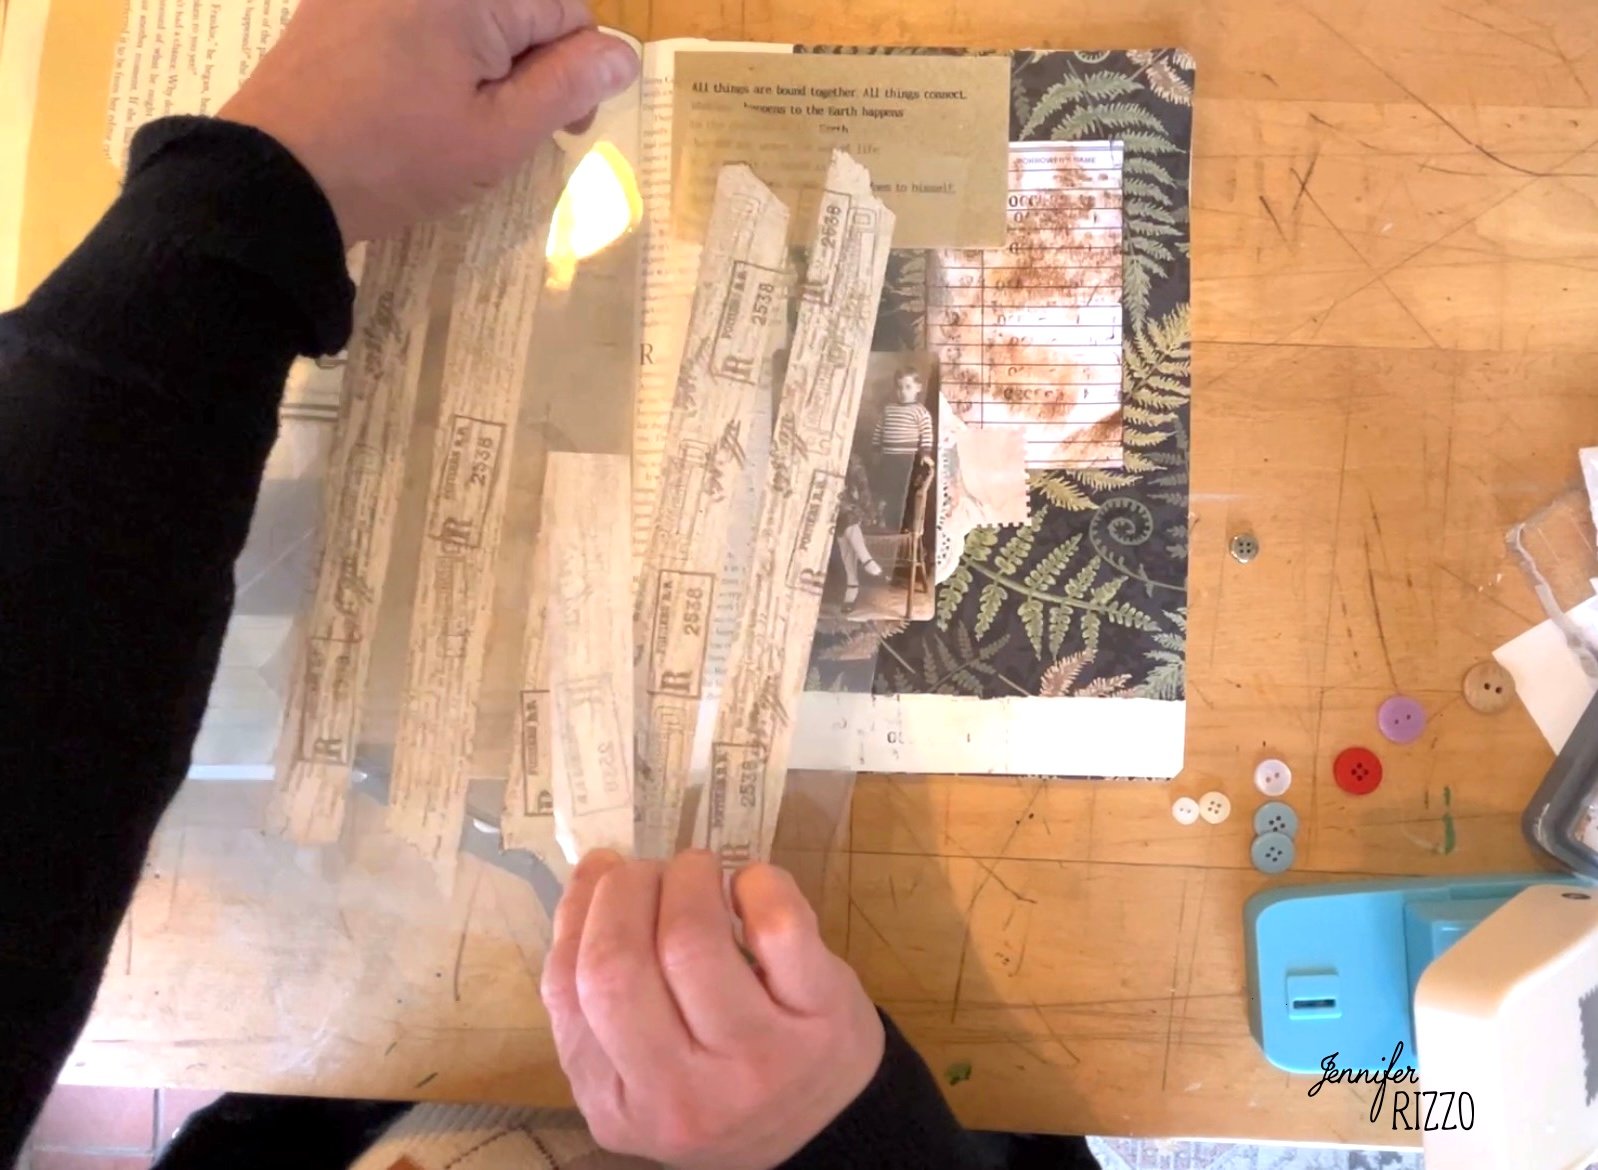
Remove as and when needed to apply to artwork and junk journals.
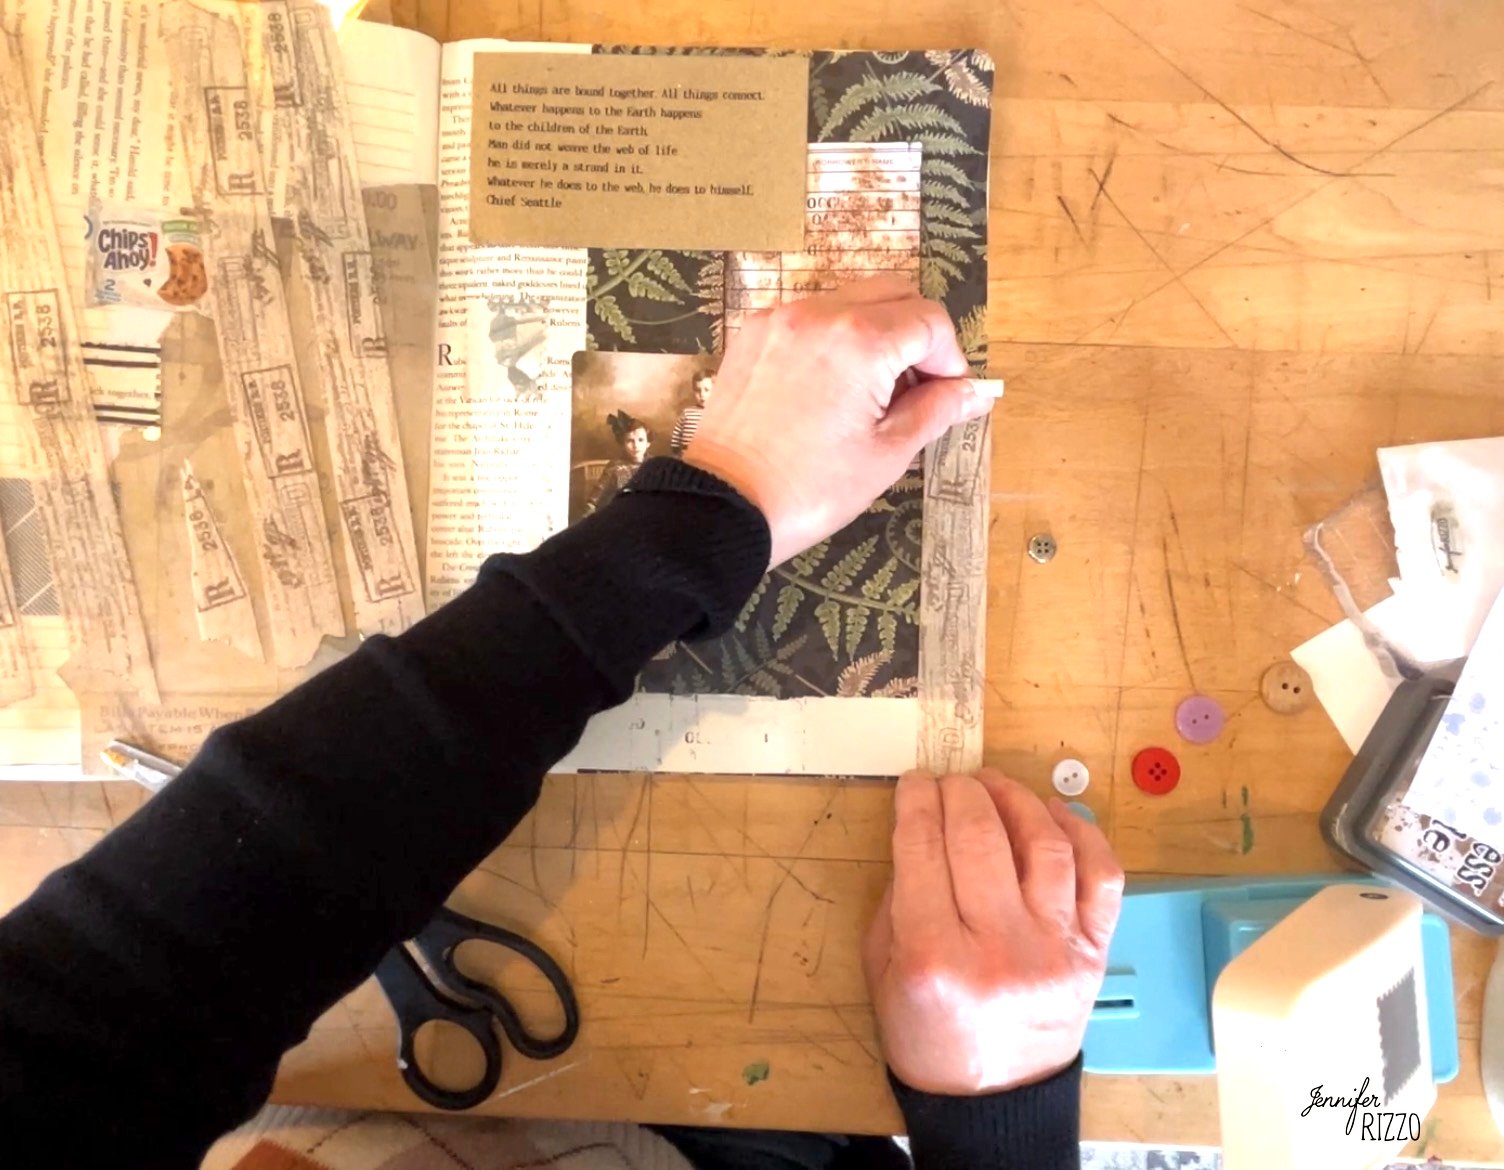
I really love how it’s so easy to create something custom like this. Create own color combinations and patterns and a pretty way to wrap gifts and add to envelopes, notebooks, planners and more! You could even use a name stamp to make your own tape or for wedding favors and other decorative purposes.
Tip: For a different take and way to make your own decorative tape, you can use a graphic program like illustrator, create a design, use ink jet or laser printers to print the design on sticker paper, and cut into strips.
I love making a bunch of tape to use on different craft projects and art projects on canvas for mixed media.. They are a great way to add a personalized touch to whatever you are making. Don’t be afraid to play with color or stamps.

If you liked this post, you might also like:
Find this project and 34 others in the book Creatively Christmas
How to make hand-stamped ribbon
Make an Anthro-inspired mini pom-pom wreath