

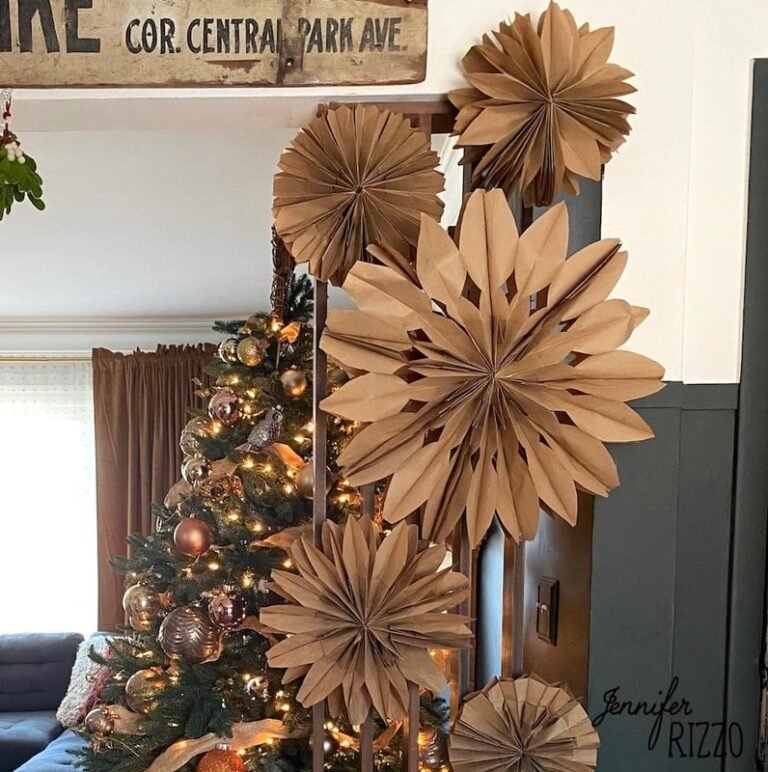

I love how paper bag snowflakes are an inexpensive handmade decor item and they are such a fun way to decorate for the holiday season! A few years ago, I bought paper snowflakes to put up in my dining area and paid almost $12 for a set of three. To make this hand-crafted version of these natural colored paper snowflakes were $1.98 from Walmart and I had bags left over for school lunches! a 50 bag pack will make about 3 large paper snowflakes. You could even make GIANT snowflakes with grocery brown paper bags.

Supplies for Paper Bag Snowflakes
-Brown paper lunch bags or small or large white paper bags or natural /brown kraft colored bags- The size of your paper bag determines the size of your stars/snowflakes
-a hot glue gun or super tacky white glue
– Sharp scissors
-Stapler and clear tape
-Marker or pencil
-You can try glue sticks for kids with clear tape -the glue might not hold well enough after.
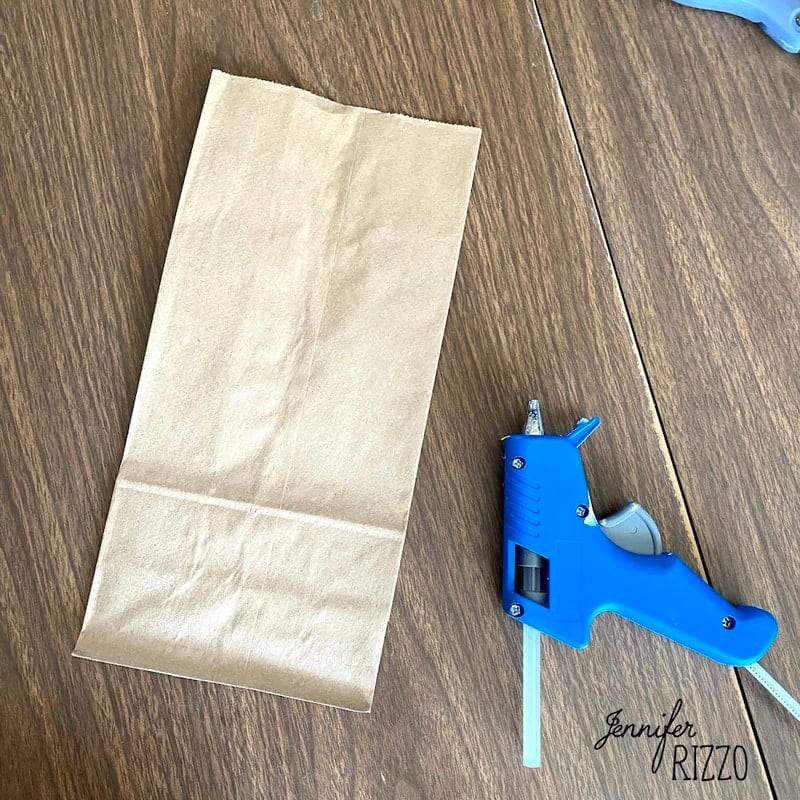
Lay Paper Bags Flat to Start and Glue
To start making your paper bag snowflakes, lay the first bag flat on a work table surface to start to layer the bags. Run a bead of either hot glue or tacky white craft glue down the center of the bag and at the bottom of the bag at the base where it would stand up at the folded bottom (white craft glue is the best option if the kids are doing the project), creating an upside down T shape with the glue.
Make this: Recycled Paper Fringed Trees

Repeat the Glue and Layering Process
Lay the second bag on top and repeat the process for the next paper bag as well. Continue laying the next bag on top of each other going in the same direction until you have a stack of about 12- 15 bags glued together.

Draw a Pattern
At this point in your paper bag snowflake making, if you are using white craft glue you will have to wait until the glue dries. If you are using hot glue, you can continue on to the next step of cutting your snowflake pattern. If the glue isn’t holding a well as you would like, use a stapler on the edges to staple together near the bottom or use clear tape.

Cut the Shapes Out
This next step is where you are going to make your snowflake pattern by using your scissors to cute to create different patterns and different shapes at the open end of the bag. I found when creating my paper stars to use a marker to draw my shapes on ahead of time It’s important to leave some intact places at the sides of the paper bags so they don’t come a part when “unfolding”.
When making patterns on your snowflake DIYs, try varying the cuts. To make a more pointy snowflake, cut the top of the bag to a point,and a gentler curve to make it more rounded. Try cutting large and small shapes out in the sides, always leaving a little bit of the edges of the bag attached. This is where strong and sharp scissors come in to cut though the bags. Don’t try to cut through the entire thing at once and power through it. Cut a manageable amount at a time, even if it’s a bag at a time. Always use caution when using sharp scissors.
I did find sometimes the bags together were too thick, and I had to cut through the side of the bags a few at a time instead of tackling the entire stack at once to get good cuts and shapes.

Gently Open the Paper Bag Star/Snowflake
Once your paper bags are cut, grab the top of the first bag and the top of the last bag and gently open up your paper bag stars. The top edges should open until they touch each other. At this point you want to either staple, tape, or paper clip them together to hold the star in place.

Hang the Paper Bag Snowflakes
While I made brown paper bag snowflakes, it’s pretty to mix white paper bag snowflakes in with them. You can even use a hole punch to make different designs and try large and small angle cuts. These can be hung from the ceiling with yarn or twine. Command hooks or removable hooks work well since they are seasonal decor.

Get Crafty: Make Faux Brass Botanical Ornaments from Clay
I added mine to my slat wall to dress up the holiday decorating in my dining area. I made a smaller snowflake by cutting the larger bags in half down the middle, and re-gluing the open edges. This is also a great way to get some different shapes snowflakes…they almost look more like stars. This size would be fun to make a paper garland with. There is no wrong way to display these.
If you cut your bags down and glue the open edges, just make sure that all of the edges are lined up the same way, otherwise the DIY paper bag snowflakes won’t open correctly. To store for next year, just snip the tape on the ends where they meet and fold up to put away.
I love how they look. I bought some white paper lunch bags to hopefully make some smaller ones for my tree. They are such a fun and inexpensive way to add holiday cheer. You can also hang these with a piece of twine. They really remind me of 1940’s holiday decor. In think my grandma had a version of these made from old wallpaper or tissue paper. These are similar to making paper rosette’s. See how to make a paper rosette Christmas tree with book pages with this tutorial-link opens in new tab.