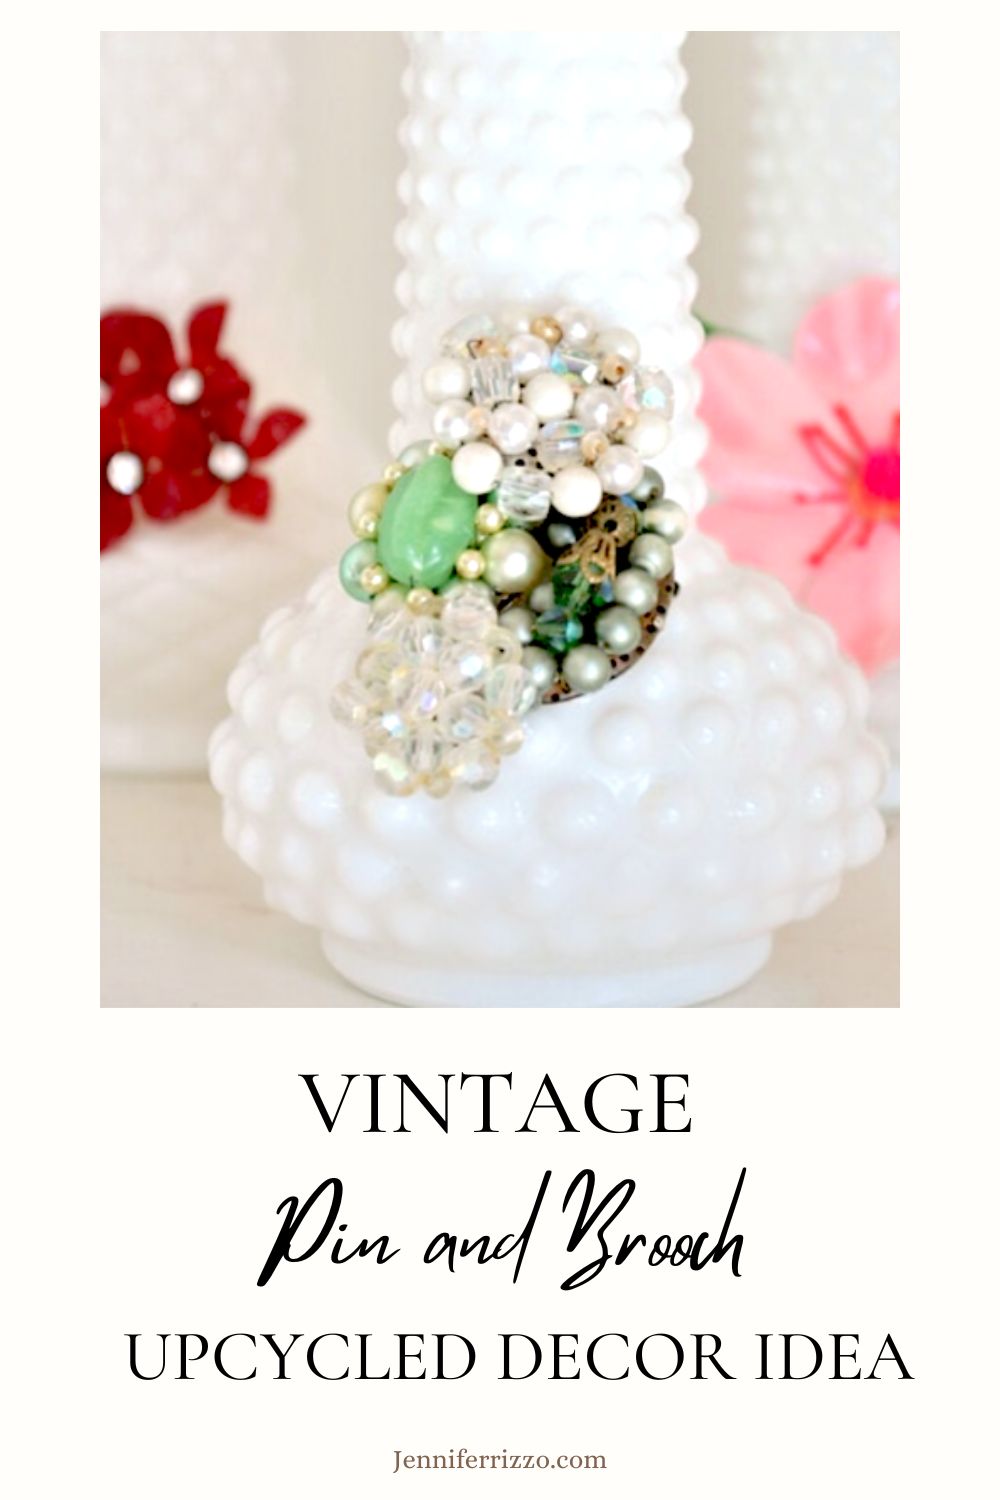
Vintage pins and brooches are making a comeback in fashion and decor, there is a different better way to use them than just lapels. I’ve seen vintage pins embellishing lamps shades, in frames and as accents on candle sticks. It’s awesome when they are in good condition and you can use them as is, but what do you do when you have broken pin backs or they aren’t in a wearable condition? Upcycle them! I have a HUGE stash of broken jewelry including vintage pins and earrings. This is a great green craft, because it uses two vintage items together that make something brand new. And I don’t know about you, but I see those for under a dollar all of the time at the thrift stores. This is a fun upcycled vintage pin and brooch decor idea, and I think these would be really cute for a bridal shower/centerpiece idea or a sweet gift too.
(This post contains affiliate links like Amazon links. See our sponsor and affiliate disclosure here)
Supplies for Creating Vintage Pin and Brooch Vases
To upcycle your milk glass vases with broken jewelry you are going to need (or grab the supplies here):
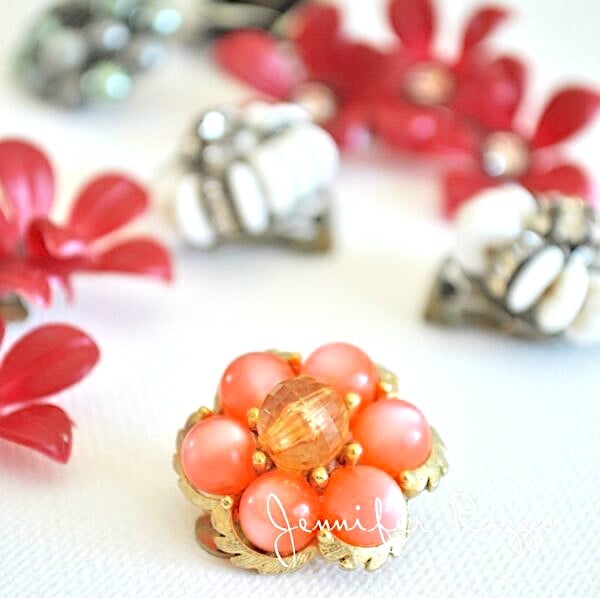
–Broken or vintage jewelry pieces, like earrings, brooches, etc.
–Jewelry pliers
-Welbond or a heavy duty glue
–Vintage milk glass vases or new vases
–Eye protection and gloves
Using caution is recommended with this project. Older and vintage jewelry may not be lead free (grab a lead check kit if there are any questions!) or have other harmful metals or materials in them that you could be exposed to. Make sure to check your brooch isn’t valuable first and has fake stones as ooposed to real diamonds or gems. You can also use new jewelry pieces of embellishments instead. Always use proper safety procedures, directions on the supplies and equipment before starting this project and do in a well- ventilated area.
Clean the Vase Surface
Start by washing the milk glass vases to get off any dirt, grease or sticky residue and let air dry upside down until they are completely dried. Then remove the backs off the jewelry pieces if needed (you may not have to). I do wear eye protection for this because those bits can go flying every where! I’ll also wear gloves at times as well. I have a nickel allergy and some of the older (and newer) pieces of jewelry do contain nickel (or lead).

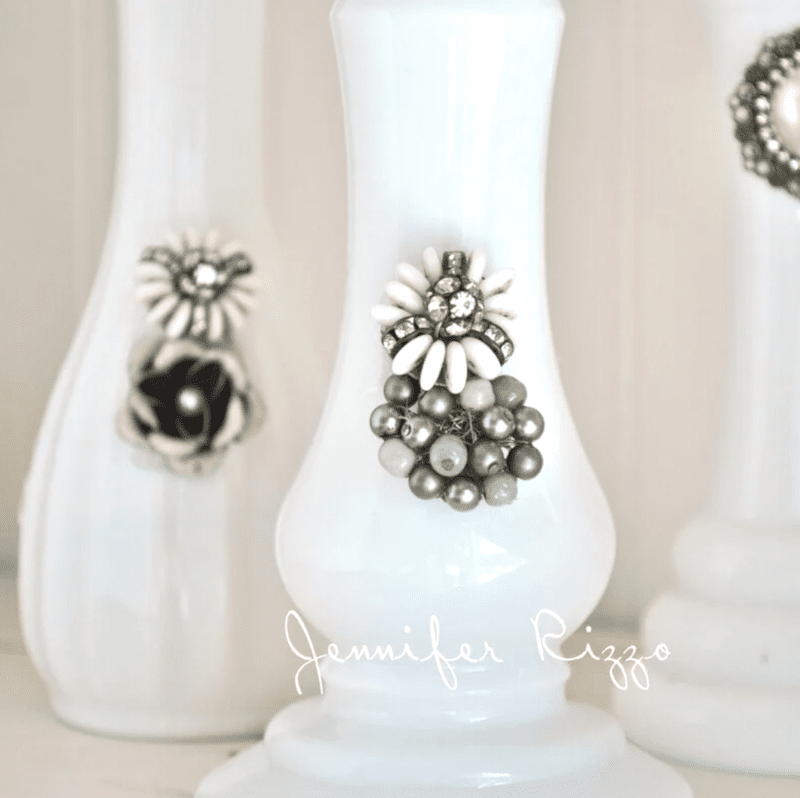
Glue on the Vintage Pins, Brooches or Earrings
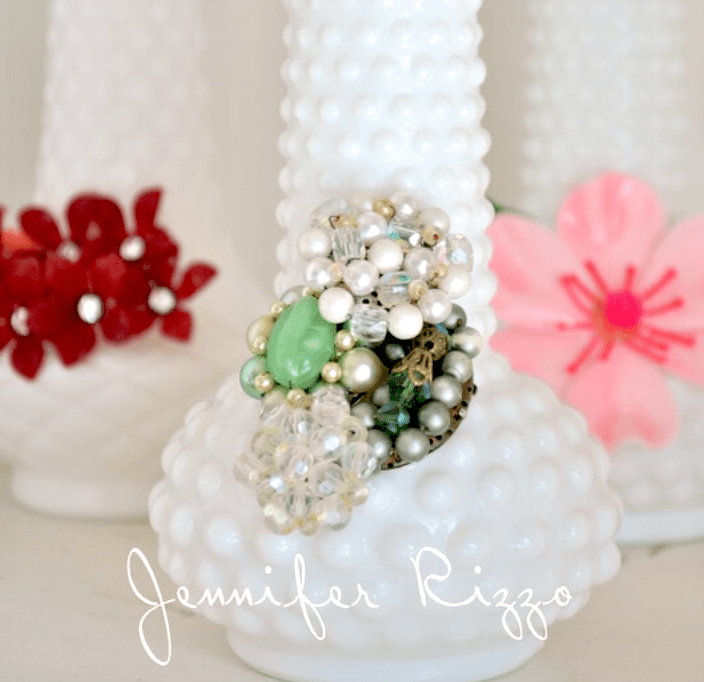
Once the backs are removed, you are ready to glue! I found laying the vases on their backs and supporting them works best. Larger pins and brooches can be glued on by themselves, but smaller ones or vintage earrings can be clustered together. A little low-tack painter’s tape help to keep the pieces on place while the tape sets. Then they are ready to go! It takes about 24 to 48 hours for the glue to cure to use them. I prefer to use a non-toxic glue. I used some brooches and old earrings (and a few new broken ones) to make my fun vases. They come in so many pretty styles. It seems like such a shame just to throw them out!
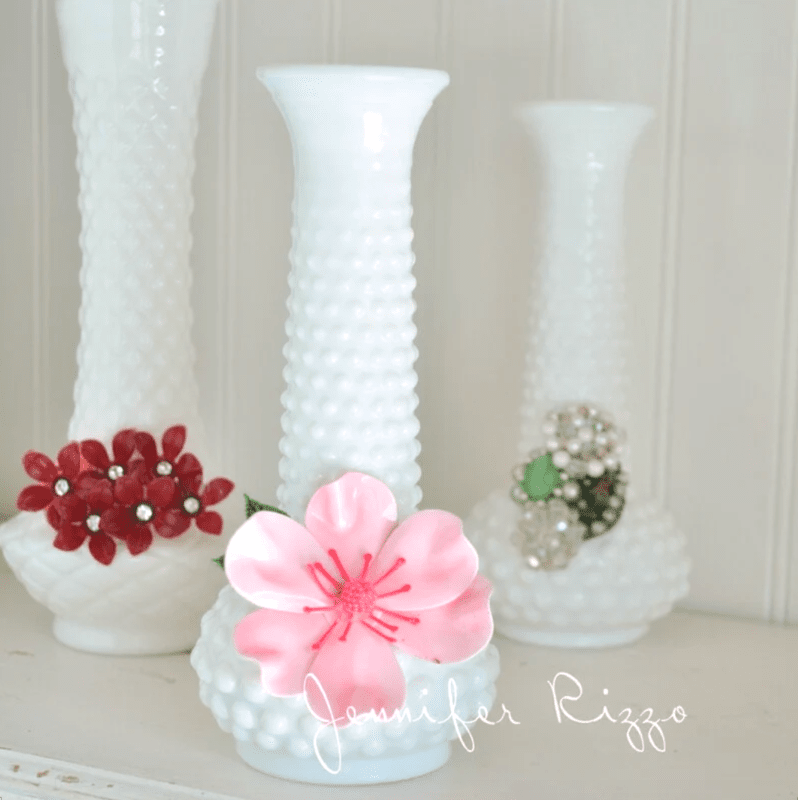
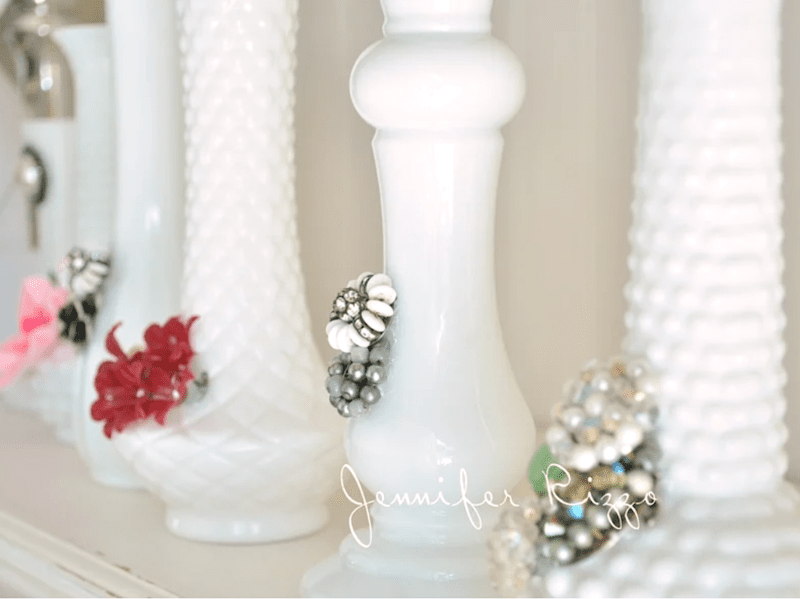
Let Dry and Add Flowers
Once the glue is cured, add flowers and display! These would be such a pretty centerpiece for a wedding or bridal shower too. New vases can be used if vintage vases can’t be found.
I clustered about 4 earrings on this vases. I love how it looks and I love that it gives those broken pieces of jewelry a new purpose.
Now am going to start scoping out broken jewelry even more and diving into my collection.!

If you liked this post you might also like:Upcycled vintage suitcase to jewelry display holder.